Hi friends! I’m sharing the easiest way to screen print your own shirts and decor with your Cricut! This video is sponsored by Cricut #cricutmade.
I’ve shared many Cricut projects over the years on my channel, but one thing I’ve never done (until recently) was screen print using stencils made from my Cricut. I recently bought a kit on Amazon on a whim and tried it out to create some screen-printed tote bags for my sister-in-law’s bachelorette party and I was hooked! It’s so much easier than I even thought it would be, so I’m very excited to be sharing a step-by-step screen printing tutorial with you today!
To download the shirt graphics, head to my NEW Free File Library and find them under “General Cut Files and then DIY & Crafts.” You’ll need the password to enter, and you can find that in your Whiskey Craft Buddy Newsletter, or opt in via the blue stripe at the top of this site to get the password via email.
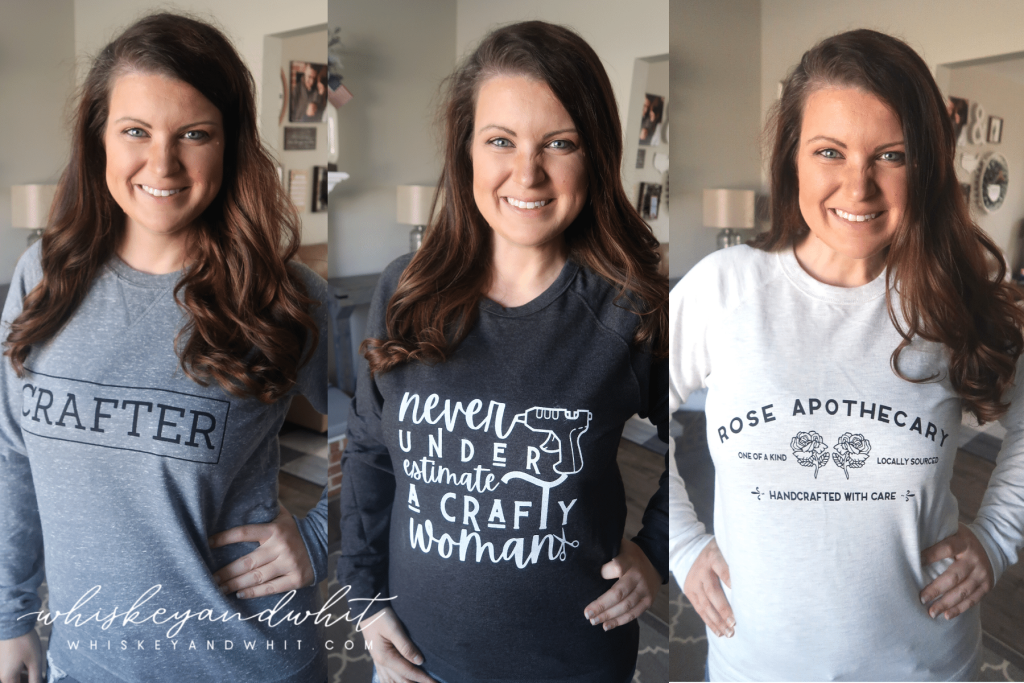
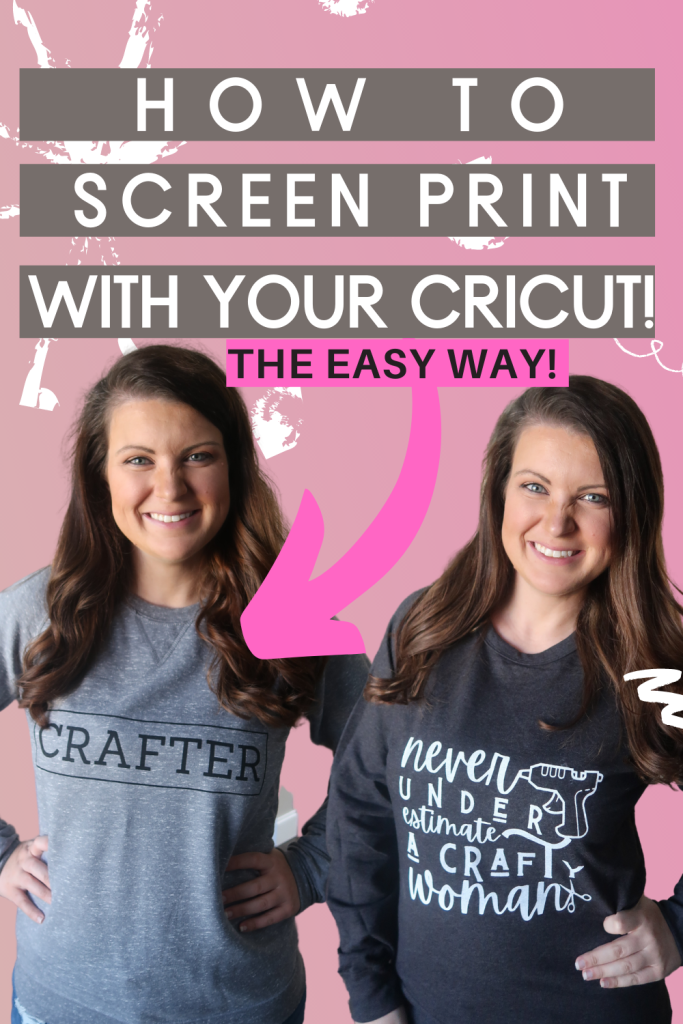
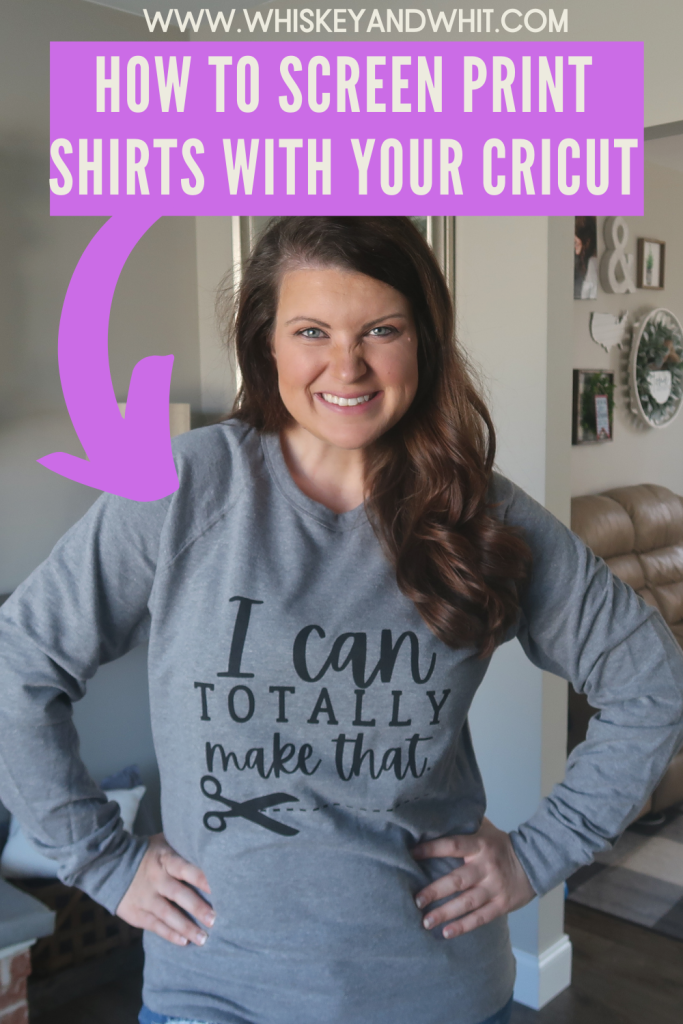
I’ve found tips, tricks, and great Cricut hacks to make your own personalized apparel and decor affordably and quickly! I made all three of these sweatshirts for under $15/each – SO MUCH LESS than what you would pay to buy them. Let’s get crafting!
SUPPLIES
Disclaimer: This post contains affiliate links. This means I may earn a commission should you choose to sign up for a program or make a purchase using my link. I won’t ever share a link for a product/service I haven’t tried myself. Read my full disclosure policy here.
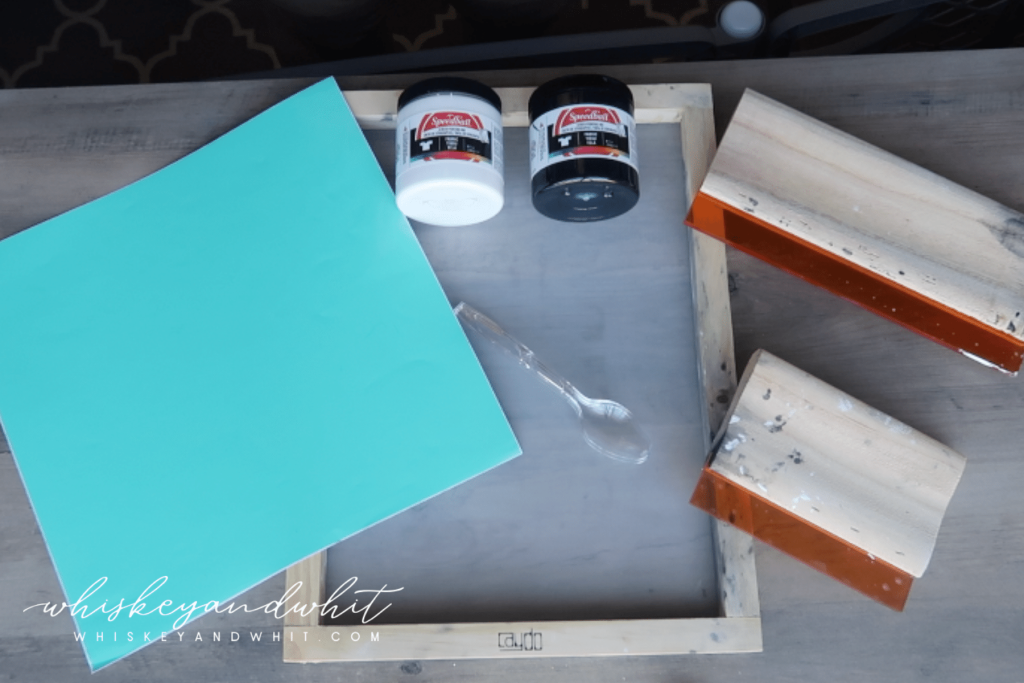
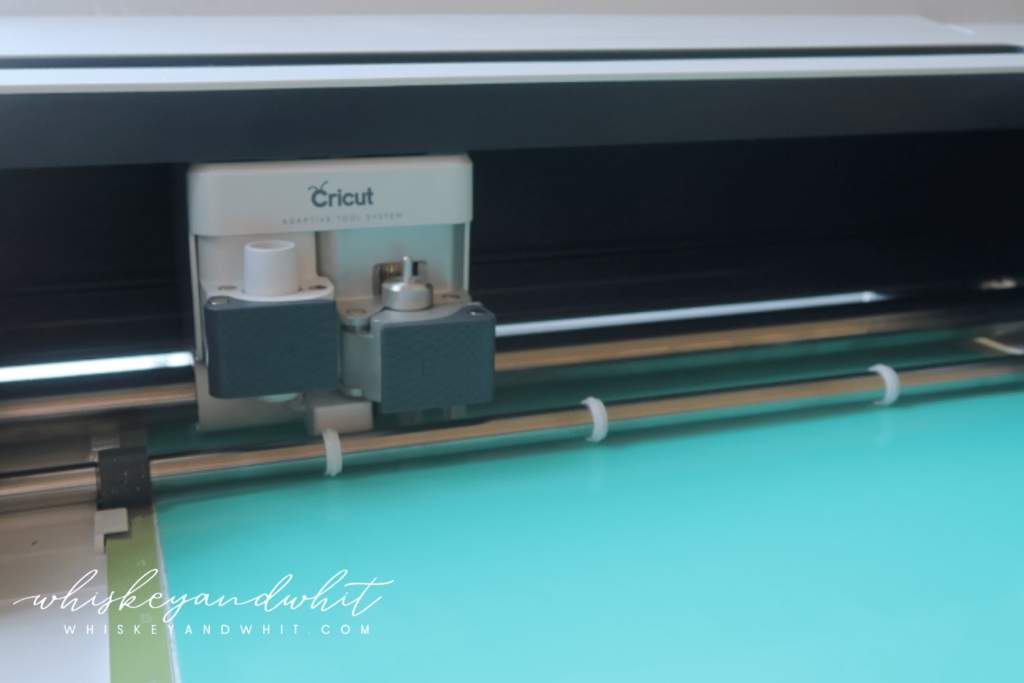
- Cricut or other Vinyl Cutting Machine (I used my Cricut Maker, but you can easily do this with an Explore or Joy, too)
- Screen – I bought a kit off Amazon with 4 different sizes of screens, I’d recommend it!
- Fabric Ink – I used Speedball Ink in Black & White
- Squeegee – mine came in the same Amazon kit mentioned above
- Permanent Vinyl
- Paper Transfer Tape – my favorite is from Expressions Vinyl
- Painter’s Tape
- Weeding Tools
- Plastic Spoon – or something else to spread your ink on the screen
- SVG or other design files to cut your stencil. Rose Apothecary file came from Etsy.
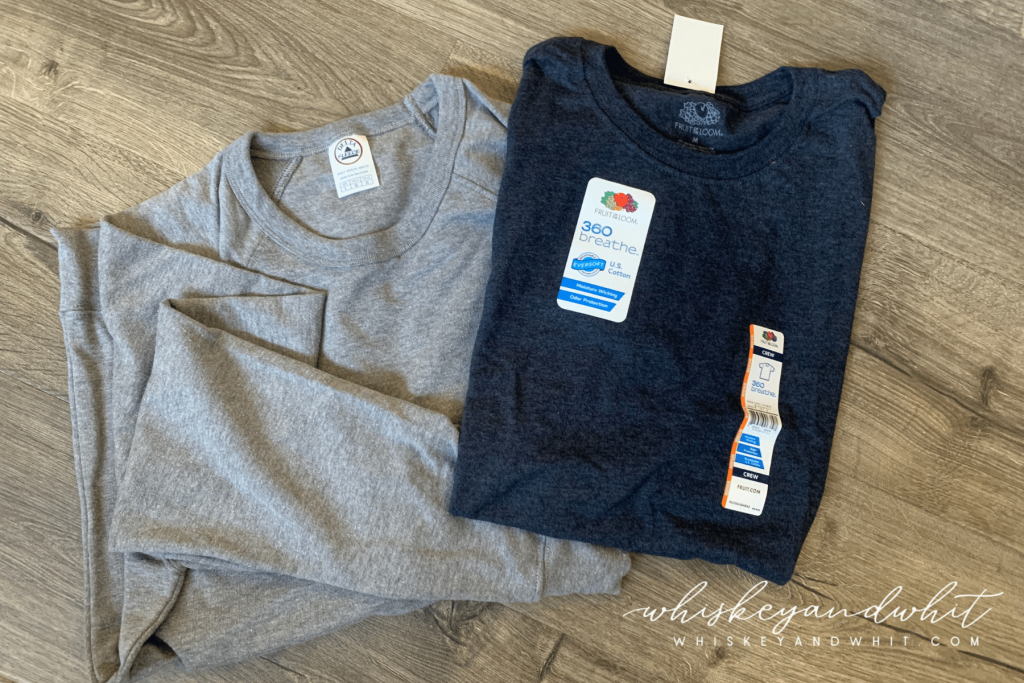
- Shirts or another surface to screen print
Jiffy Shirt Sweatshirts
“Crafter” I got a Medium
“Never Underestimate a Crafty Woman” – Large
“I Can Totally Make That” – Large
“Rose Apothecary” – Large
Pink Koozie – Amazon
HOW TO SCREEN PRINT A SHIRT
Step one is to pick out your design and cut it out on your Cricut. I used medium and large shirts and I sized my graphic to 10 inches wide. If you are unsure, simply measure your shirt to see how large to cut your graphic. I like a minimum of 2 inches from the edge of the shirt on either side – so be sure to take that into account. You’ll also want to be aware of the size of your screen, that will dictate your max graphic size.
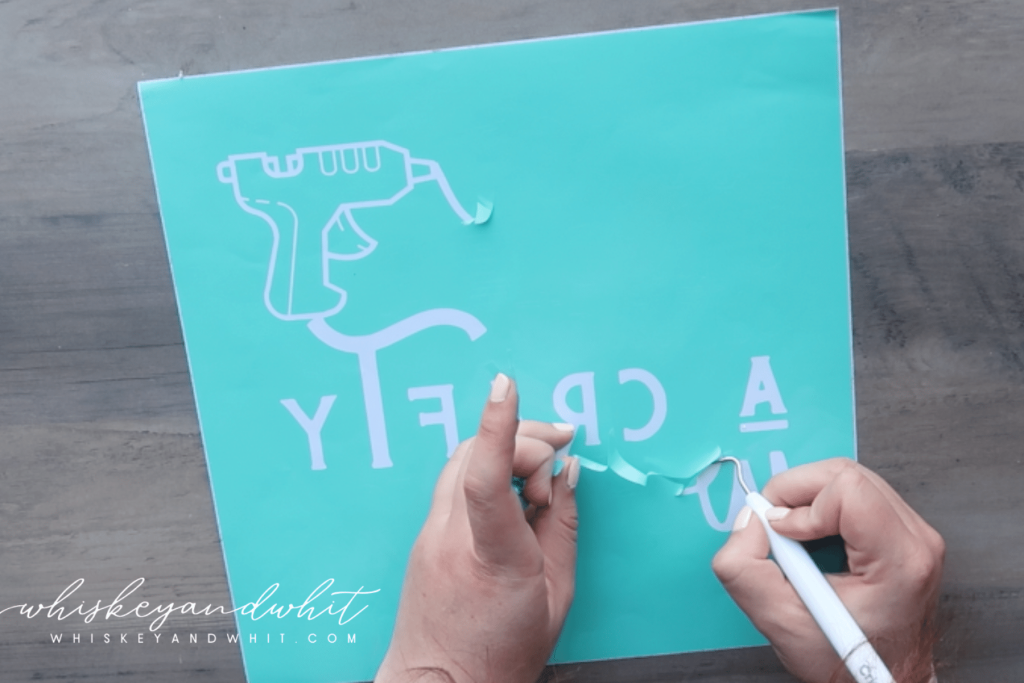
Once that is all squared away, cut your file out on permanent vinyl with the mirror setting on, to create a backward stencil to apply to your screen print. Then, weed your graphic into a stencil – meaning you remove where you want your screen printing ink to go.
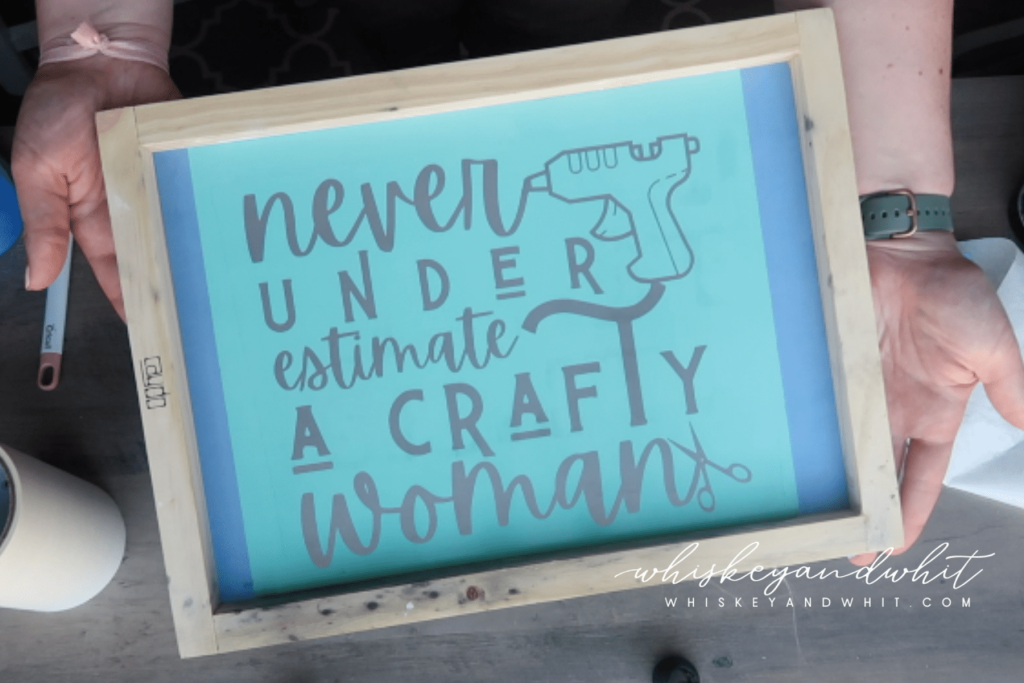
Once your stencil is ready to go, apply your least sticky transfer tape (I like paper transfer tape from Expressions Vinyl) and transfer it to the back of the screen. You’ll know it’s the back of the screen because the mesh is flush with the wood frame. Don’t press with a traditional scraper, it will make it harder for you later. Simply use your hands.
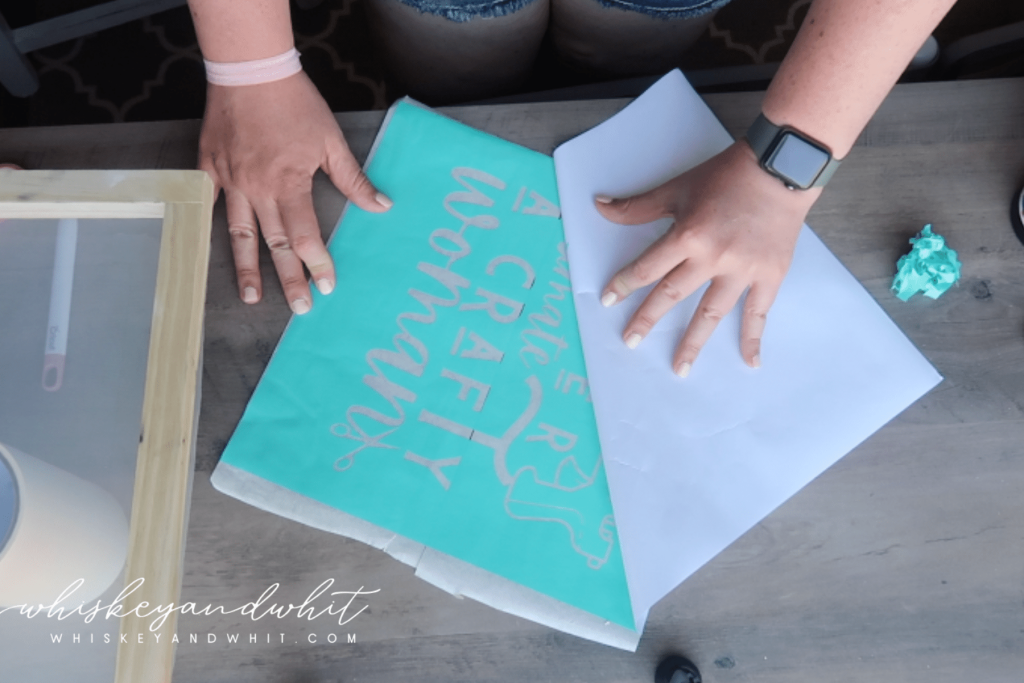
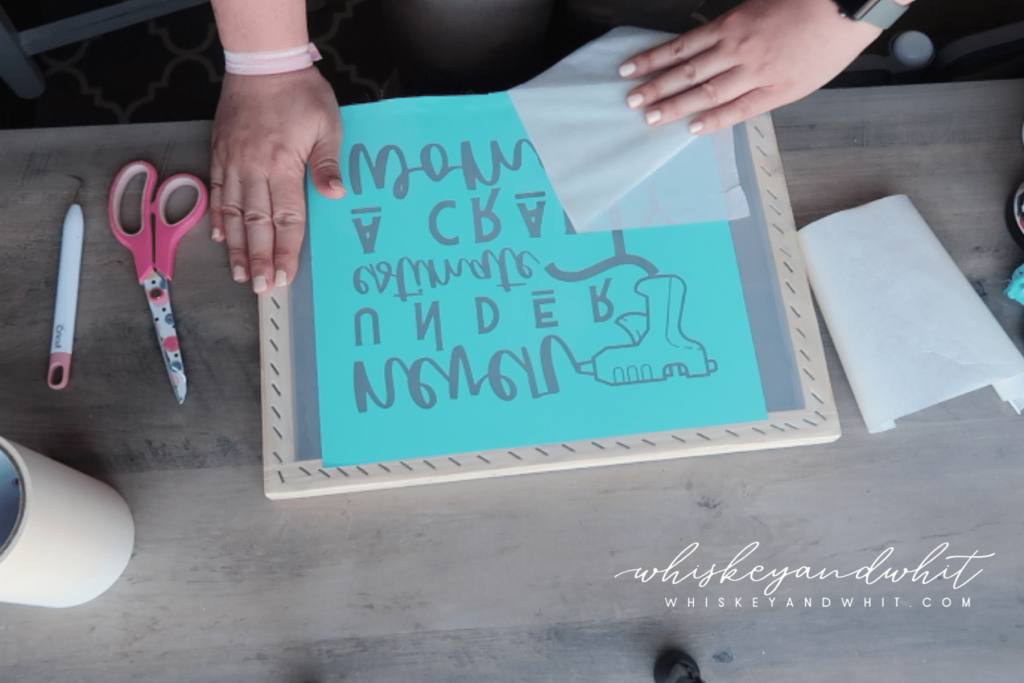
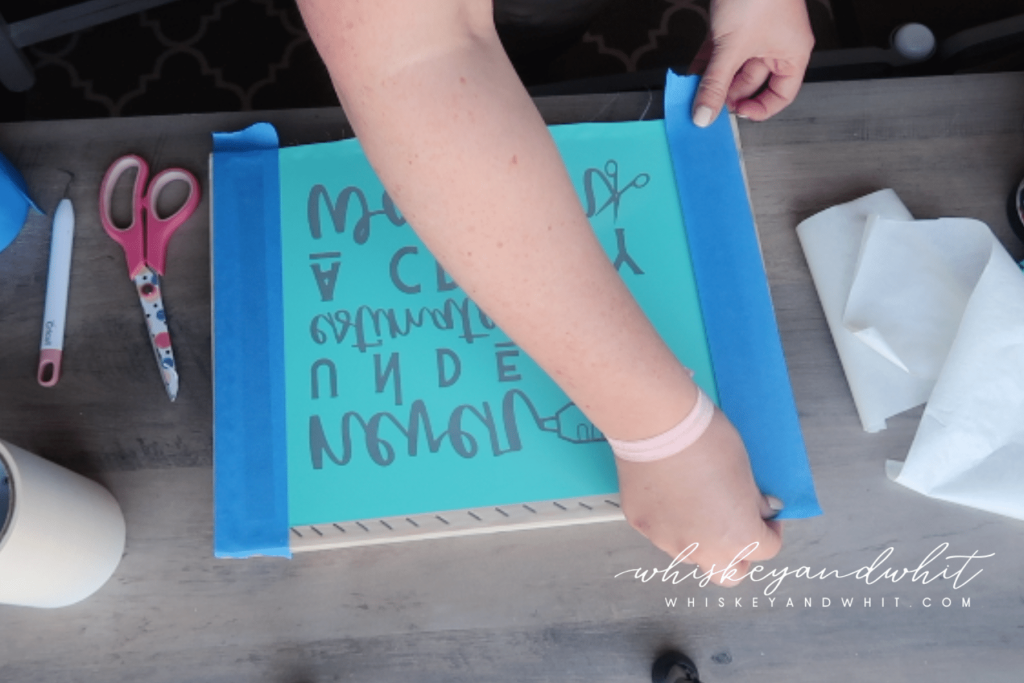
Press down hard on both the front and the back of the stencil and peel off the transfer tape carefully. The final prep step is to take painter’s tape or masking tape to cover the remaining areas your vinyl didn’t cover to prevent your ink from getting where you don’t want it.
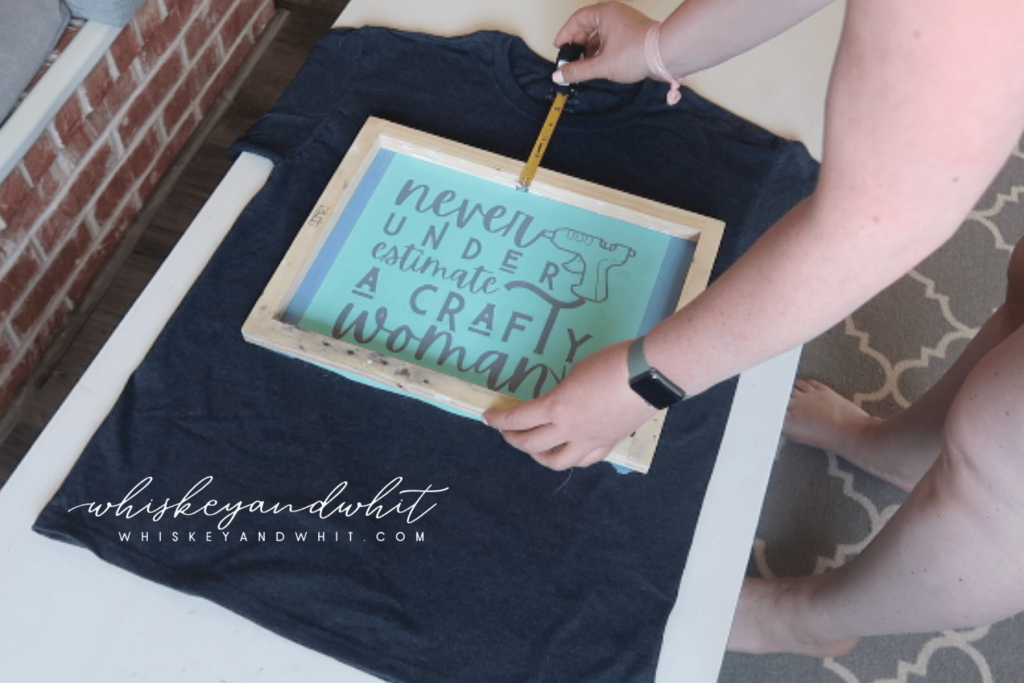
Next, I lined up my shirt with a ruler and got my supplies ready. My general rule of thumb for placement is to measure 3.5 to 4 inches from the bottom of the shirt collar – but again, if you are in doubt, measure.
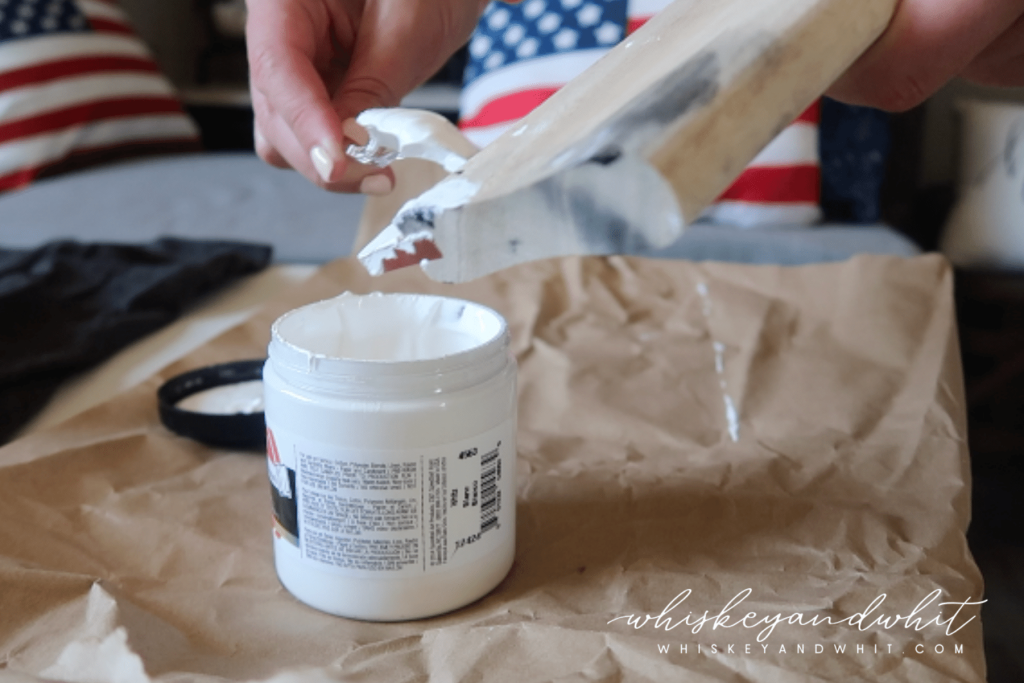
For my printing station, I like to have my ink, squeegee, plastic spoon and something to protect the table when I lay down my used squeegee with ink on it. Here I just used some left over packing paper from a recent Amazon purchase.
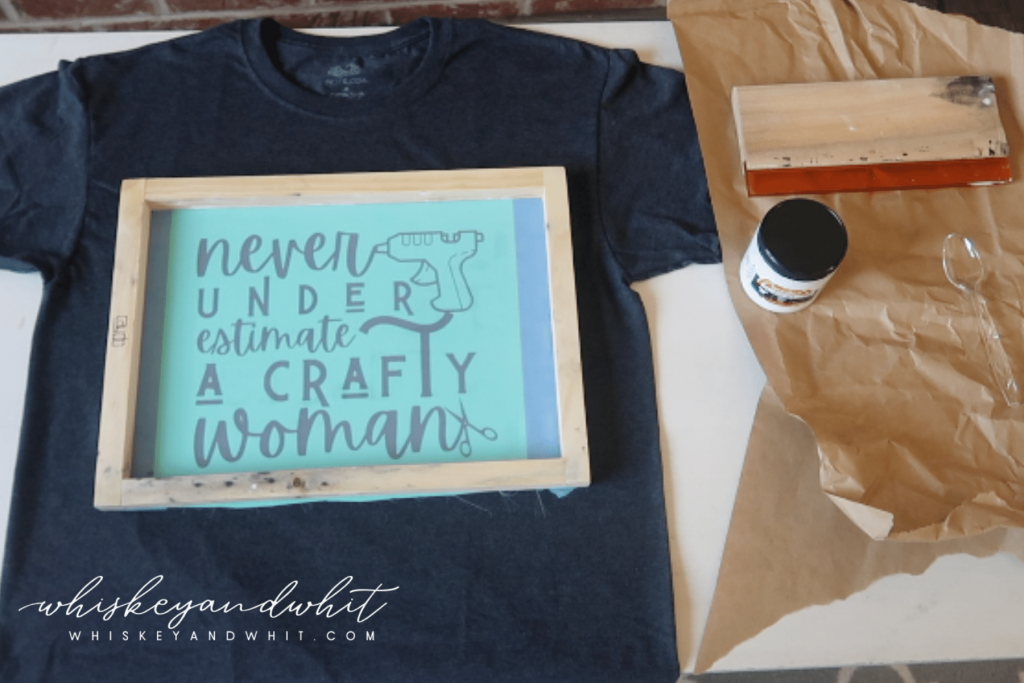
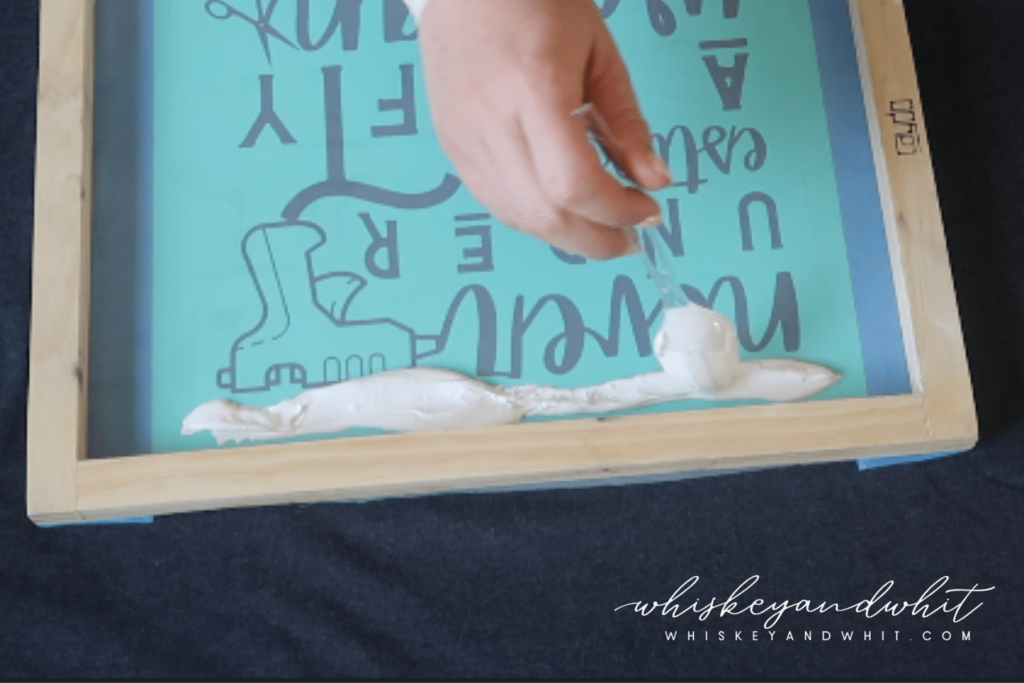
Once you’re ready, take your spoon and put a liberal amount of ink across the top of your screen. Then with the squeegee in my right hand, and using my left hand to hold the screen, I squeegeed the ink down the graphic until everything was covered.
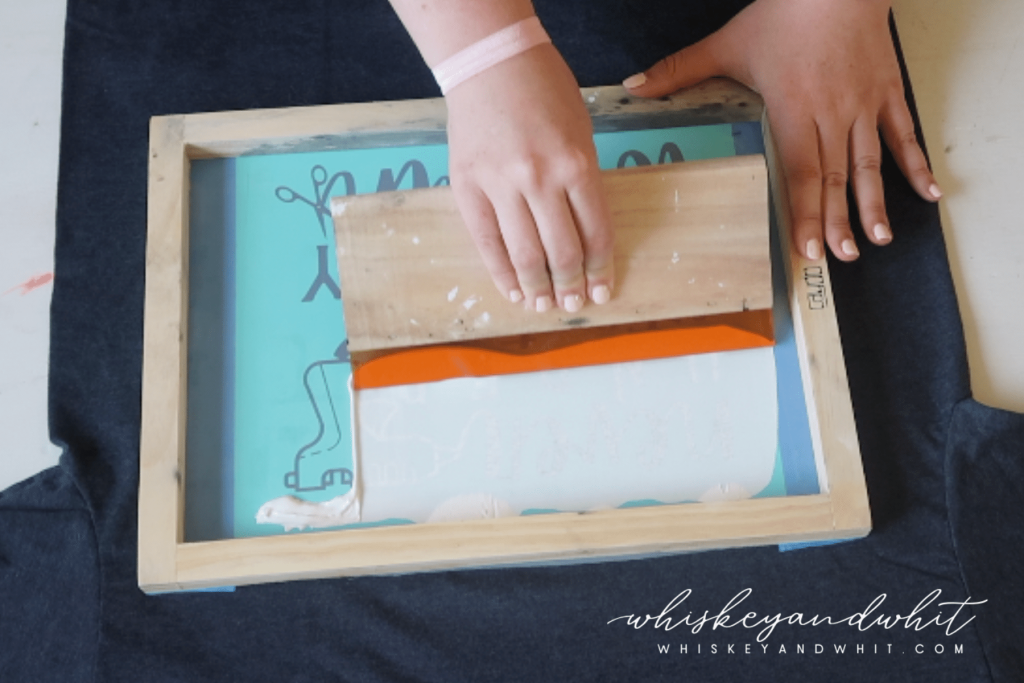
After your graphic is fully covered, you can scrape your left over ink from your squeegee back into the container. That helps conserve some ink. Finally, peel up your screen gently and CONGRATS, you’ve screen printed!
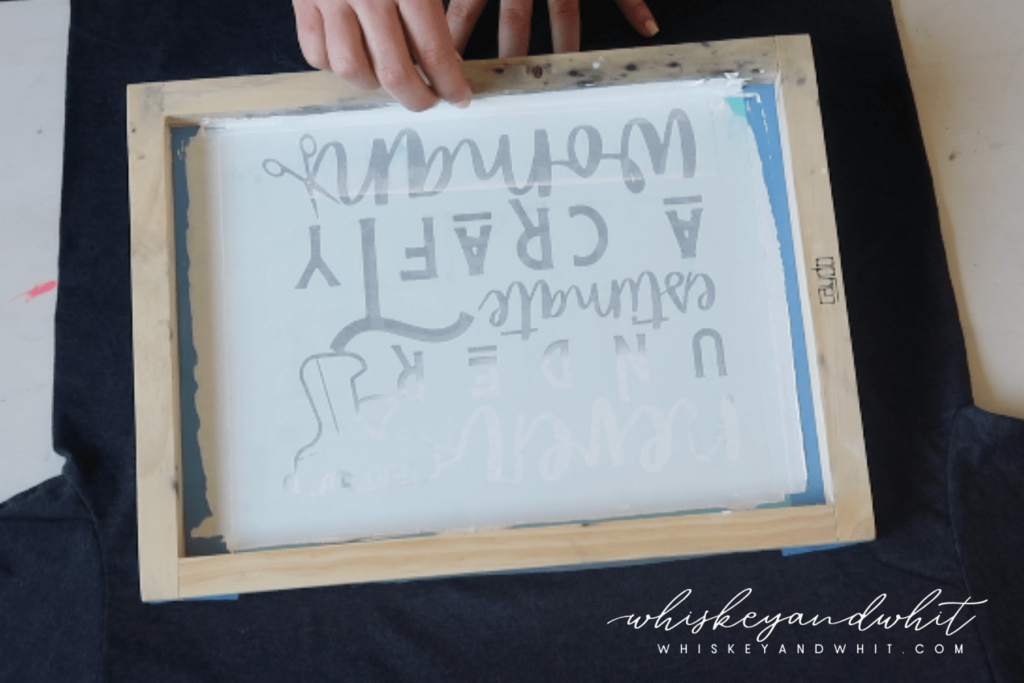
Once I’m done printing, I put it on a drying rack to dry overnight to ensure it’s fully dry. If you’re in more of a hurry, you could wait 4-6 hours and make sure it is try before moving on to the heat set step.
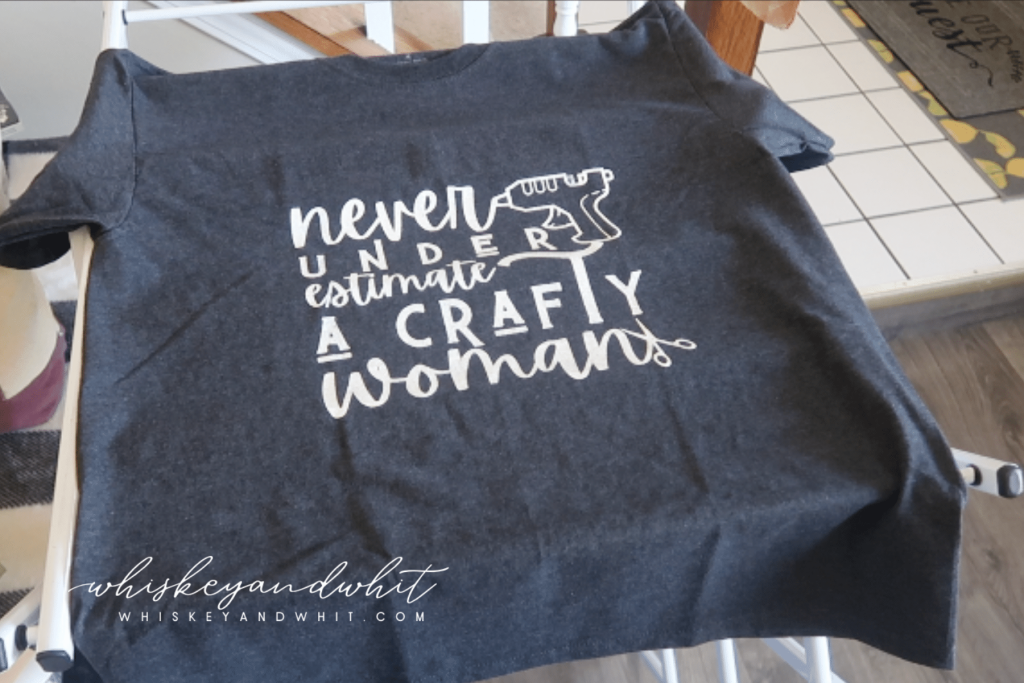
HOW TO HEAT SET A SCREEN PRINTED T-SHIRT
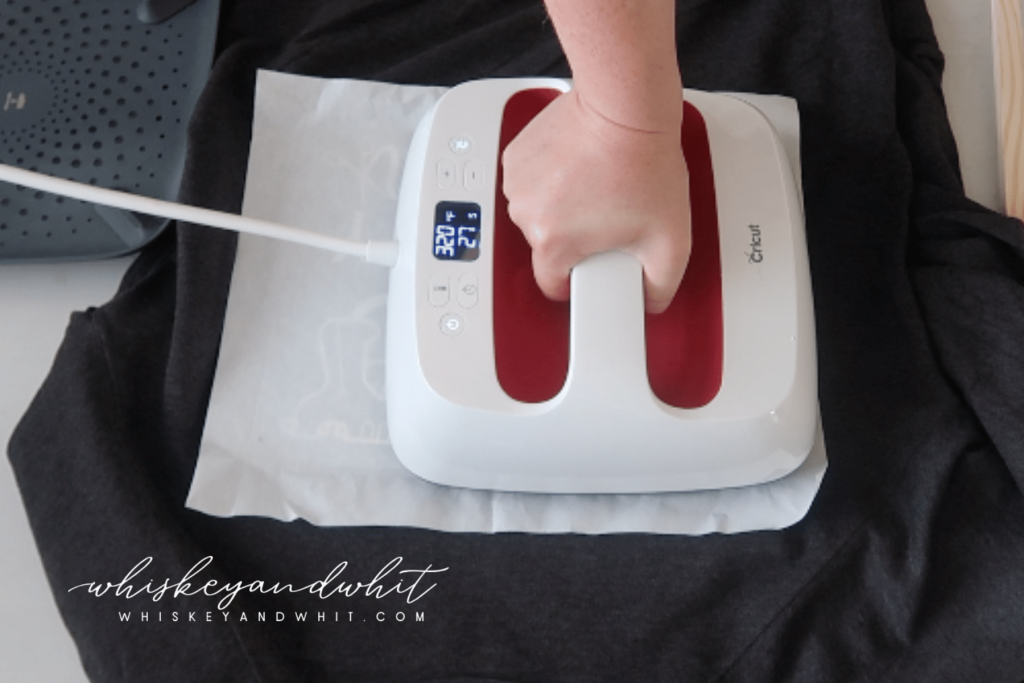
I used my Cricut Easy Press 2 set to 320 degrees for 40 seconds with medium pressure to heat set my shirts. Also, to protect my press, I used a left over butcher paper sheet between the shirt and the press (you can also use a teflon sheet). Once you’re done, your shirt is permanent and you’re all set!
WHAT TYPES OF ITEMS CAN YOU SCREEN PRINT?
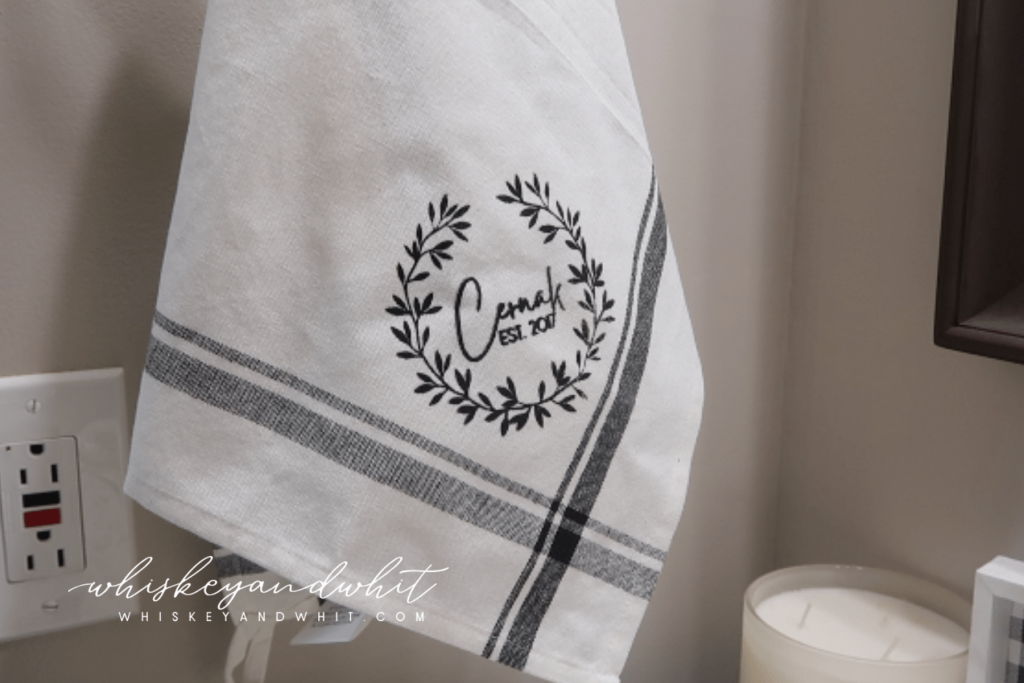
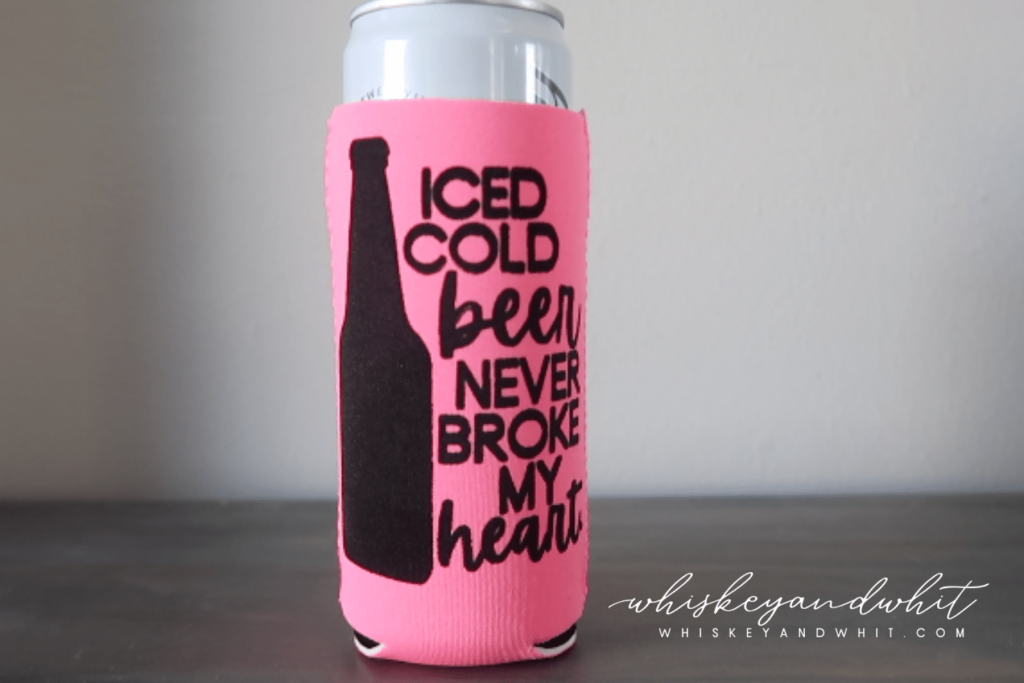
I tried it on a tea towel from Hobby Lobby and a koozie from Amazon using the same process and it worked out beautifully. Anything you would put heat transfer vinyl on, you can essentially screen print – shirts, bags, make-up pouches, koozies, towels, hats, etc.
HOW TO CLEAN YOUR SCREEN AND SQUEEGEE AFTER SCREEN PRINTING
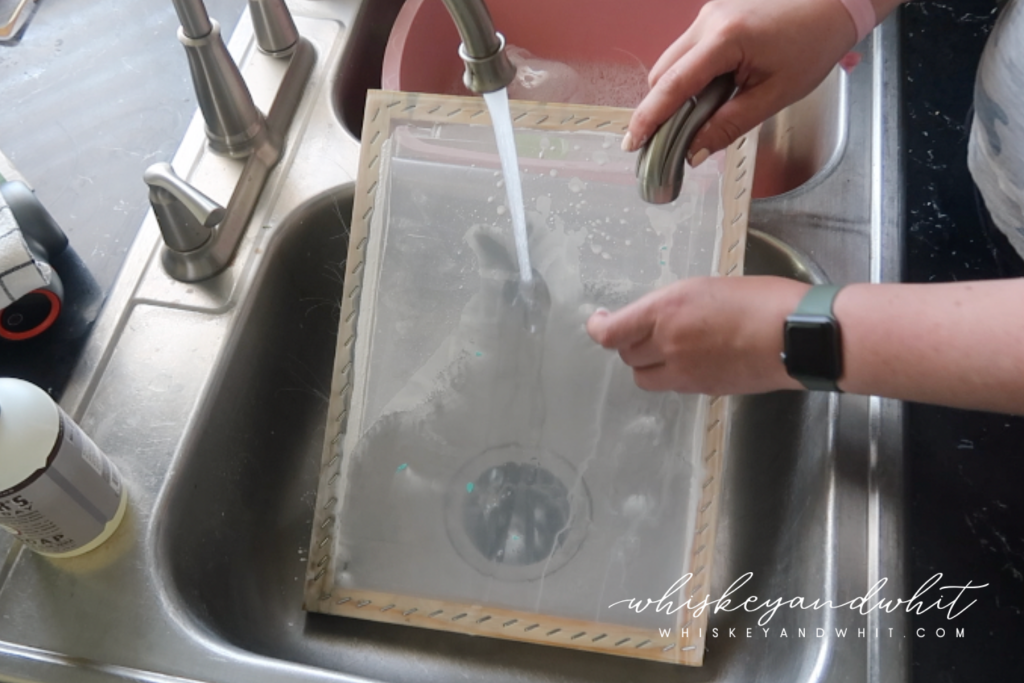
It’s super simple to clean your screen and squeegee after you screen print, but you need to work fast. The ink starts to dry relatively fast, so you’ll want to wash it with warm water as soon as possible. I use my sink hose and a specific sponge I only use for my screens to clean out all the ink.
First peel off your stencil and then rub the ink off your screen. You’ll be able to see the ink coming off your screen. Hold it up to the light to see if you missed any ink (white is more difficult to see than the black) and then let it air dry completely before storing it or using it again.
PIN NOW TO SAVE FOR LATER






Love your channel, I’m going to try the screen print.