

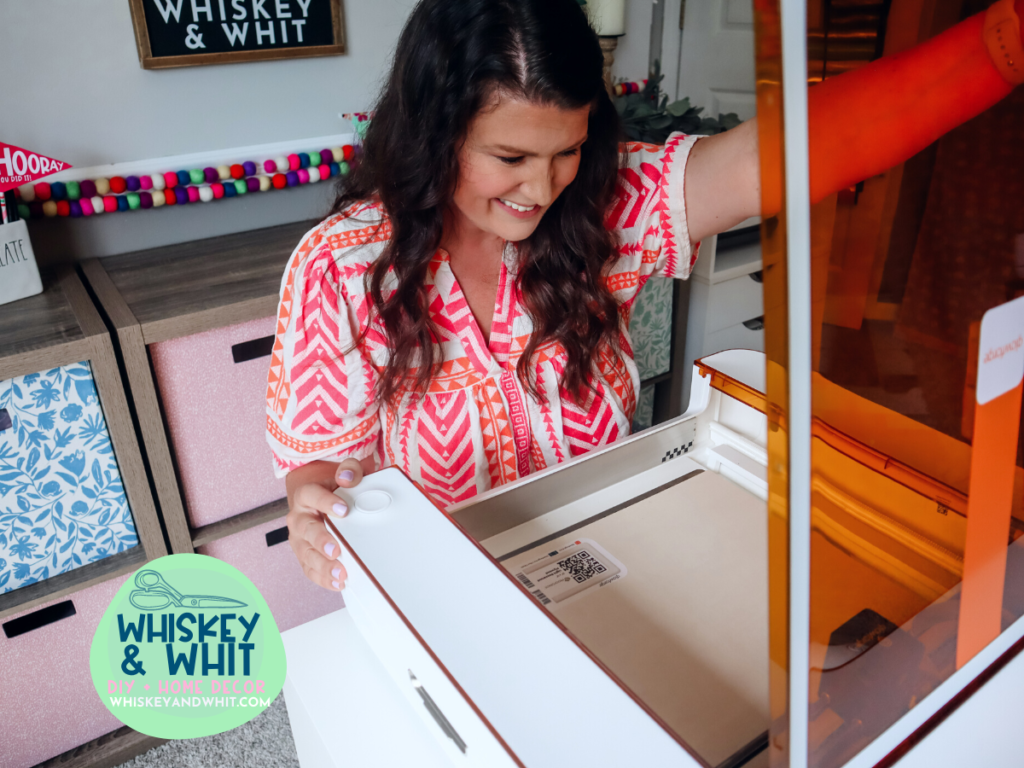
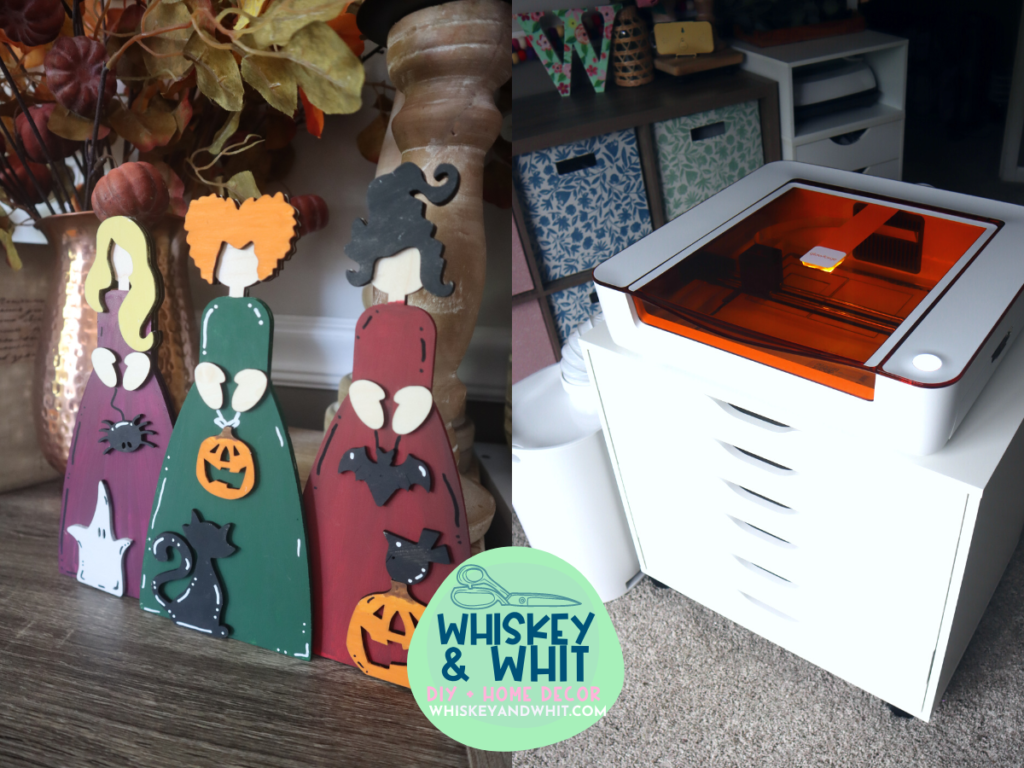
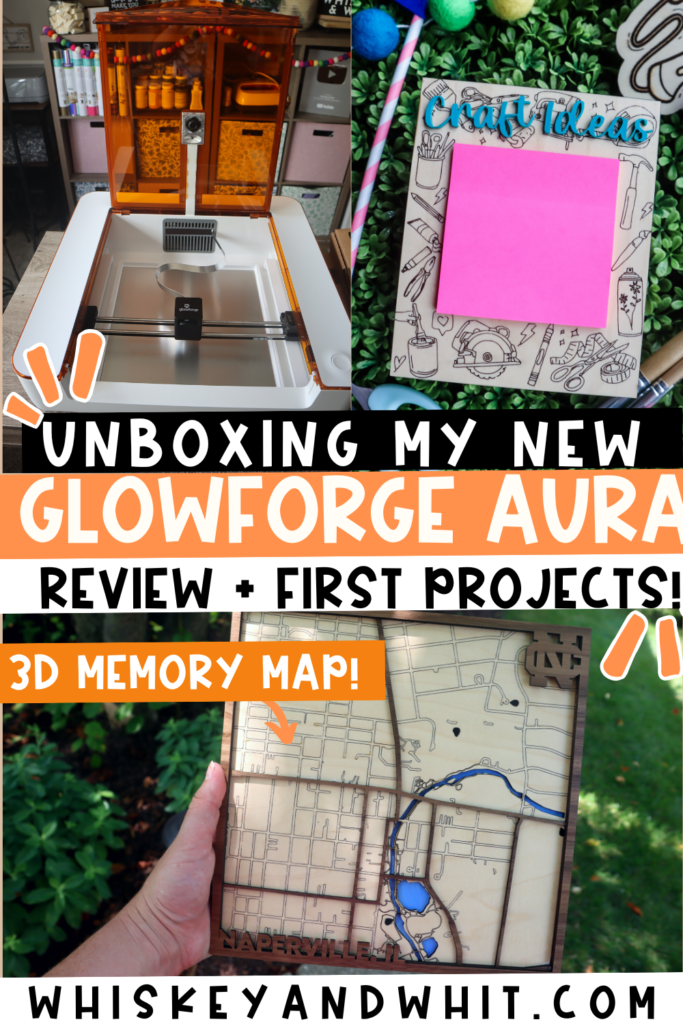
Hey craft buddies – welcome back to my craft room! Today I’m excited to share my newest DIY tool – the Glowforge Aura Craft Laser!
As an avid crafter who loves to work with wood – I’ve looked into getting a Glowforge® printer in the past – but both the machine and price have been too big for me. So when Glowforge reached out to me in the spring about a smaller, more accessible craft laser for hobby DIYers, I was excited to check it out. A huge thank you to Glowforge for sending me the Aura, Personal Filter, and Proofgrade supplies to use – they also sponsored the video portion of this post. As always, all opinions and experiences expressed are my own.
The goal today is to cover the basics of this machine, answer some of the questions I think you’ll have, and share some projects I’ve made as an absolute beginner to help you decide if it’s something you may want to add to your craft room too! Also, at the end I’ll give you my personal recommendation of the Aura vs. the xTool M1 if you’re looking for a craft laser.
What is the Glowforge Aura?
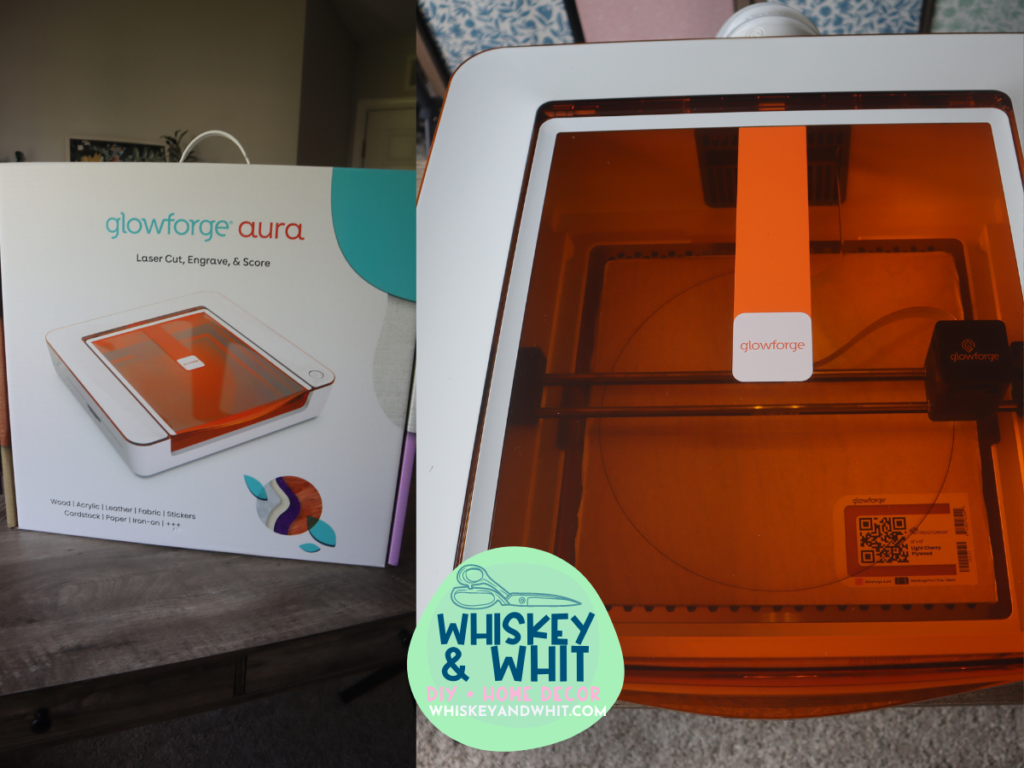
The BRAND NEW Glowforge Aura™ is a small lightweight machine that allows you to cut, engrave, and score tons of materials with the precision of a laser.
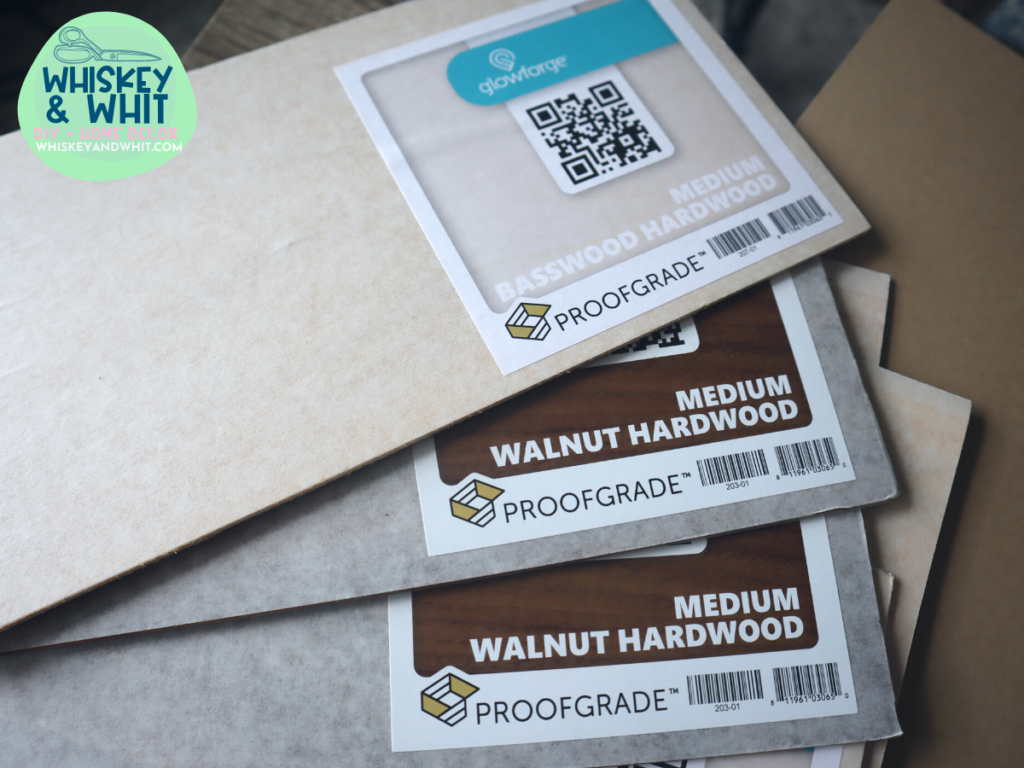
I knew right away I wanted to make some projects with Plywood, but it also works with wood hardwood and veneer. Plus Acrylic, leather, iron-on, Peel & Stick Vinyl, Paper, Fabric and more! Materials up to ¼” thick can be cut and score/engrave can be used on thicker ones.
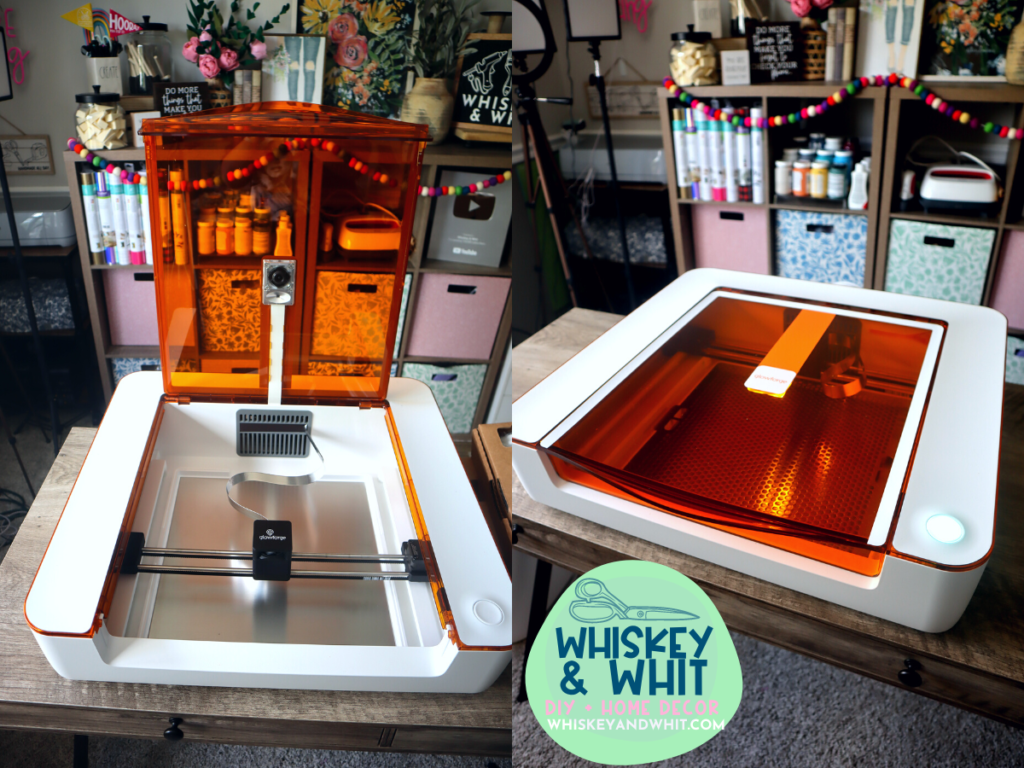
The honeycomb bed is 12×12 (30.48cm x 30.48cm) and It weighs approximately 19 pounds with overall size. It needs a power hook-up, Wifi, and somewhere to vent the exhaust tube – more on that in a bit.
How big is the Glowforge Aura Craft Laser machine?
Aura Machine dimensions: 22″ wide x 20.5″ deep x 5″ high (55.88cm x 52.07cm x 12.7cm)
Aura Machine weight: 19 lbs. (8.61 kgs)
Aura Material max cutting area: 12″ wide x 12″ tall
Notes:
Almost the entire lid swings open so you need another 20” ish inches above it to open it fully. Important if you have shelves above where you’re going to put it.
The Aura also has a pass-through slot for larger projects – that’s something I haven’t tried yet. That’s important to see if you have space for it in your craft room!
The Aura CANNOT rise up to do projects with higher surfaces and it does not have a rotary tool to do tumblers and cups like my xTool M1 can – and that’s a big differentiator due to the fact that they are comparable in price.
What comes in the Glowforge Aura Box?
Inside the box were the machine, power cable, exhaust hose, and sample wood material. The user manual showing you how to set up and connect your machine plus the free design software to create your first project is available online once you purchase the machine.
In the setup guide, I was happy to see all the mentions of safety protocol because as a beginner I had no clue. The top cover has blue light-blocking technology to protect your eyes from the laser and they recommend you clean the base between projects. I found water wipes and paper towels work well to remove any gunk or char.
The biggest question you’ll want to ask yourself is what do I want to make with this machine? If the projects I show today fit that, then this could be for you!
Where can I buy the Glowforge Aura?
The new Glowforge Aura Craft Laser and Glowforge Personal FIlter are available exclusively at Michael’s & JoAnn stores and online. It will. becoming to HSN at some point, but I’m not sure when that is.
Is the Glowforge Aura easy to set up?
It was light and easy to unbox – set up took about 10 minutes. You remove the packing stuff, plug it in, and either vent the exhaust out a window or like in my case into the Glowforge Personal Filter that traps 99.9% of particles when you’re cutting. Once you pair the device, it will automatically turn on when you hit the button to print your project. Whether it’s out the window, or through the optional filter, proper ventilation is crucial when working with a laser for safety!
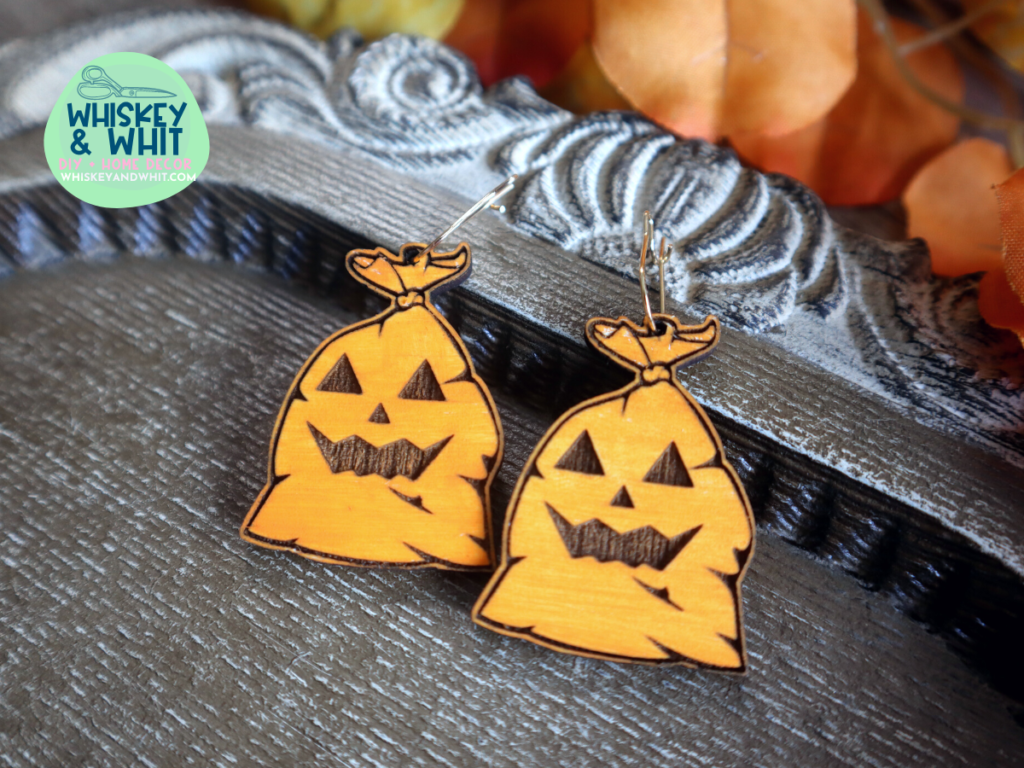
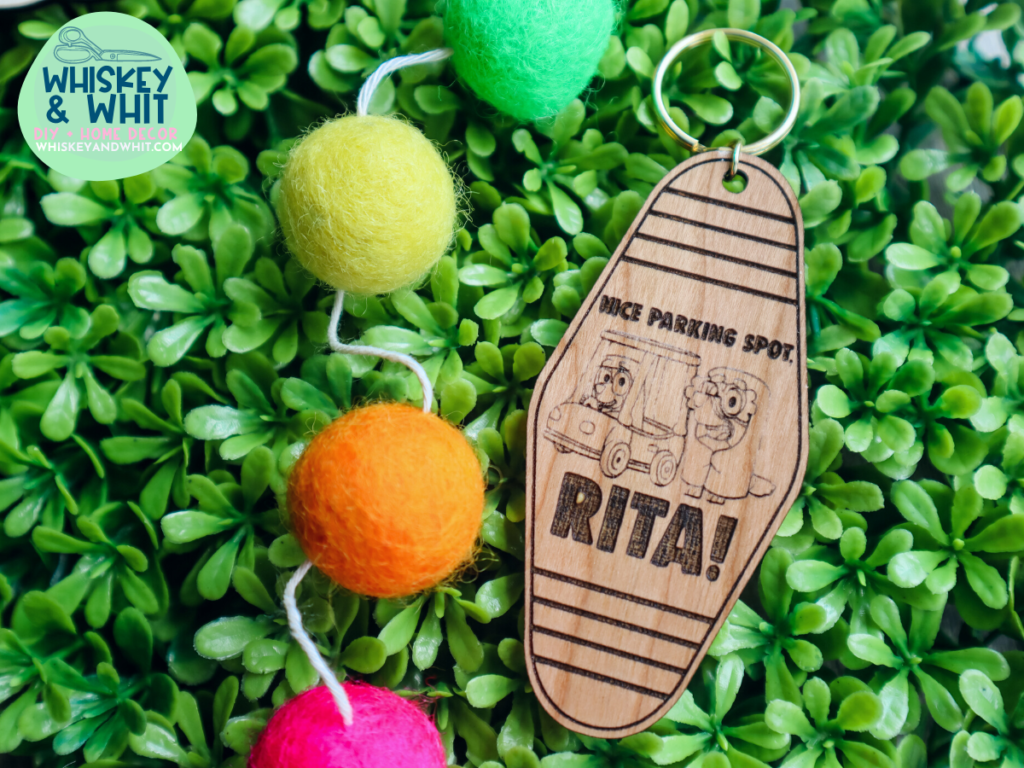
Right off the bat, using some files from Etsy, I made fun fall earrings. To create, I uploaded the SVG file, and set the art to cut and engrave. Then you open the lid, put in your materials, hit print on the Glowforge app, and allow it to calculate your project time. Once that’s done, you press the flashing button and it’s off and running.
What software do you use with the Glowforge Aura?
Glowforge’s Design Software is browser-based. It’s free to use and feels similar to Cricut’s Design Space. It’s pretty basic, but I do most of my designing in Canva anyway so I had no problem importing files to then use with the machine. You can install the program and then set up wireless connectivity to your machine. It is a wifi connection, not Bluetooth.
Something to keep in mind is that Glowforge’s software is web-based, so that means you’re relying on both your internet connection as well as Glowforge’s server speed to do your projects. I have had some frustration with projects taking a long time (even with the paid upgraded premium server access). Add that to the 6W (relatively low wattage power) of the Aura – you may run into some frustrations with this machine.
Do you have to design your own files for your Glowforge?
What if you’re not a designer like me? Like other design tools, Glowforge offers a Premium membership upgrade which gives you more design tools and projects to help you get started via the Glowforge Catalog. The craft buddies know, I love designing my own files, but you don’t have to – the Catalog is full of ready-to-print Aura-friendly designs made by other makers.
You can also download free files from places like Design Bundles, Creative Fabrica, and Blogs (like mine!).

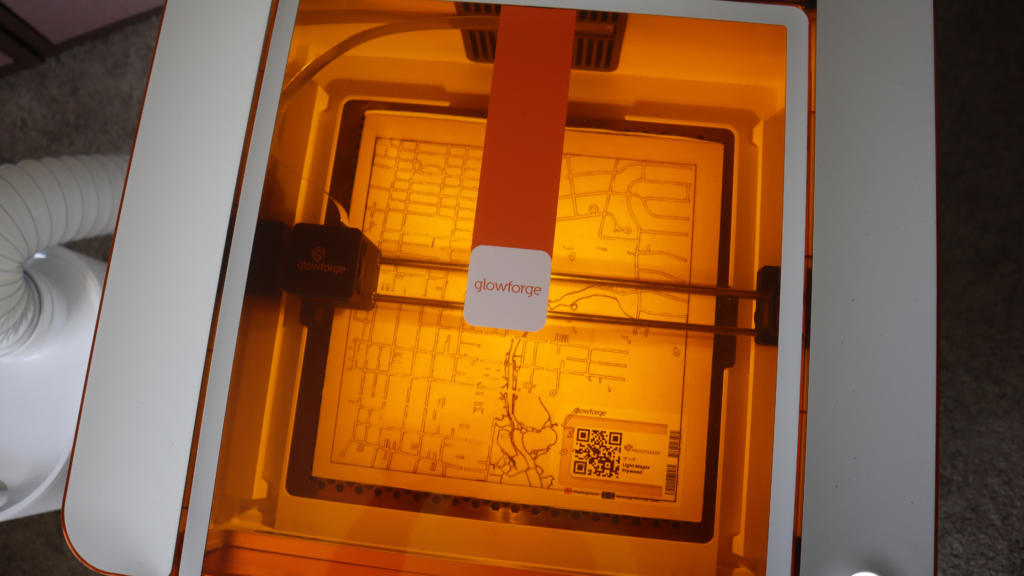
What type of camera does the Glowforge Aura have?
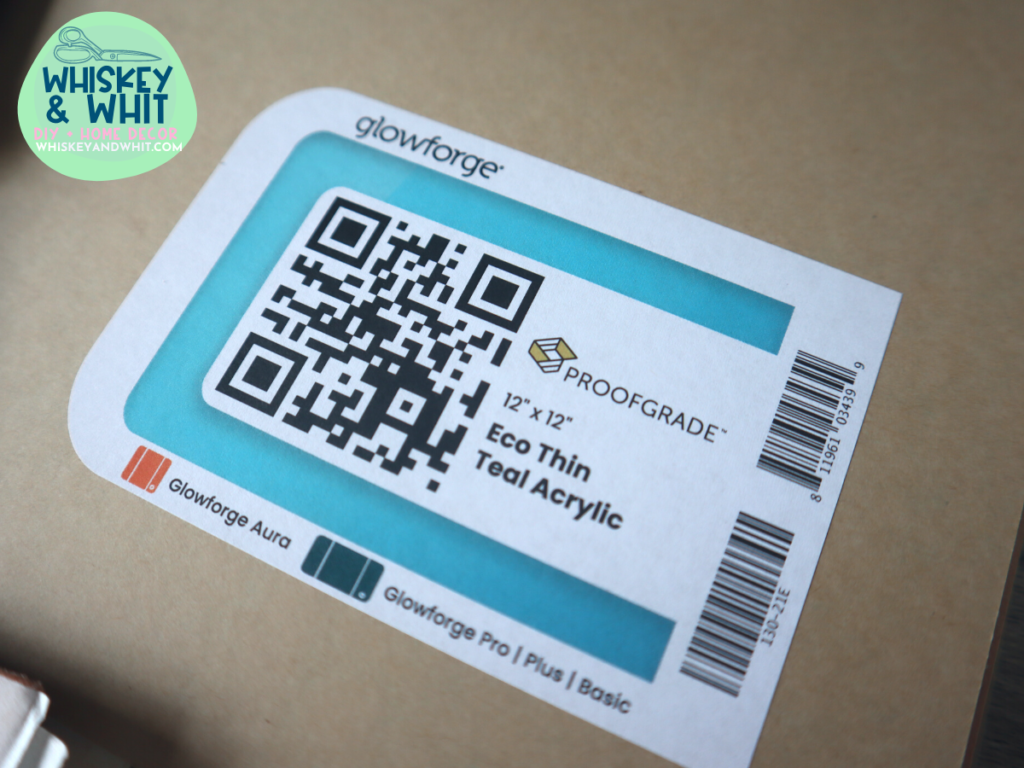
The 8-megapixel Aura Vision camera on the lid under the logo scans the QR code on the masked Proofgrade material and tells the software the right settings. This is huge for a beginner like me, but you can also use non-Glowforge materials too! It also gives you a real-time view of the material so you can place your design in your desired cut location.
I did have some cutting issues while getting up and running – and like anything, there is a learning curve when you learn something new. I’m starting to get the hang of it. I wouldn’t say it’s more than other new craft tools you’ve learned in the past but wanted to call that out.
Other areas I’ve had some angst is using the non-proofgrade materials – because you don’t have pre-set power and speed settings. As a newbie to lasers, I don’t have the knowledge yet to just whip up my own settings so it takes time (and some wasted materials) to get the hang of it.
When it’s done, I removed the masking that’s on the wood to protect it when in the machine and finished them off with some acrylic paint and earring hardware – voila!
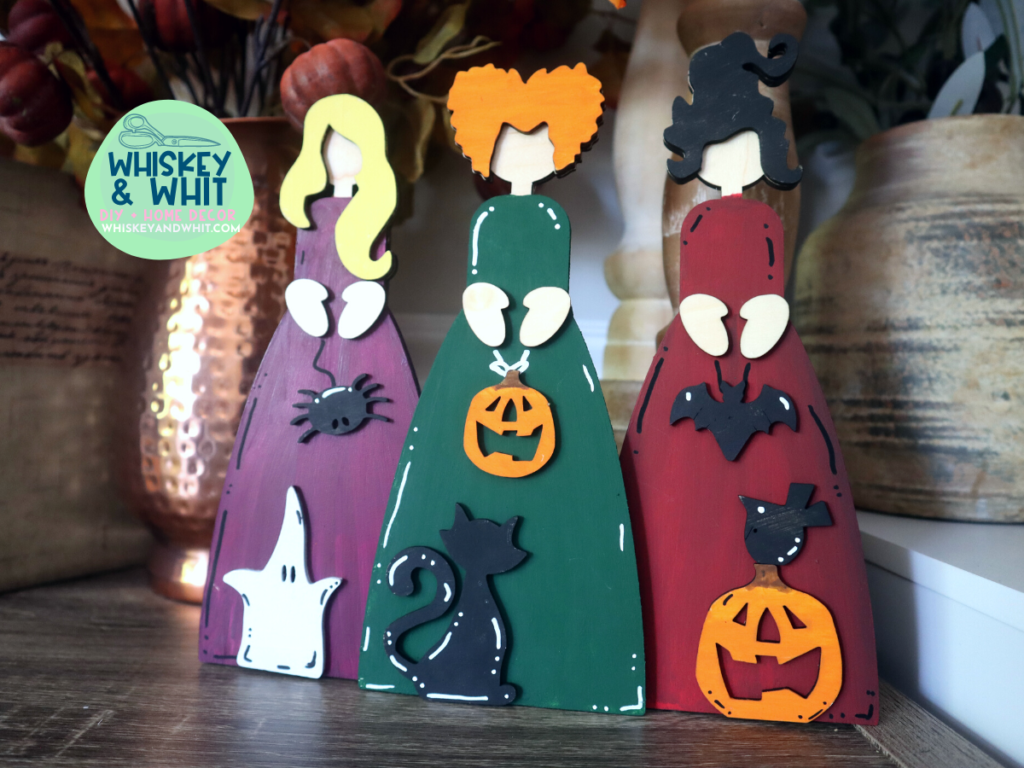
Using the same process I cut out these fun 3D Sanderson Sisters. The file is also from Etsy and it was as easy as cut, glue, and paint! I used superglue to attach them and Posca Paint pens for the details. I think they turned out so fun and I would never have been able to do something like this without a laser machine.
Watch my full Glowforge Aura Craft Laser Video Review
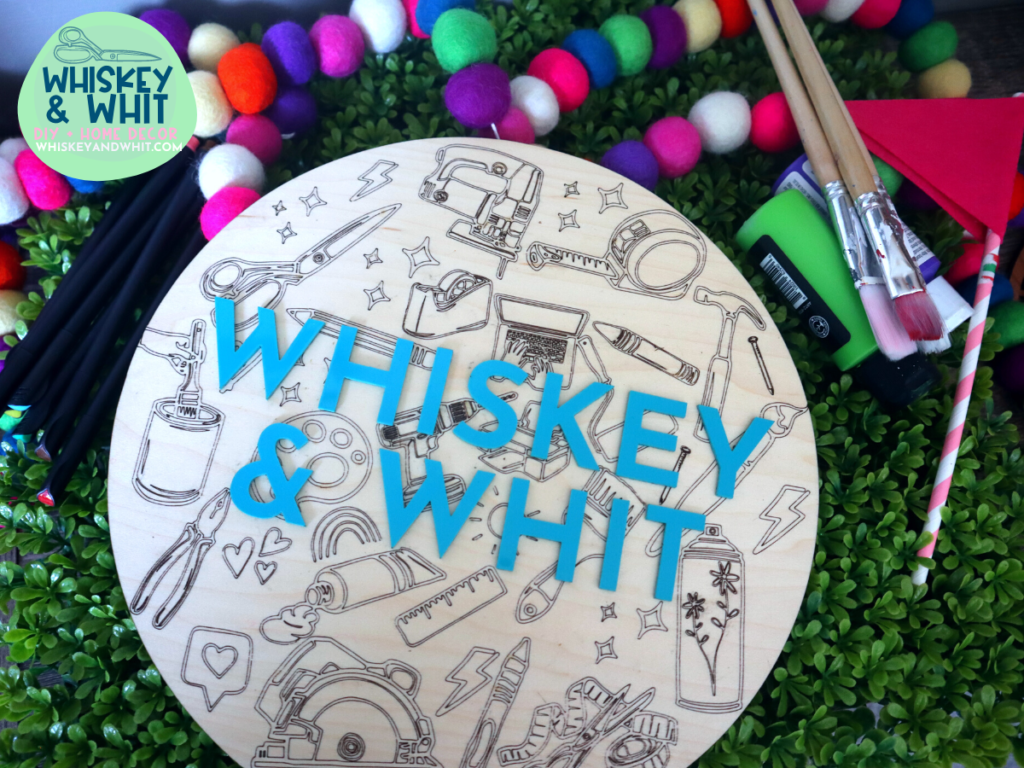
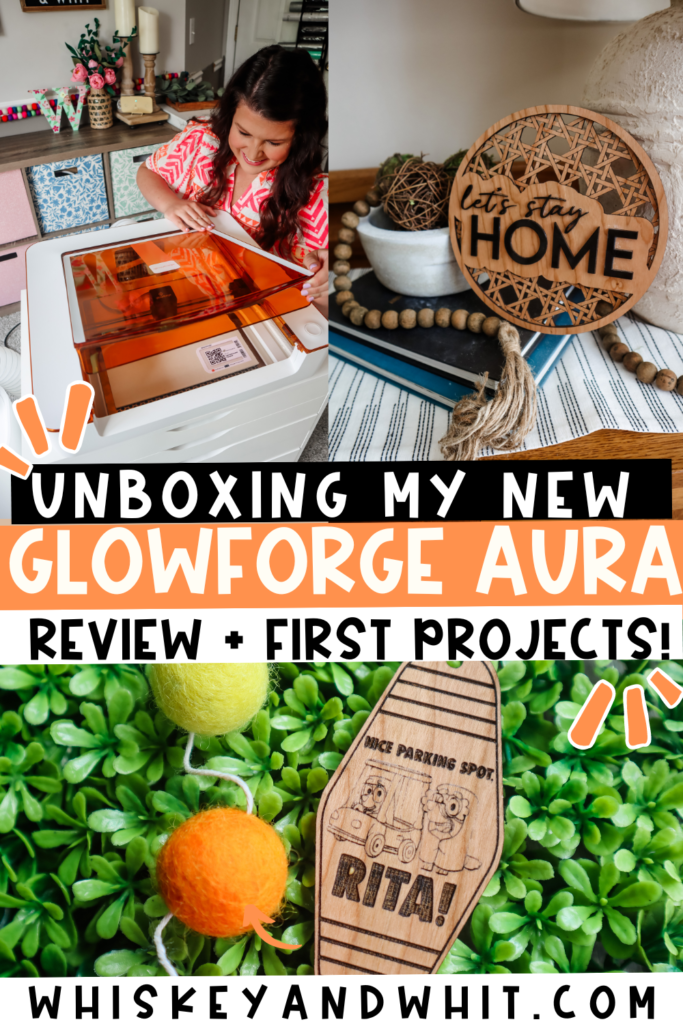
DIY Logo Sign with the Glowforge Aura
Up next, I wanted to make a logo sign for my craft room. If you follow me on IG, you will see my notepad project using a similar file. I created an SVG background with craft supplies as well as my logo. I set the wood round to score the supplies and then cut the circle – and my blue acrylic to cut “Whiskey & Whit.”
To assemble my sign, I used the remainder of the Acrylic piece to line up my letters like a puzzle. To transfer them, I used painter’s tape and popped them out. With the tape still on, I applied the glue and stuck it to the sign. That helped me get everything straight. How fun is this?! I can’t wait to try more projects with acrylic because it’s a new medium for me!

Is the Glowforge Aura Craft Laser just like a Glowforge Pro but smaller?
Yes and no. They have different types of lasers, the bigger machines run on C02 lasers that are faster and more powerful, and the Aura uses a 6W diode laser. While still powerful, it’s slower than the larger Glowforgers.
Does the Glowforge Aura cut clear acrylic?
One of the differences that stuck out to me between the two was regarding the types of acrylic you can use with the Aura. You can do opaque acrylic just fine, but not translucent or clear with the diode laser. Something to keep in mind!
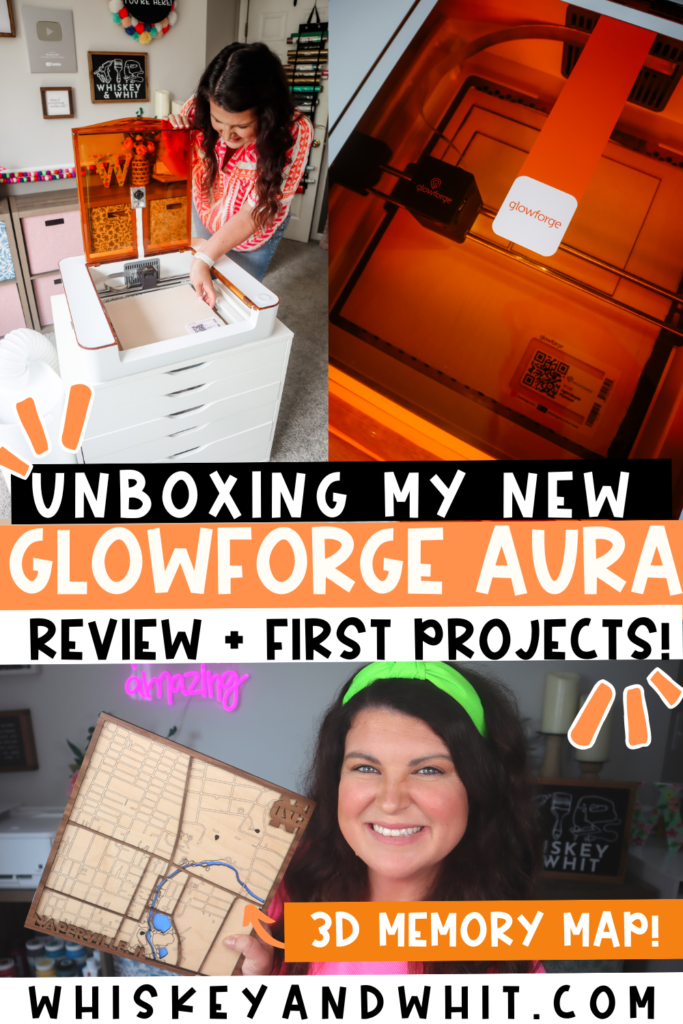
How to make a 3D map with the Glowforge Aura
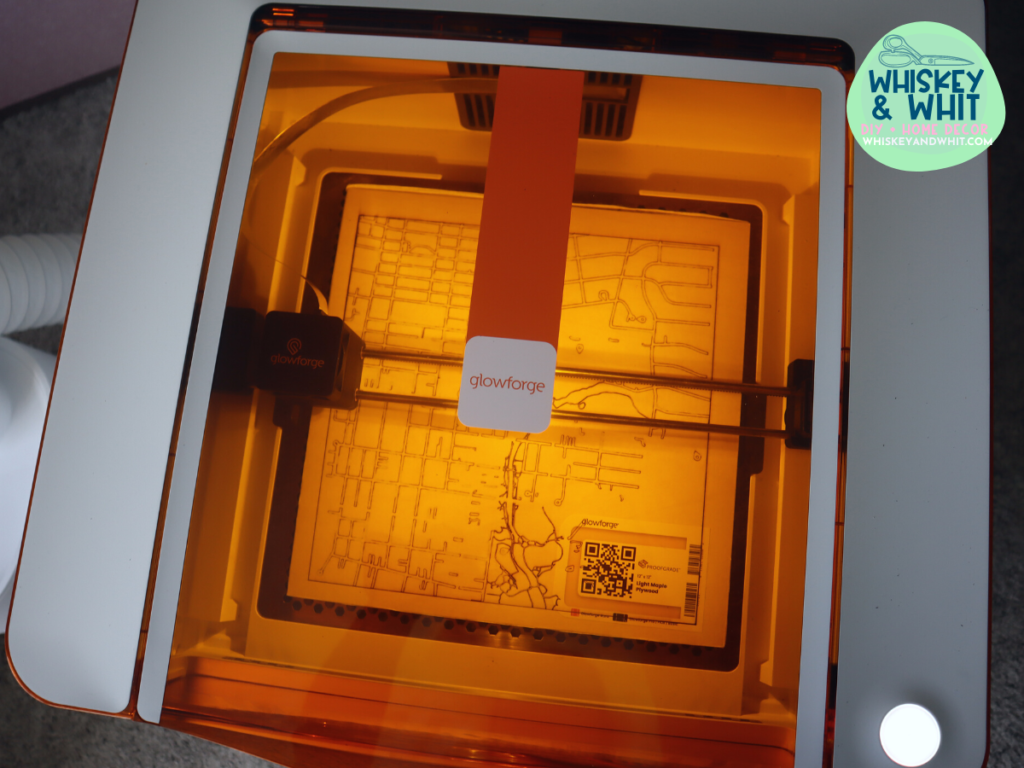
Ever since I learned I was going to add a Glowforge to my craft room, I’ve wanted to make a 3D map like this one – so I set out on a mission. I found a wonderful tutorial on YouTube by Kim and Garrett Make It. They walk you through step-by-step using Snazzy Maps and Illustrator to create the file. I also found one from Glowforge with free tools check that out here. After learning the process and doing some experimenting, it took about 20 minutes to create the file and get it loaded into the Glowforge app.
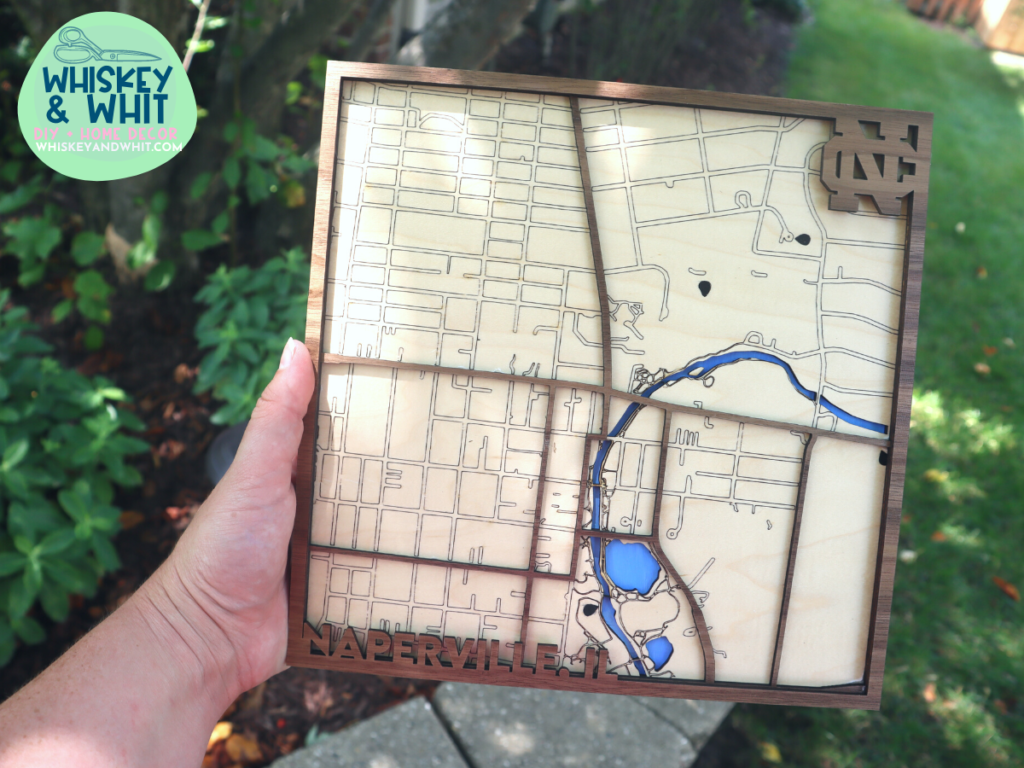
I sized and cut mine to a 10.5” square and it had 4 layers. I painted the bottom blue to a lot for the river. Scored and cut the second layer for the ancillary streets. Both of those were maple plywood and then I grabbed Dark Walnut Plywood to cut the main roads and then finally the top layer with Naperville, IL, and the logo of our alma mater.
Assembly was easy with this Locktight super glue and I also added a couple of pins for the place we met, graduated, got engaged, and where Finn was born.
This turned out better than I expected and I’m so happy that I can make more of these with the Aura. One caveat, it did take me 3+ hours to do all the layers and that’s with scoring the streets vs. engraving which would have taken 9 hours. As I said earlier, the laser isn’t slow, but it’s slower than what you’re used to/would expect with a larger machine. I feel it was worth the wait, but it’s a key point to keep in mind!
Who should consider getting a Glowforge Aura?
Overall, this machine is best suited for casual hobby crafters looking to add a laser to their craft space. This machine is NOT for those looking to start a laser business or make larger projects like you can with the bigger Glowforge machines. It will simply take too long to make large quantities to scale your business. One-offs could potentially work, use your own discretion.
Bottom line: Throughout the process, I’ve gotten a few miss cuts along the way – and that will come with being a beginner and learning the ins and outs of a new machine. It’s important to me that I share my full experience with the craft buddies. Beyond those frustrations/learnings, I’m having a great time learning a new area of crafting and it opens so many more possibilities for me and what I can teach you!
Lasers are an investment, so be sure to check all the specs for yourself to see if they would be a good fit for you and your craft space. I’ve linked more info in the description and leave me a comment if you have questions.
Should you get the Glowforge Aura or xTool M1?
Now, the moment you’ve been waiting for – my recommendation! While I had fun using the Aura, and it’s still in my craft room, I would suggest looking at the xTool M1 instead of the Aura. Below is a side-by-side comparison of the two machines for you to check out for yourself. You can also read my xTool M1 full review here.
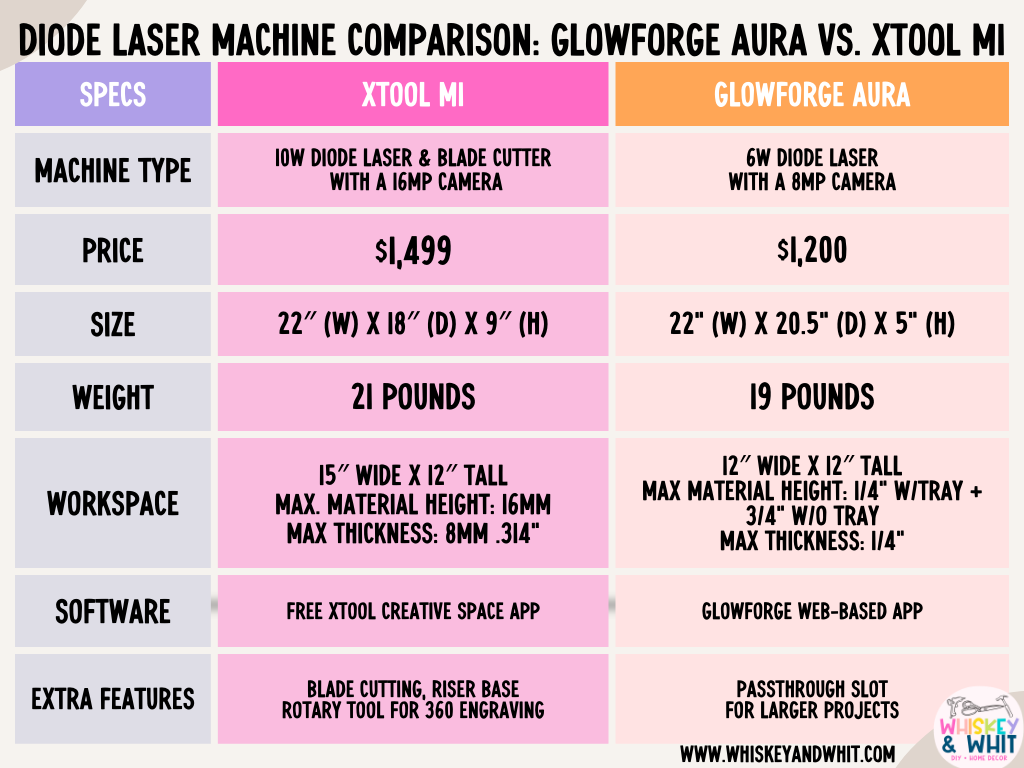
First thing is the price – that’s the first thing I look at when getting a new tool and while the M1 has a more expensive MSRP, xTool does more sales than Glowforge does. Right now as I write this, the M1 is on sale for under $1,000, which I think is a great deal for what you’re getting.
Second, accessories. The xTool M1 has a rotary attachment you can add on to give you the ability to make cups as well as a fun feature allowing you to engrave curved surfaces, which is not an option with the Glowforge.
Third, the software. Something I’ve noticed is that all Glowforge machines run on their web-based platform (which I do like for ease of use), and while they have more features and projects than xTool Creative Space, the web-based platform could cause issues down the line. The biggest one is that with the free Glowforge software, your projects will run at a lower speed vs. the faster servers reserved for those who pay for premium.
Another note is that your software is at the mercy of the Glowforge servers entirely, which could even impact those who pay extra for the premium processing when their servers go down, which is something to think about.
And finally, ease of use. Overall, I had way fewer hiccups getting up and running with my M1 machine – the Aura gave me some angst with wood cuts, especially ones that filled the full 12×12 bed. I eventually got it working, and I still use it – but as an everyday crafter who only needs one, I’d put my stamp on the M1.
I will note: The only time I’ve favored the Aura over my M1 is when it was FREEZING in Illinois and I didn’t want to have to vent my M1 out the window. I used the Aura with the personal filter and it’s super nice to have. However, you can get something comparable with the xtool M1 to fix that issue.
If you have more questions, leave me a comment and I’d be happy to share more of my experience so far with lasers to help you get the right machine for you!
PIN NOW TO SAVE FOR LATER


Love those smaller Sanderson Sisters are you interested is selling a unpainted set? I would be so interested. Thanks
Thank you! At this time, I’m not selling any of my laser creations – sorry!
I am still trying to understand what can be imported into their Library. Can you bring in any Cricut design you have? I have a Silhouette and would like to know if I can bring something I have in the Silhouette library into the GlowForge Library. If creating in Canva what extension are you using that GlowForge accetps?
When you made a mistake were they your mistakes or did the machine mess up?
I am very interested in this machine and am looking forward to watching you create and get a better review of the product before making my mind up. $1,200 is a lot but so cheap for this type of machine.
Thanks Whitney for taking the time to show us how to use this.
Hey Tammy! You can import PNG and SVG files – so if you have files in those formats from Cricut you can use them. However, you can’t export from Design Space and transfer those over.
If you’re looking for a laser plus a blade cutter, I also have an xTool m1 review here for you to check out: https://whiskeyandwhit.com/xtoolm1/
The Glowforge software is easier to use, but I have found that my M1 has made less cutting errors as I work. I had a few user errors, and I had a couple of cuts just go awry. Happy to clarify that for you because it is an expensive machine,
Head to head the M1 does cut a bit faster (10w laser vs. the Aura’s 6w) and can do the vinyl on mats. I had less cutting mistakes with it as well – but I did enjoy using the Aura. I hope that helps!
You can email me at [email protected] if you have more questions! Thanks! Whitney
Me again! I forgot a few things. Can you use Oracle 651 vinyl with it? Are there settings to choose that type of material in their software we are using to create our deign, since it won’t have the barcode telling it what it is?
I was looking around on their website and couldn’t find vinyl. Also is their Plywood the same as what you can buy at Menards? I see their 12″ x 20 is twenty bucks!! That seems very expensive
Thanks!!
Hey Tammy! This machine does not cut regular vinyl like Oracle 651, you have to have laser-ready vinyl which I haven’t used. It’s not like the xTool where you can put it on a mat and cut it inside. Yes, there are settings to edit your own materials, which may take a bit more time, but those are WAY more cost effective for you 🙂