

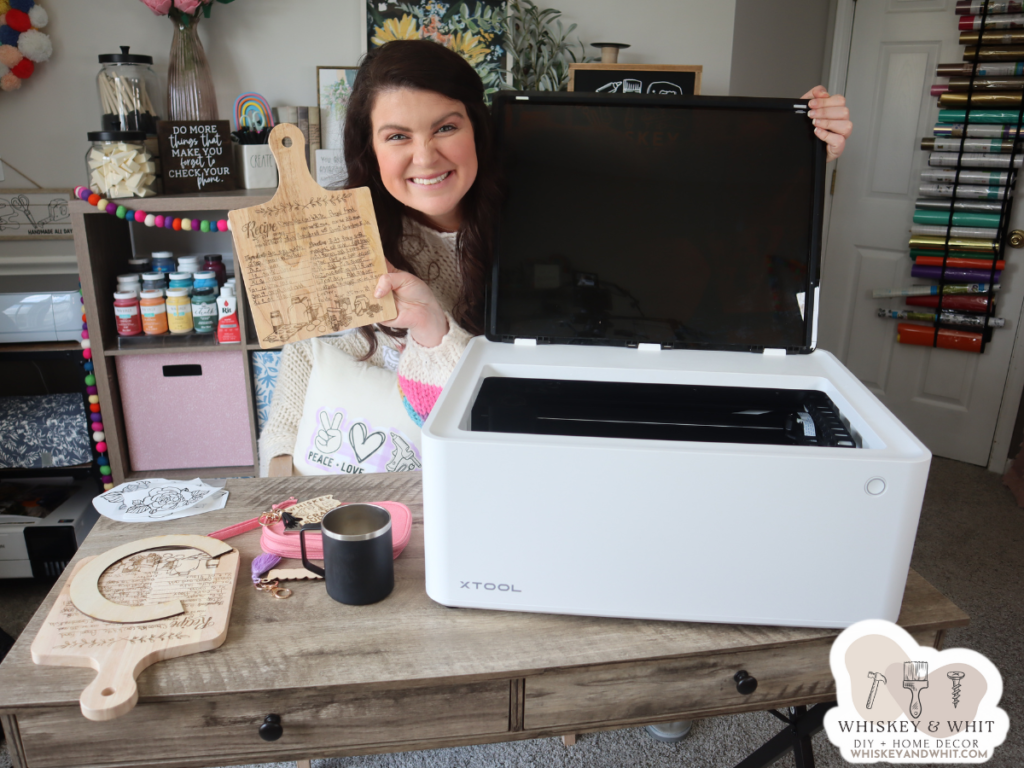
Hey craft buddies – welcome back to my craft room! Today I’m excited to share my newest DIY tool – the xTool M1. It’s both a laser and blade cutter – like if a Glowforge and a Cricut came together – it would be this machine. The goal today is to cover the basics of this machine, and share some projects I’ve made as an absolute beginner to help you decide if it’s something you may want to add to your craft room too!
Since doing this post in 2023, I’ve also received a Glowforge Aura 6W machine to test and I’ll share a comparison at the end of this post if you’re in the market for a diode laser.
*A huge thank you to xTool for sending me this machine to test. Shop all the xTool machines and supplies.
What is the xTool M1?
The best explanation I can give you is the XTool M1 is what you’d get if you cross a Cricut with a Glowforge. The xTool M1 is the world’s first hybrid laser and blade-cutting machine. From my experience, I can say it is novice-friendly and overall pretty simple to use. It supports hundreds of soft and tough materials between the cutting, scoring, and engraving modes and has a built-in 16MP camera that gives you real-time images of your machine for precise placement of your designs. You can remove the bottom for larger-than-machine projects and to use their R2 rotary tool attachment.
It can connect to your computer via USB or WIFI – if you have a newer MAC like me, you’ll need an adapter to go from USB to USBC, this is what I use.
The box was a decent size, enough so that I had my husband help me carry it up to my second-floor craft room, but I could take it from there. It was packed well and was easy to unbox. It fits well on my filming desk but was too deep to be set on my Cricut cart.
What comes in the xTool M1 Box?
Inside the box were the machine, user manual, ample materials, 5 extra blades, USB cord and power cord, exhaust hose and what you need to attach it, Triangular prisms for laser cutting, and a light and fabric grip cutting mat similar to one you see with other vinyl cutters.
Is the xTool M1 easy to set up?
I followed the booklet included in the box and setup took under 10 minutes – super easy! I attached the exhaust hose, to properly vent any fumes when cutting certain things – this should go out a window or door. I put my next to the window in my craft room. I also opened the other window all the way when I was using the laser. If you’re further from a window in your craft space, you can purchase longer hoses at the hardware store. You can also opt to run an air purifier while working.
Then I installed the blade which was quick thanks to the magnetic system and plugged in the power and USB cords.
I also unboxed the premium Materials package add-on. It includes things like wood and metal materials and blanks to craft with, as different types of vinyl, leather, cardstock, and sticker paper. It was nice to have options while playing and testing out the machine.
I was happy to see all the mentions of safety protocol because as a beginner I had no clue. The top cover has blue light-blocking technology to protect your eyes from the laser and they recommend you clean the base between projects. I found water wipes and paper towels work well.
Thanks to my friend Melanie from Simple Made Pretty for the tip!
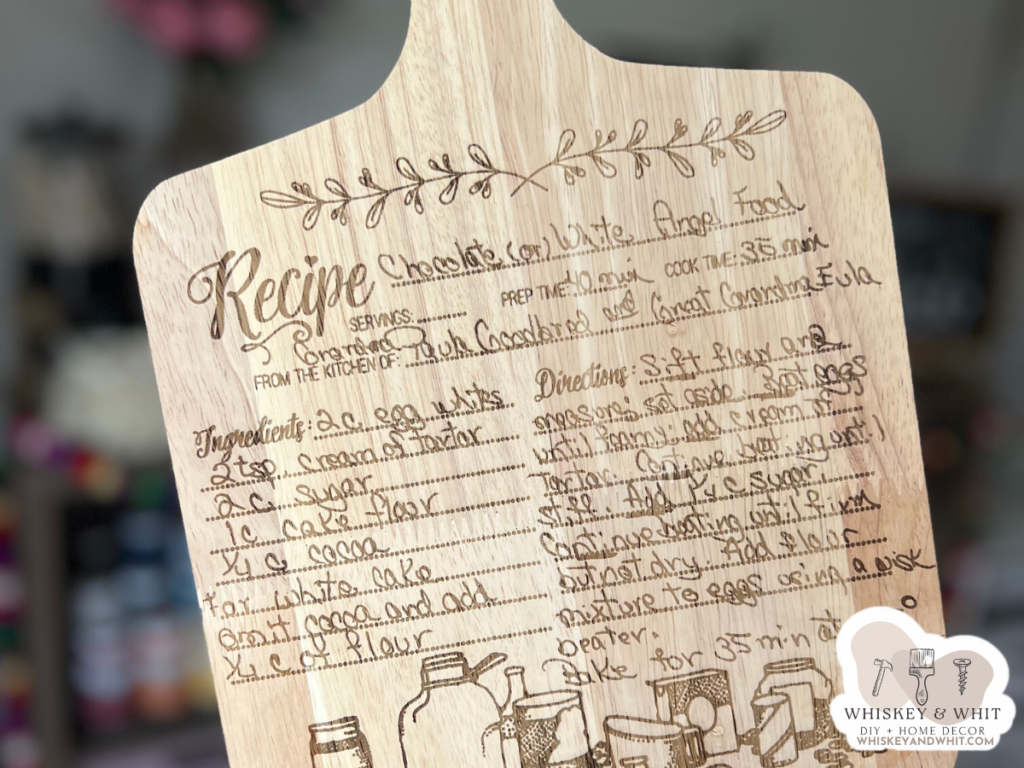
This machine can score lines and assembly instructions, engrave logos, photos, text, or other images, and cut through materials like basswood up to 10mm thick. The biggest question you’ll want to ask yourself is what do I want to make with this machine? If the projects I show today fit that, then this could be for you!
What software do you use with an xTool M1?
xTool’s Design Software is called Creative Space. It’s free and feels like a paired-down version of Cricut’s Design Space. It’s pretty basic, but I do most of my designing in Canva anyway so I had no problem importing files to then use with the machine. You can install the program and then set up wireless connectivity to your machine. You do need to have it hard-wired to set that up, so you’ll have to plug in for set up – something to keep in mind.
I never have my other tools plugged in like printers or Cricuts so the wireless setting was a huge plus for me! I do all my Cricut stuff on my computer primarily so I didn’t notice this at first – but they don’t have an app version – just a desktop. So if you don’t have a computer (just a tablet or phone) this will be hard for you because you won’t have the technology to use it.
While I don’t think this is a direct competitor with Cricut, that is my frame of reference and I also know many of you have that as well.

How big is the xTool M1 machine?
xTool Machine dimensions: 22″ wide x 18″ deep x 9″ tall
xTool Machine weight: 21.6 lbs (9.8 kg)
xTool Material max cutting area: 15″ wide x 12″ tall
The lid swings open so you need another 18” inches above it to open that. This lid is also great because it has blue light blockers in it to protect your eyes from the laser while it’s doing its thing.
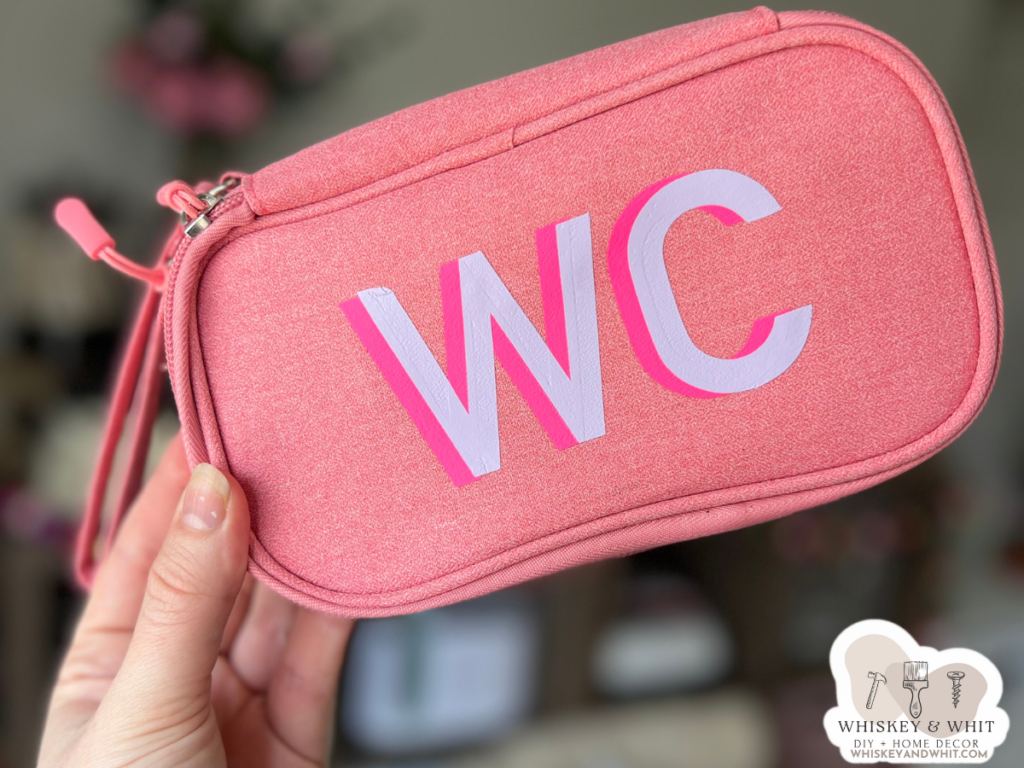
I used my machine to make a ton of different things – to see them all, check out the image below

Watch my full xTool M1 Video Review
Should I get an xTool M1 machine or a Glowforge Aura laser?
Now, the moment you’ve been waiting for – my recommendation! While I had fun using the Aura, and it’s still in my craft room, I would suggest the xTool M1 instead of the Aura. Below is a side-by-side comparison of the two machines for you to check out for yourself.
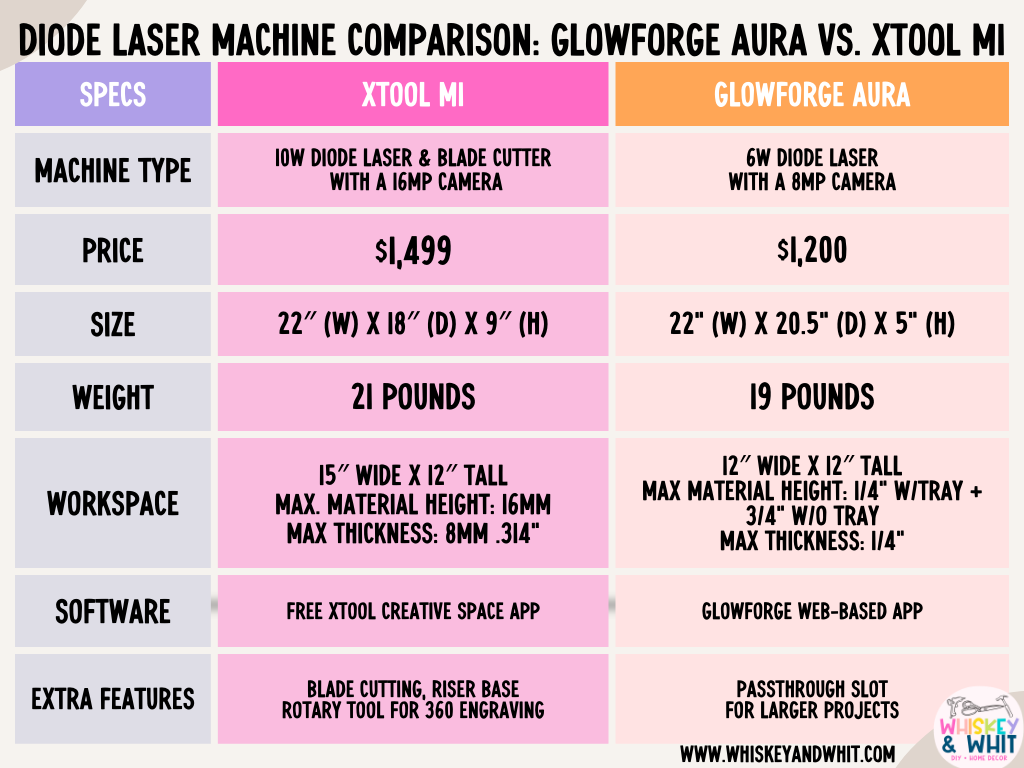
First thing is the price – that’s the first thing I look at when getting a new tool and while the M1 has a more expensive MSRP, xTool does more sales than Glowforge does. Right now as I write this, the M1 is on sale for under $1,000, which I think is a great deal for what you’re getting.
Second, accessories. The xTool M1 has a rotary attachment you can add on to give you the ability to make cups as well as a fun feature allowing you to engrave curved surfaces, which is not an option with the Glowforge.
Third, the software. Something I’ve noticed is that all Glowforge machines run on their web-based platform (which I do like for ease of use), and while they have more features and projects than xTool Creative Space, the web-based platform could cause issues down the line. The biggest one is that with the free Glowforge software, your projects will run at a lower speed vs. the faster servers reserved for those who pay for premium.
Another note is that your software is at the mercy of the Glowforge servers entirely, which could even impact those who pay extra for the premium processing when their servers go down, which is something to think about.
And finally, ease of use. Overall, I had way fewer hiccups getting up and running with my M1 machine – the Aura gave me some angst with wood cuts, especially ones that filled the full 12×12 bed. I eventually got it working, and I still use it – but as an everyday crafter who only needs one, I’d put my stamp on the M1.
I will note: The only time I’ve favored the Aura over my M1 is when it was FREEZING in Illinois and I didn’t want to have to vent my M1 out the window. I used the Aura with the personal filter and it’s super nice to have. However, you can get something comparable with the xtool M1 to fix that issue.
If you have more questions, leave me a comment and I’d be happy to share more of my experience so far with lasers to help you get the right machine for you!
PIN NOW TO SAVE FOR LATER


One Comment
Comments are closed.