Hi friends!
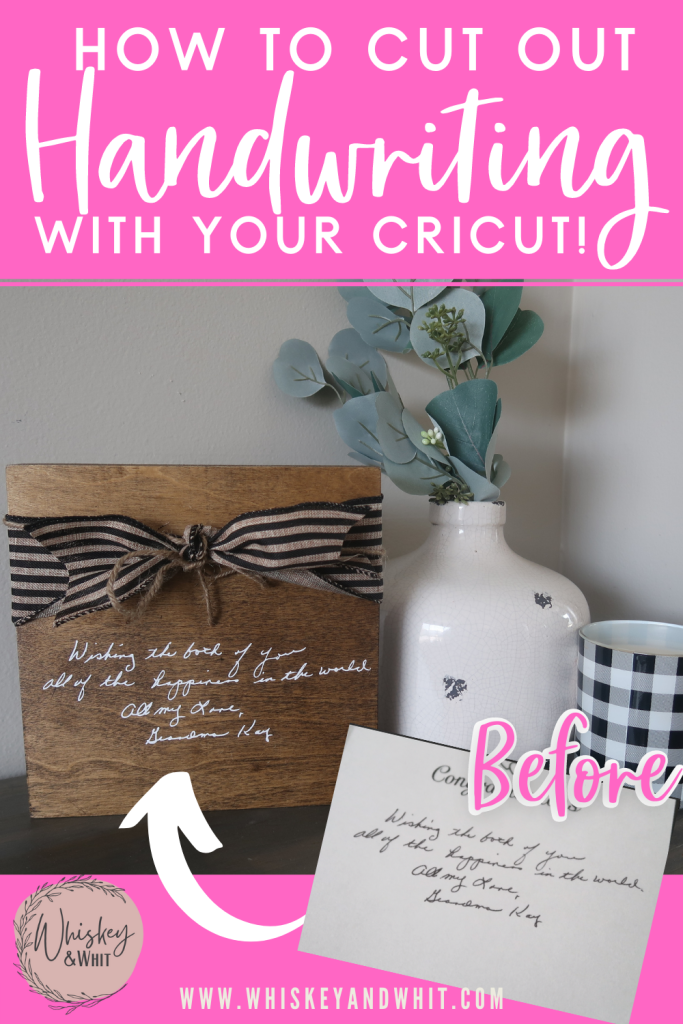
Today’s post is very exciting because I’ll be showing you how to cut out handwriting on your Cricut. Handwriting is such a sentimental thing, especially when it comes from someone who is no longer with us.
My husband’s grandma passed away earlier this summer and when I recently came across the card she gave us for our wedding in 2017, I knew I had the perfect item to use for this project.
Note: this video is sponsored by Cricut. They asked me to share an every day making projects I thought you would enjoy. Thanks to them for supporting Whiskey and Whit!
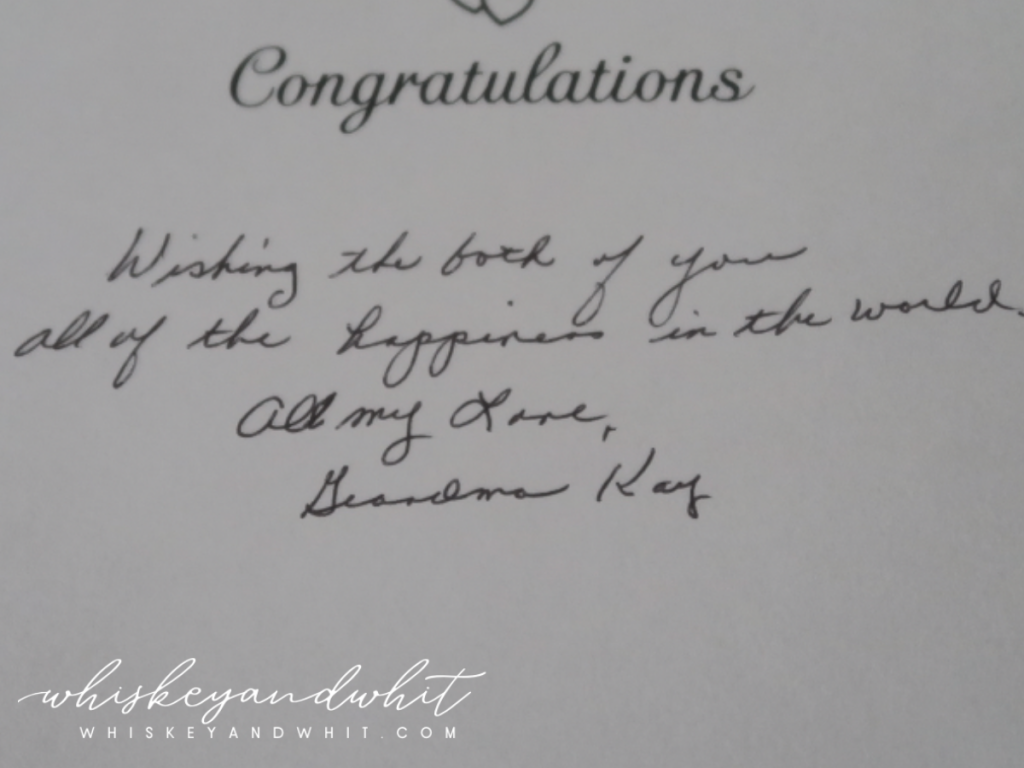
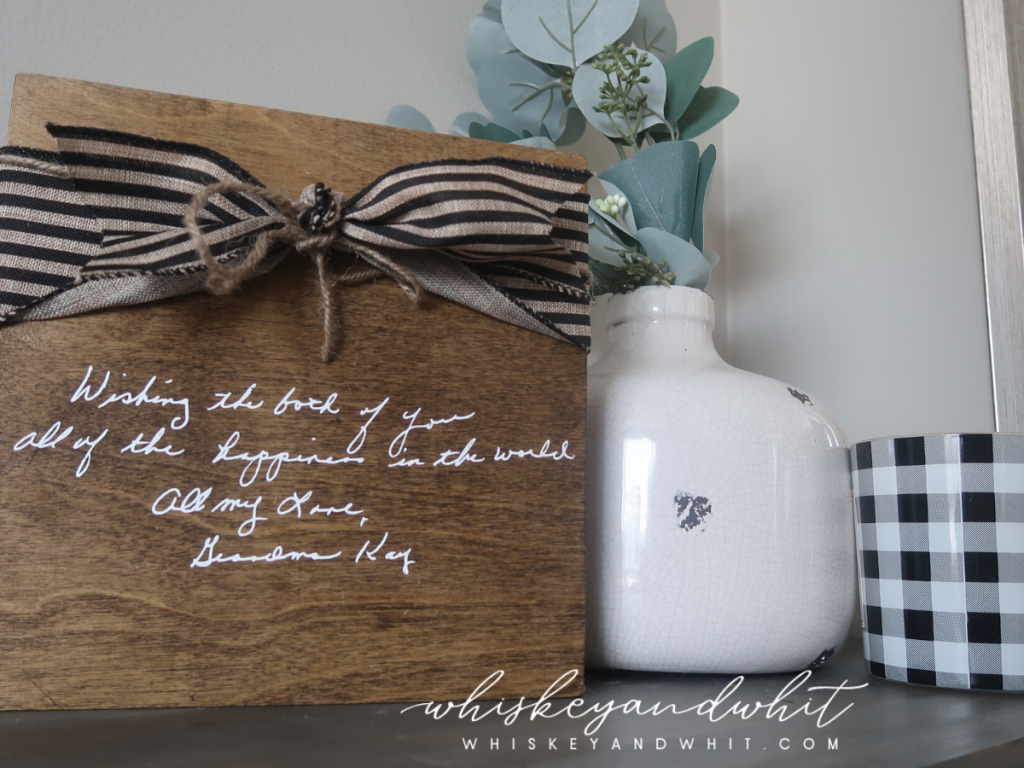
Here is an image of the card:
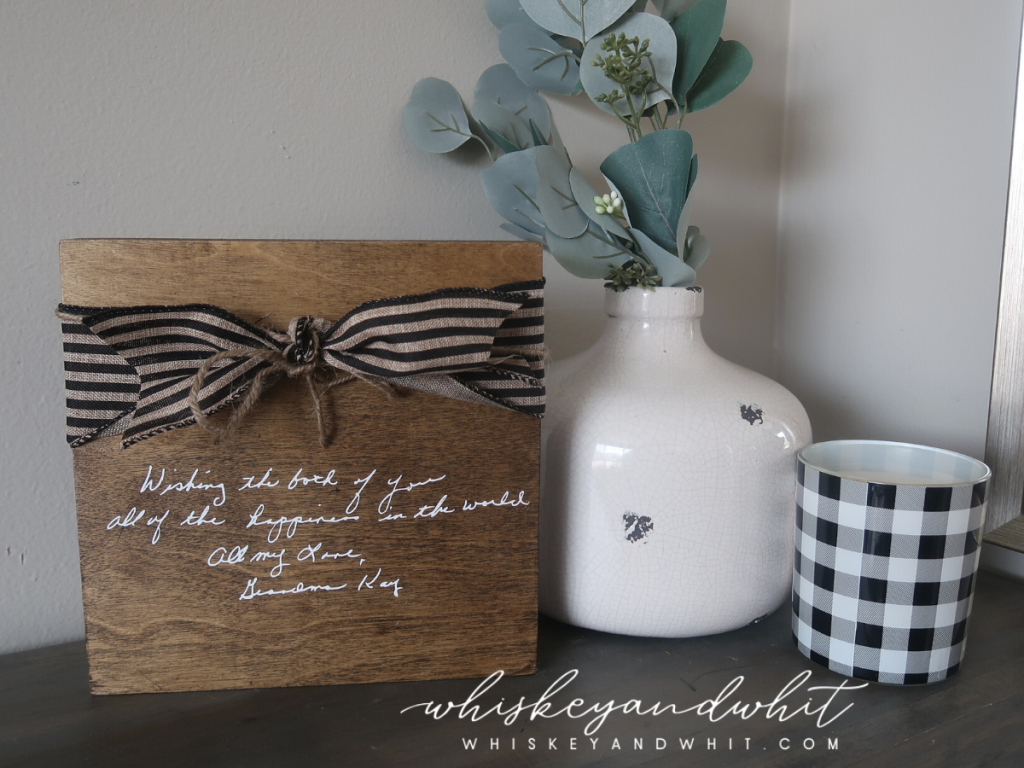
And here’s what I was able to make from it:
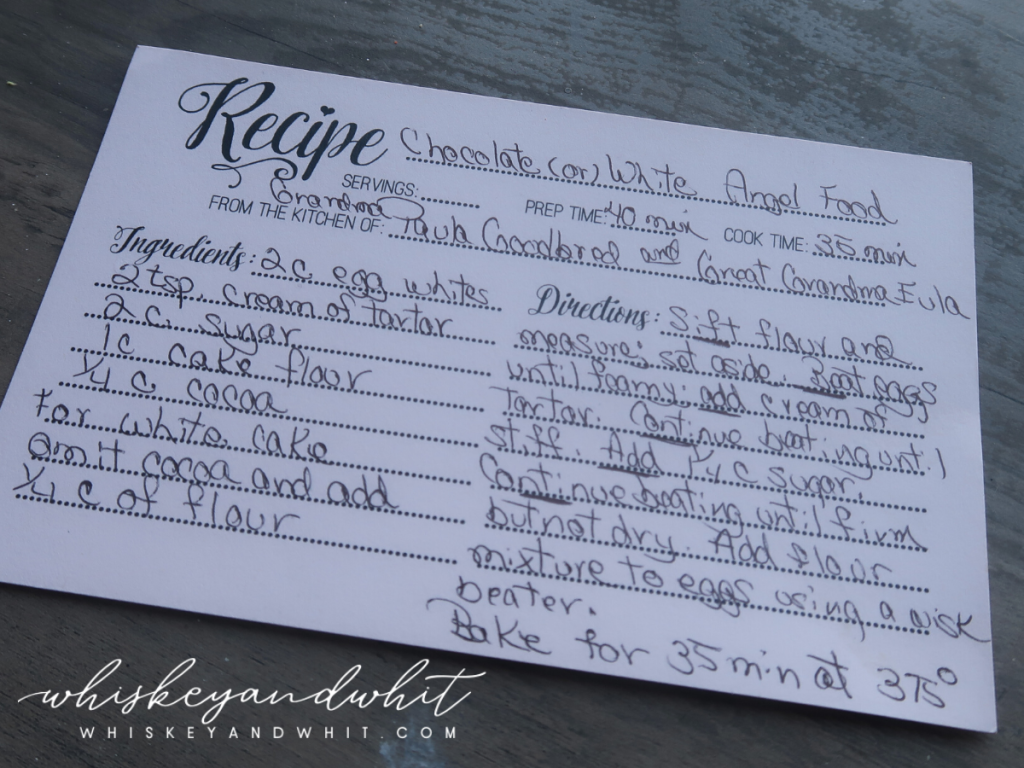
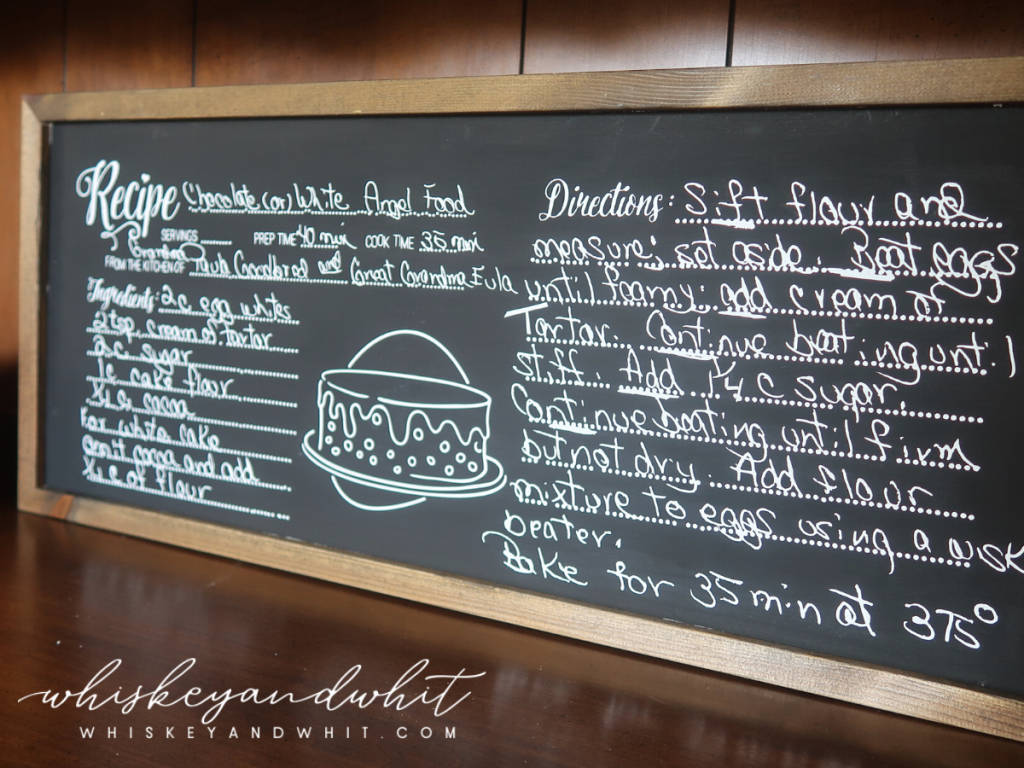
Also in the video, I also share how I created this sign with my Great Grandma’s Recipe for Angel Food Cake that is so special to my family. This card was written out by my Grandma Paula for my bridal shower of her mother’s recipe – so special!
HOW TO CUT OUT HANDWRITING IN INKSCAPE
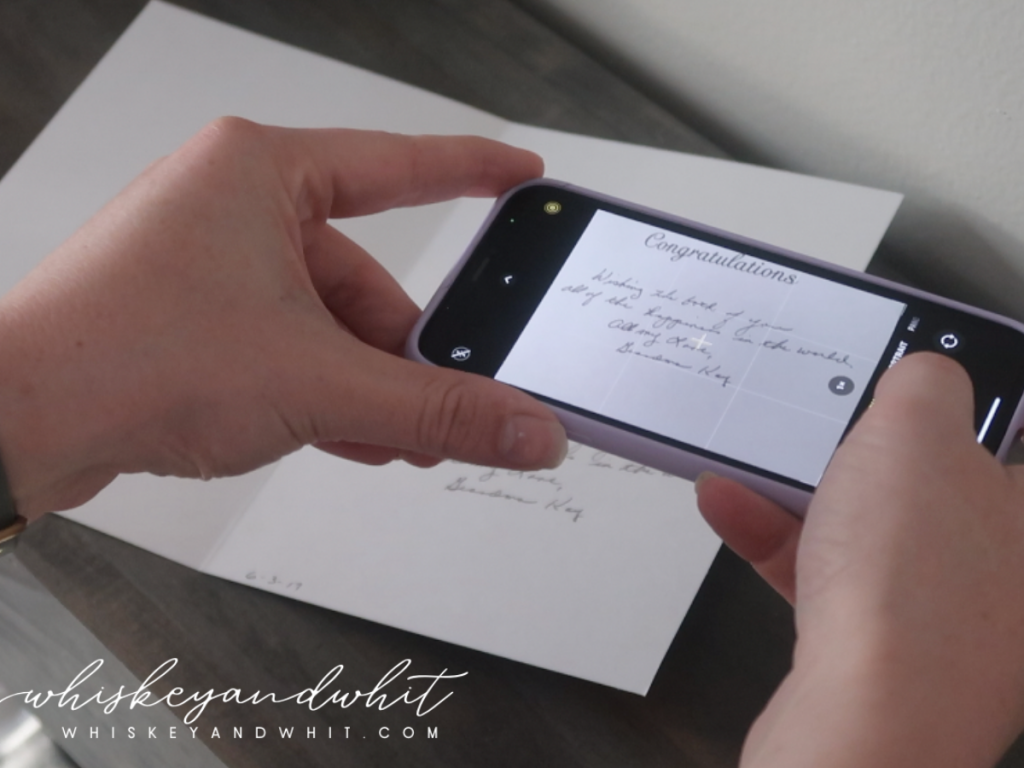
Step 1: Take a high-quality photo of your handwriting in a well-lit area. Be sure to crop out anything you don’t need and send that photo to your computer.
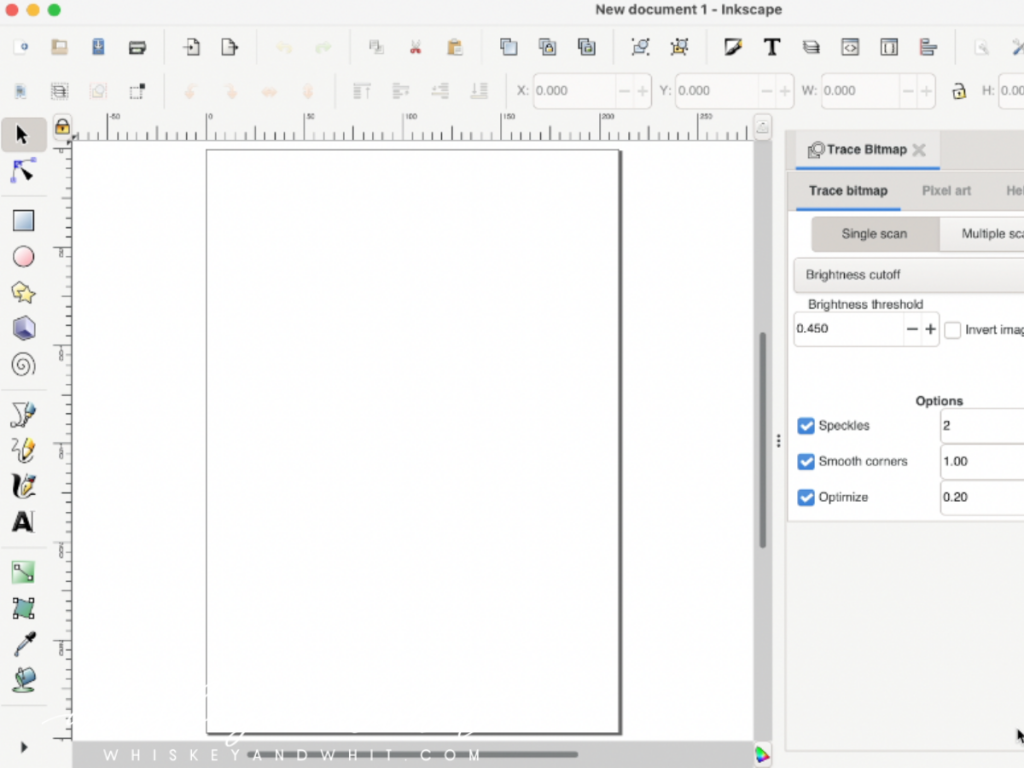
Step 2: Open Inkscape – it’s a free program that will help you cut out the background of your text so much quicker than using Design Space.
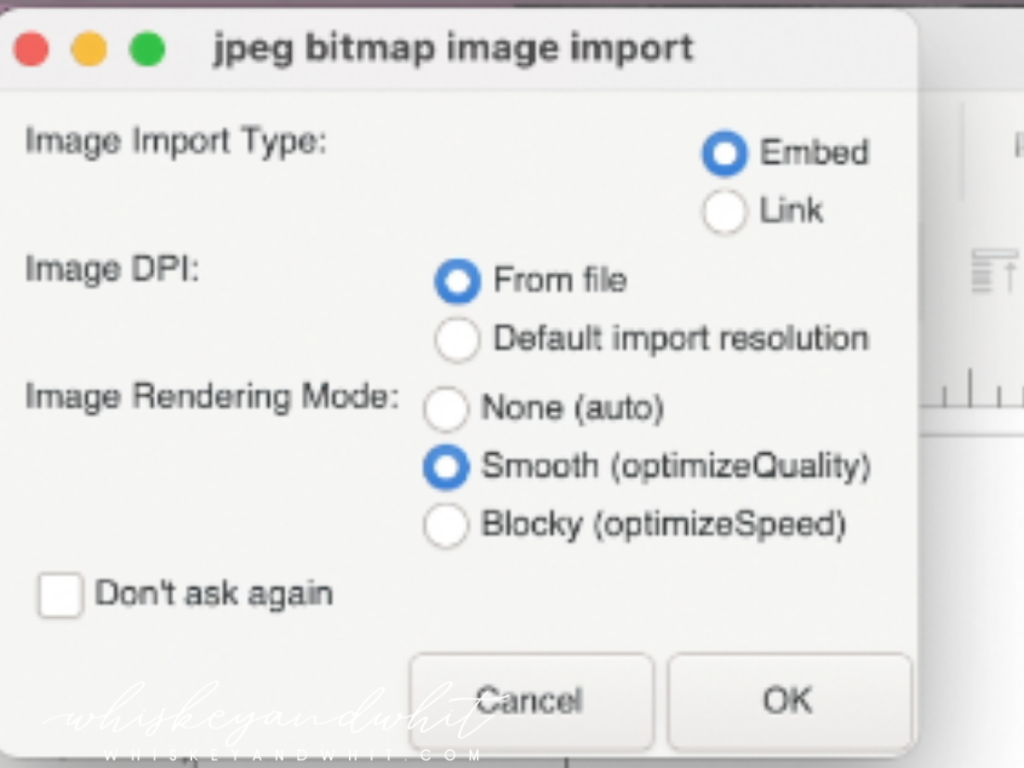
Step 3: Go to File – Import and select the image you took. Here are in the import settings I chose these settings – all were default except the rendering mode. I switched it to “smooth” vs. “None.”
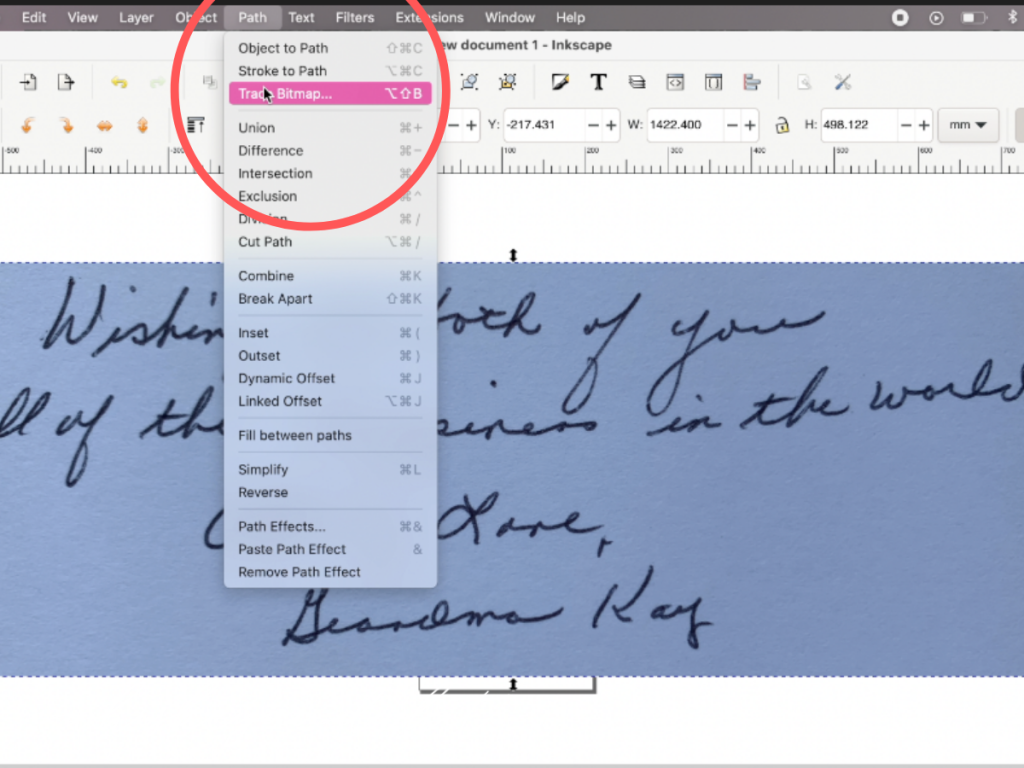
Step 4: With your image selected, click Path from the top menu and then “Trace Bitmap.”
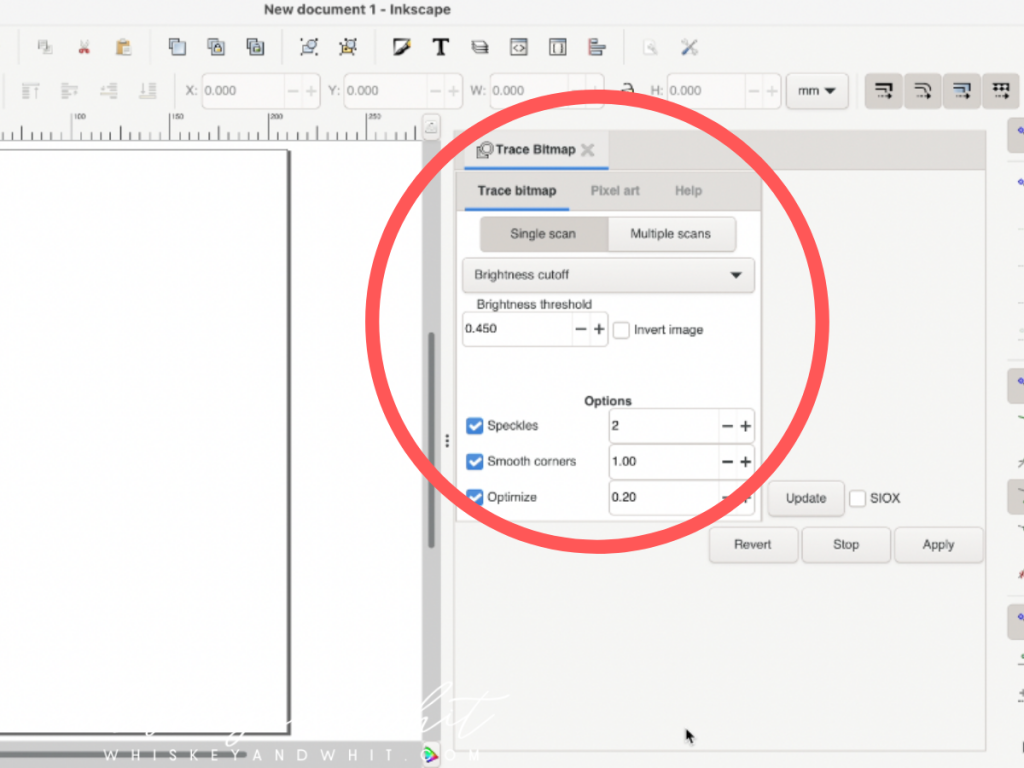
That will open up this dialogue box, I didn’t mess with any of the presets and just clicked “apply.” That will create a second file of just your text, and at that point you can select and delete your original image with the background.
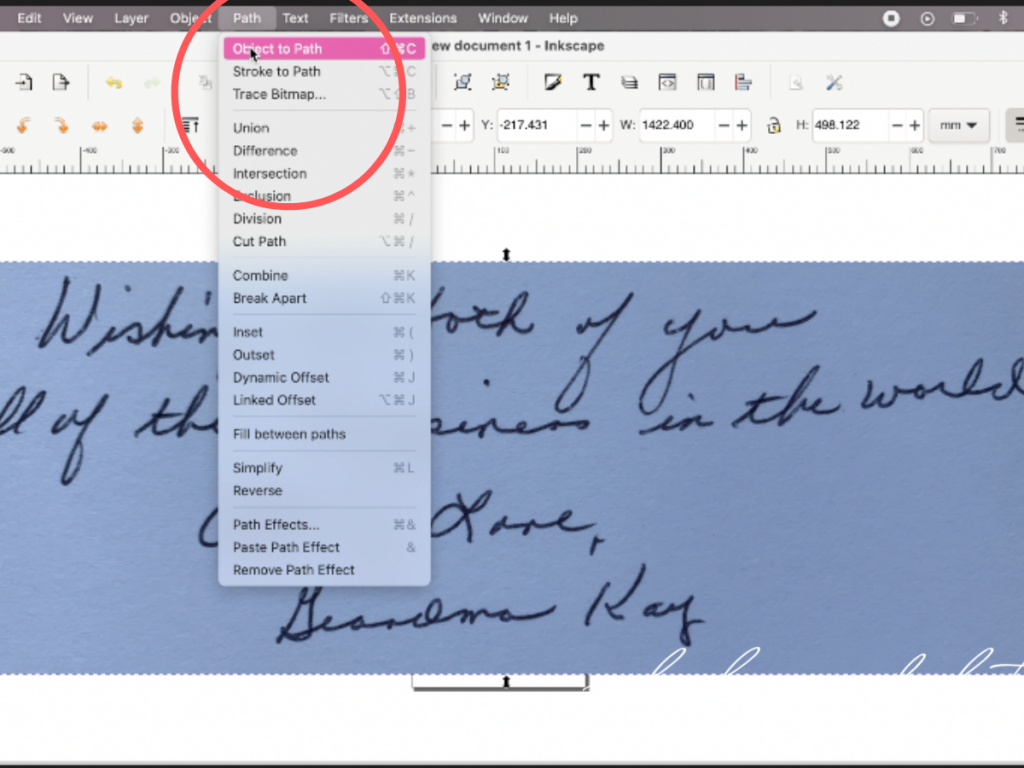
Step 5: With your new image selected, click Path again, but this time select “Object to Path.” This will finalize your image, and now you’re ready to save.
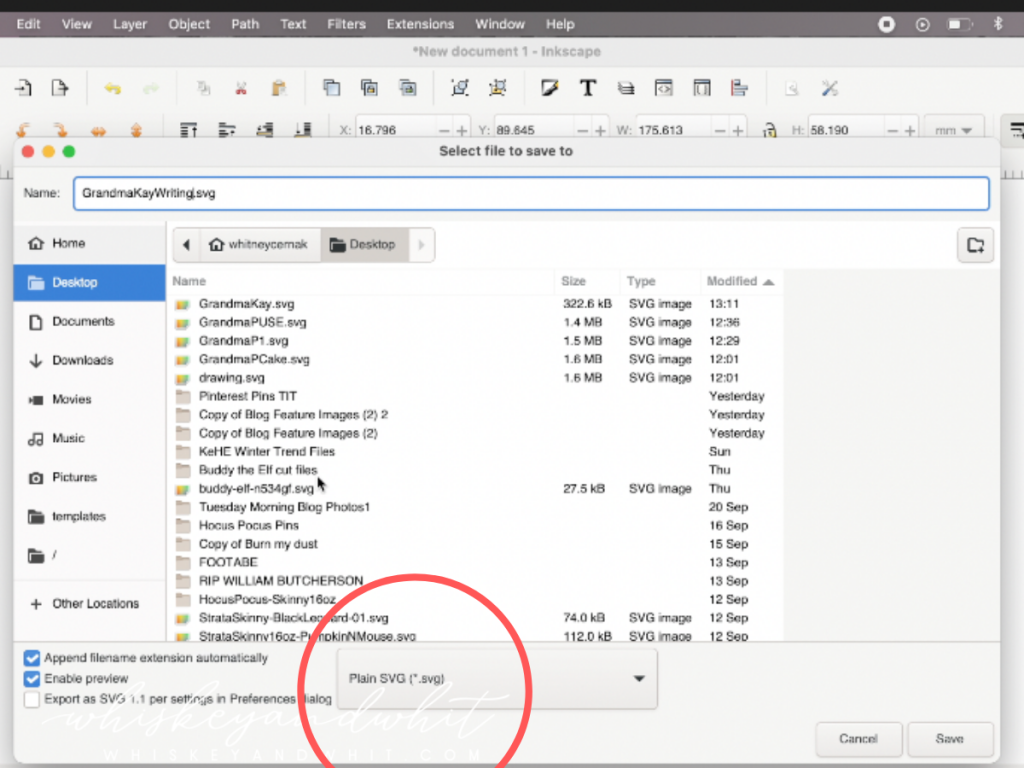
Step 6: Save your file, and be sure to select “Plain SVG” which will make it compatible with Cricut Design Space.
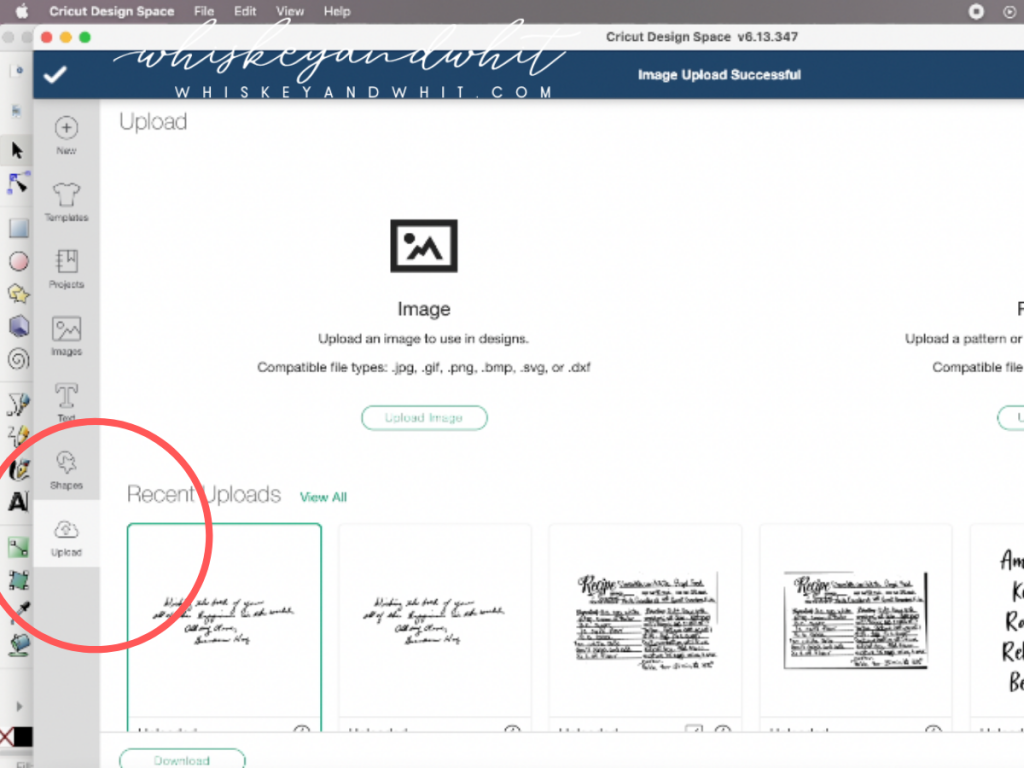
Step 7: Import into Design Space, resize to your sign and cut as normal. Make sure your blade is new or sharpened to help with the weeding process.
Check out the full video below to see the full process in action! And if you use this tutorial for your own projects, please share a photo with me on social media – I’d love to see it!
WATCH THE FULL VIDEO
PIN NOW TO SAVE FOR LATER