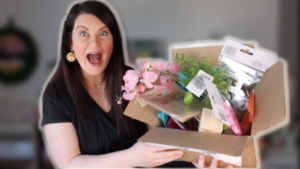
If your craft room feels more like a craft tornado zone than a creative sanctuary… you are not alone, craft buddy. 🙋♀️ Mine was deep in chaos—sewing supplies everywhere, bins overflowing, and no real system in sight.
So today I’m sharing budget-friendly craft room organization ideas that actually work in real life. We’re talking:
- Dollar Tree storage hacks
- IKEA craft room solutions
- Free organizing ideas using items you already own
- Tips for small craft rooms and large creative spaces
No Pinterest-perfect pressure. Just practical, affordable ways to get your craft clutter under control.
Step One: Rearrange Before You Organize
Before buying a single container, I always start by making sure my furniture layout makes sense.
I moved shelves, repositioned my desk, and created more usable counter space by:
- Removing cube organizers we no longer needed
- Using vertical space more intentionally
- Creating a “kitchen-style” layout with an island in the center and work surfaces around the perimeter
If your furniture placement doesn’t support how you actually craft, no amount of bins will fix the problem.
Purge First (Or You’ll Be Back Here in 3 Months)
This step is not glamorous—but it’s necessary. One of the biggest space-saving wins?
Removing ribbon from bulky spools. You can:
- Wind it by hand
- Or use a drill + bobby pin hack to tighten ribbon fast
This alone freed up so much space and made organizing way easier.
Think Outside the “Organizer” Box
One of my favorite budget craft room organization tips is to stop thinking about containers only for their intended use.
Some of my favorite finds:
- 4×6 photo storage boxes → perfect for embellishments, jewelry supplies, wood cutouts
- Plastic containers from Michaels → affordable, stackable, and versatile
- Dollar Tree adhesive dots → keep drawer organizers from sliding around
Little tweaks like this make a huge difference in everyday usability.

Use Vertical Space Like a Pro
If you’re short on square footage, vertical space is your best friend.
Here’s how I used mine:
- Pegboards for tools and supplies (pro tip: hardware store pegboards are more versatile than IKEA ones)
- Nails or Command hooks behind closet dividers for hanging bags
- Lightweight supplies stored higher up where they’re still easy to grab
✨ Bonus tip: If you’re aiming for a Pinterest-worthy craft room, vertical organization adds visual interest and function.
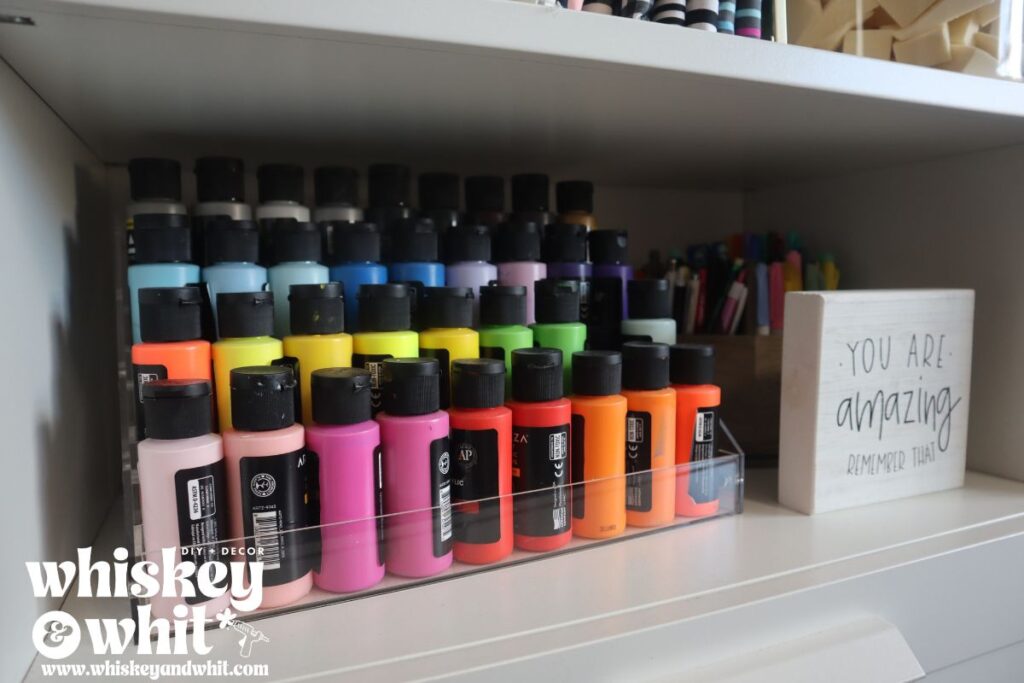
Organize Craft Supplies by Color (Free & Fabulous)
If you want your space to look polished without spending a dime—organize by color.
This works especially well for:
- Felt
- Yarn
- Embroidery floss
- Paint
I used large IKEA containers with wood tops and sorted everything in rainbow order (ROYGBIV style). It looks beautiful and makes finding supplies faster.
Free Craft Room Storage Hacks You’ll Love
Some of my favorite storage solutions didn’t cost a thing:
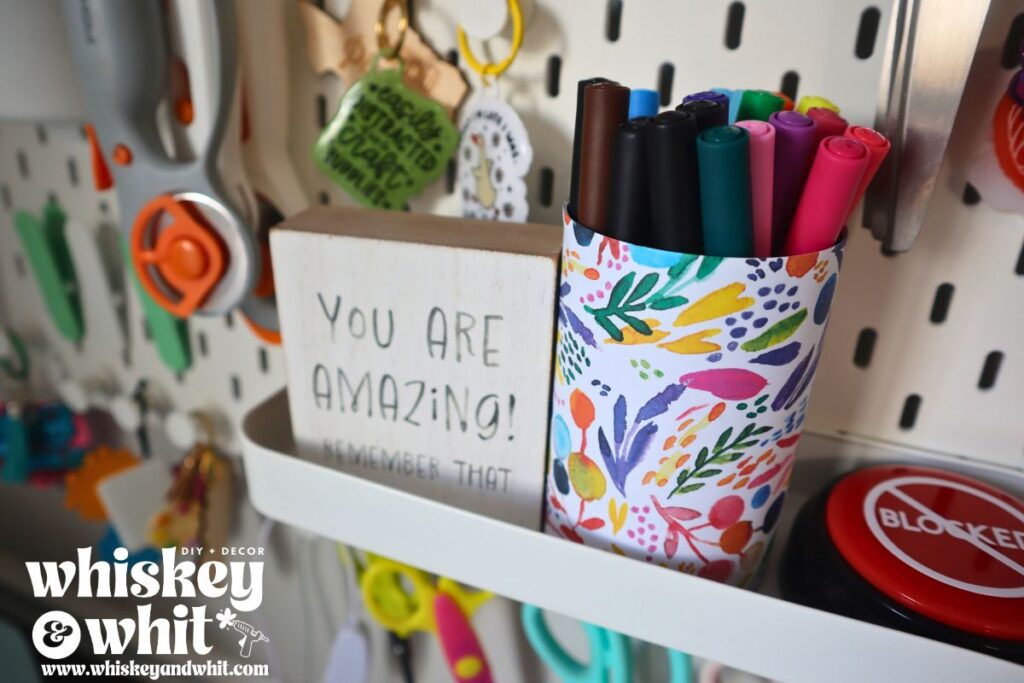
Tin Can Pegboard Holders
Clean an empty can, wrap it in cardstock, and hang it on a pegboard. Perfect for tools, pens, or scissors.
Decorative Book Risers
Wrap Dollar Tree books in scrapbook paper and use them as risers or shelf decor.
Cardboard Rolls for Zippers & Ribbon
Paper towel rolls—or DIY cardboard tubes—are amazing for organizing zippers, ribbon, or yarn by color.
Create a “Projects in Progress” Zone
This was a game-changer. I created a dedicated area for unfinished projects using:
- A shelf extender
- Reusable zipper pouches
- Clipboards for patterns and notes
Now when I’m mid-project, everything goes in one place instead of all over the room.
Label Smart (Before You Commit)
Before making permanent Cricut labels, I test everything with blue painter’s tape and a marker. Why?
- It lets you adjust based on how you actually use the space
- It helps track what you haven’t touched in months
- It saves time (and vinyl!) later
Once everything feels right, then I make the pretty labels.
Scrap Storage That Actually Works
If you save vinyl and cardstock scraps (because money), this system is gold:
- Hanging file bin
- Manila folders labeled by color
- Separate sections for adhesive vinyl, HTV, and cardstock
It keeps scraps visible, accessible, and usable instead of forgotten.
Dollar Tree Craft Storage MVPs
These Dollar Tree containers have been a staple in my craft room for years:
- Snap-close, stackable bins
- Perfect for small supplies like stamps, clay, ink, tags, rope, and magnets
- Great for shelf storage without wasted space
Affordable + functional = win.

Fabric Storage Hack (Sewists Will Love This)
If you sew, this one is for you.
Using comic book boards, I folded fabric into mini bolts and stored them upright in drawers—sorted by category like:
- Solids
- Gingham
- Stripes
- Holiday prints
It’s neat, visible, and so easy to maintain.
Let Your Supplies Be the Decor
Some of the best craft room decor is your supplies:
- Washi tape stacked by color
- Foam brushes in glass jars
- Stenciling sponges in vases
Check your house first—you might already have containers that work perfectly.

Final Thoughts: Function First, Always
Your craft room doesn’t need to look like Pinterest to be inspiring. It needs to:
- Work for how you craft
- Fit your budget
- Make creating easier, not harder
Take what works for you from these ideas and leave the rest. That’s the real secret to an organized craft room. Let me know in the comments which tip you’re trying first—and which one saved your sanity the most. 💛
Happy organizing,
Whitney