[Partnership Disclosure: This video was created in partnership with Cricut when it was published on my YouTube channel in 2021. All opinions are my own and are not influenced by Cricut. Thanks for supporting the brands that support Whiskey & Whit! Read my full disclosure policy here.]
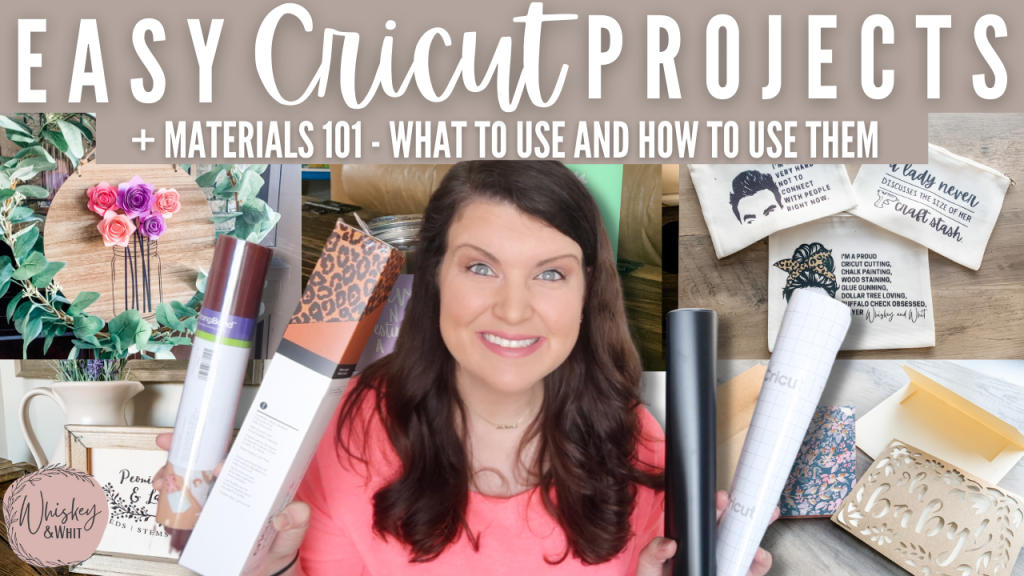
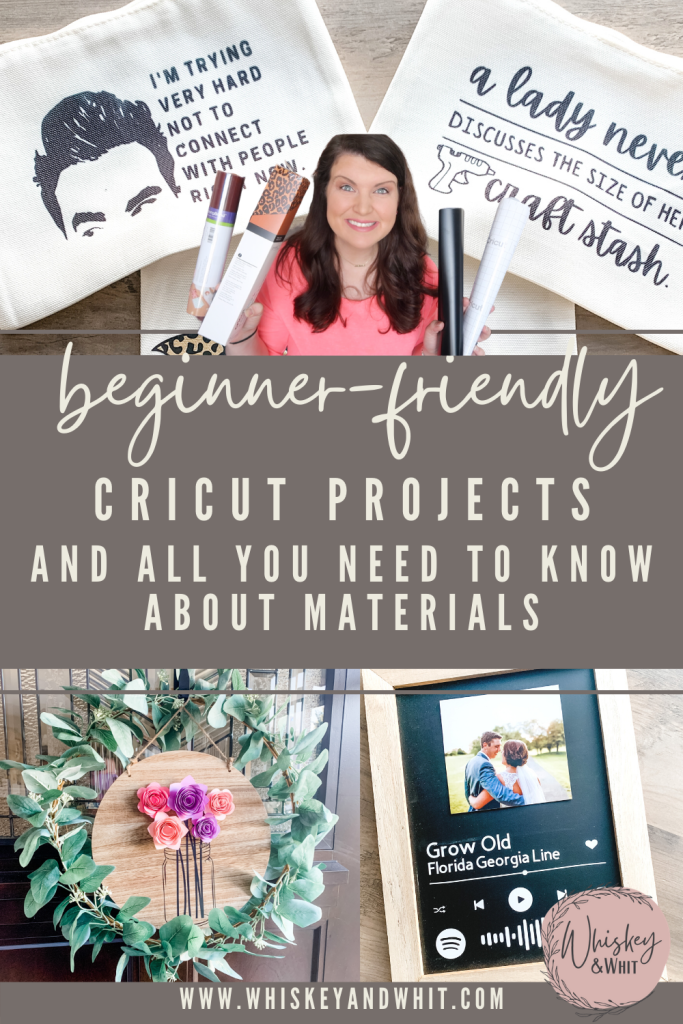
Today’s post is all about Cricut materials!
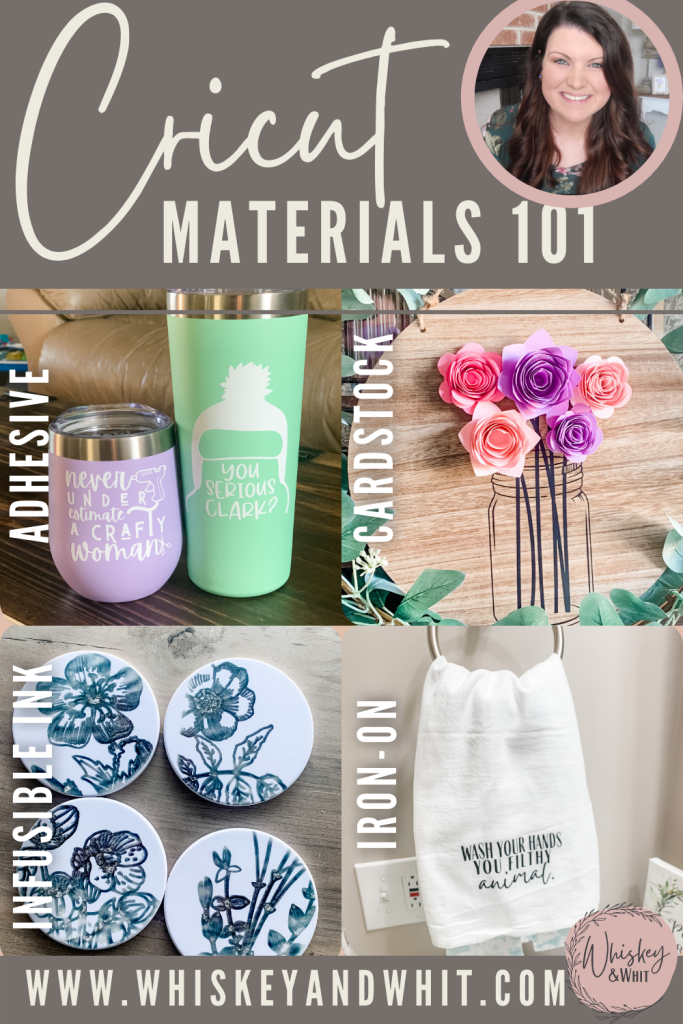
What are the differences? What types of materials are best for which kinds of projects? I’ll give you a full rundown on the most common materials you want to use: adhesive vinyl, iron-on vinyl, paper, cardstock, and Cricut’s Infusible Ink.
What is Adhesive Vinyl? What’s the difference between permeant and removable?
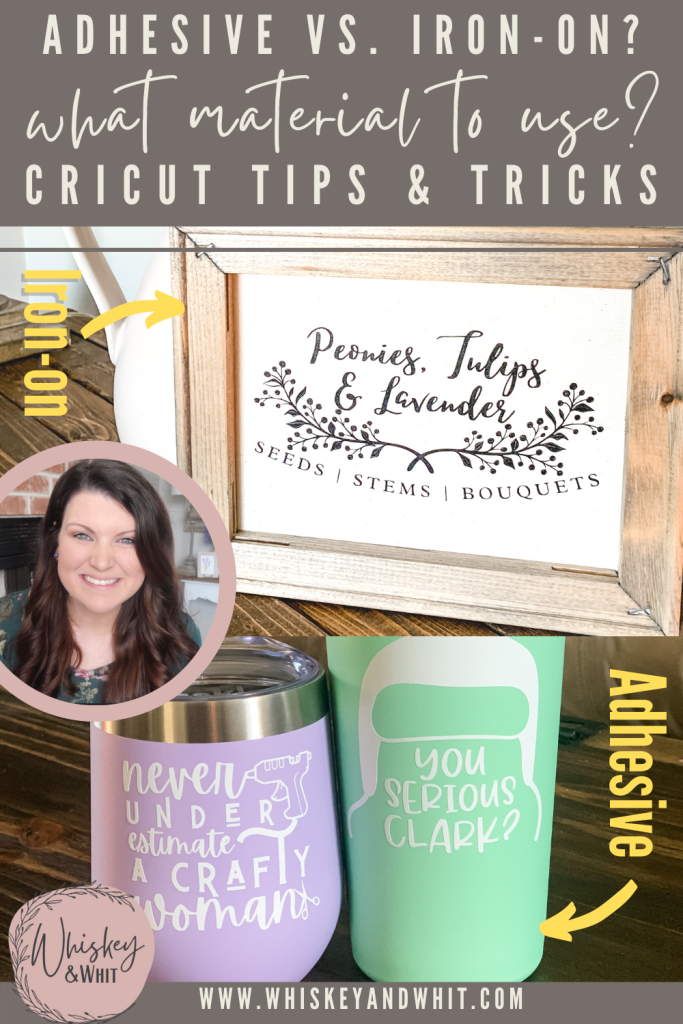
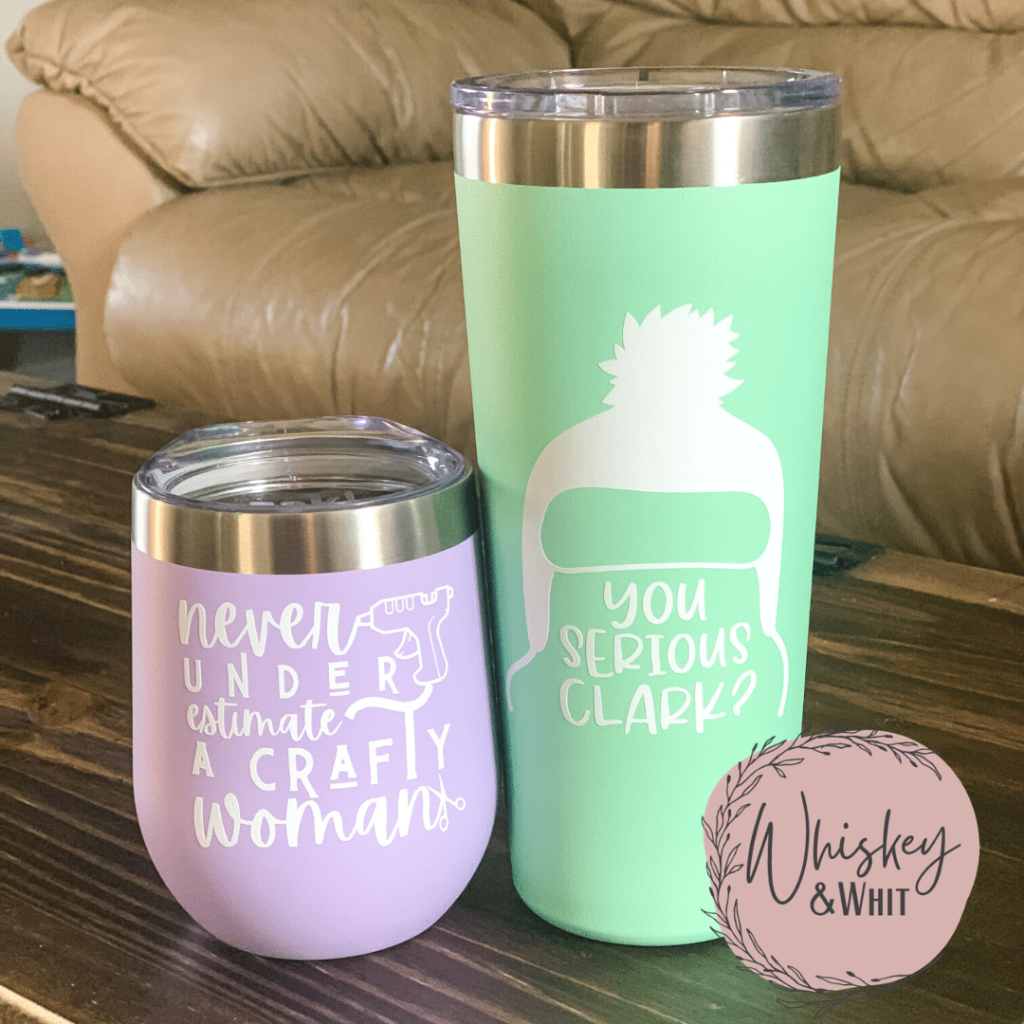
Adhesive vinyl is great to customize surfaces outside of fabric, things like cups, signs, decals, mailboxes, and more.
Cricut calls their adhesive vinyl premium vinyl and it comes in permanent, removable, glitter, holographic, and stencil options. On top of the glitter and holographic vinyl, you also purchase glossy (which is shiny) or matte (or flat) vinyl depending on the look you’re going for.
Permanent vinyl tends to be glossy most of the time and removeable is traditionally matte.
PERMANENT VINYL
All just like their names say permanent is your heavy-duty adhesive. This is what you want when you don’t want the vinyl to come off – so those long-lasting projects. Cups, outdoor decals (like mailboxes, front doors, or car decals), signs and more.
REMOVEABLE VINYL
And removable is sticky, but not too sticky. This is your temporary option – I like it for stenciling, and for wall decals, you can watch the video below to see many of my wall decal projects I’ve done in our home.
HOW TO CUT & APPLY ADHESIVE VINYL
Adhesive vinyl is cut with the vinyl on top and has 2 layers, the vinyl and the backing, which is revealed as you weed out the parts of the design you don’t want. Adhesive vinyl doesn’t need anything to stick other than some transfer tape. That picks up your design in 1 piece (even if it’s a 1000 little cuts) and will help you place it where you want it to go. To do this you’ll want a tools set to weed and burnish your design down.
Think of your adhesive vinyl projects as putting a sticker (or decal) on something. There are tons of different colors and patterns to choose from including vinyl with a chalk board, dry erase, and glow in the dark finish. You can also get vinyl that you can print on and then cut out. I’ve never done that, but I should give it a try!
OTHER NAMES FOR ADHESIVE VINYL
You may also have also heard of adhesive vinyl called a different name if you buy from other vendors, let’s break those down. Series 651 is permanent vinyl, Series 631 is removable, and Oramask with any number after it can be used for stenciling.
What is Iron-On Vinyl? Is it the same as Heat Transfer Vinyl?
Cricut calls their Heat Transfer Vinyl everyday iron-on – like the adhesive vinyl there are different types for various applications and uses. The thing that is true for all is that they aren’t sticky to the touch – you have to use a heat source to get them to stick to your surface.
I’ve used both my Cricut Easy Press 2 (I have the 9”x9” size) and an iron for HTV application. I like that the press gives me an even heat-press, but an iron will work too.
Iron-on vinyl can also be applied with heat to decor like fabric banners, wood signs, and more. Just be sure to read the specific packaging to know what types will work with your project and if it can withstand the heat you need – and not melt – go for it!
Other types of Cricut Iron-On
Express Iron – On – stronger for multiple washes and adheres faster
Glitter Iron-On
Foil & Holographic for shiner finishes
Mesh – looks like a mesh jersey with a grid material
Patterned
SportsFlex – more flexible and stretchable for apparel in motion.
Your work in design space for iron-on is the same as for adhesive vinyl, except for this – you will mirror the image (so you are cutting backwards) and cut on the back of the material. Don’t worry, it will all get turned around in the end.
You put the shiny side down on the mat and set your dial to iron-on – it won’t cut as deep because you don’t want to cut through your carrier sheet. After you weed and apply it to your surface to press it – the shiny carrier sheet will protect your vinyl when you add the heat.
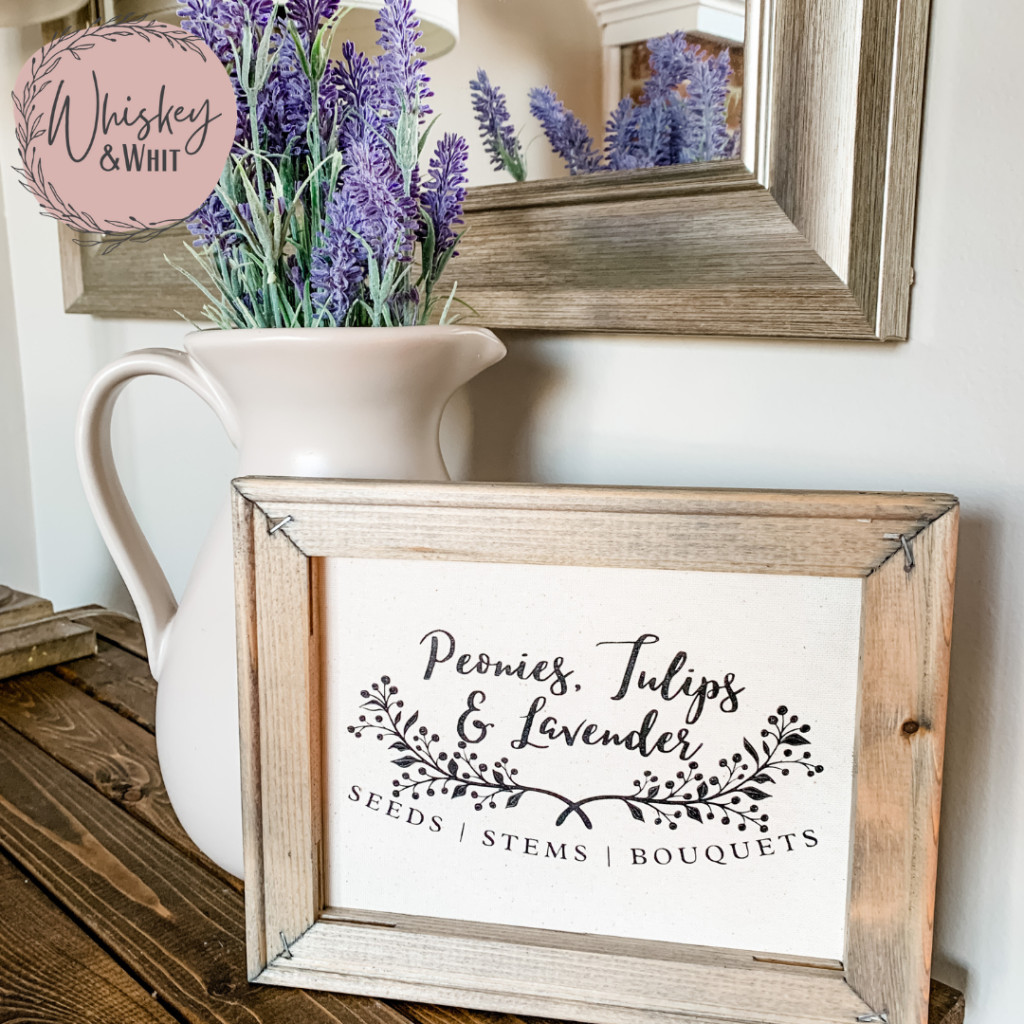
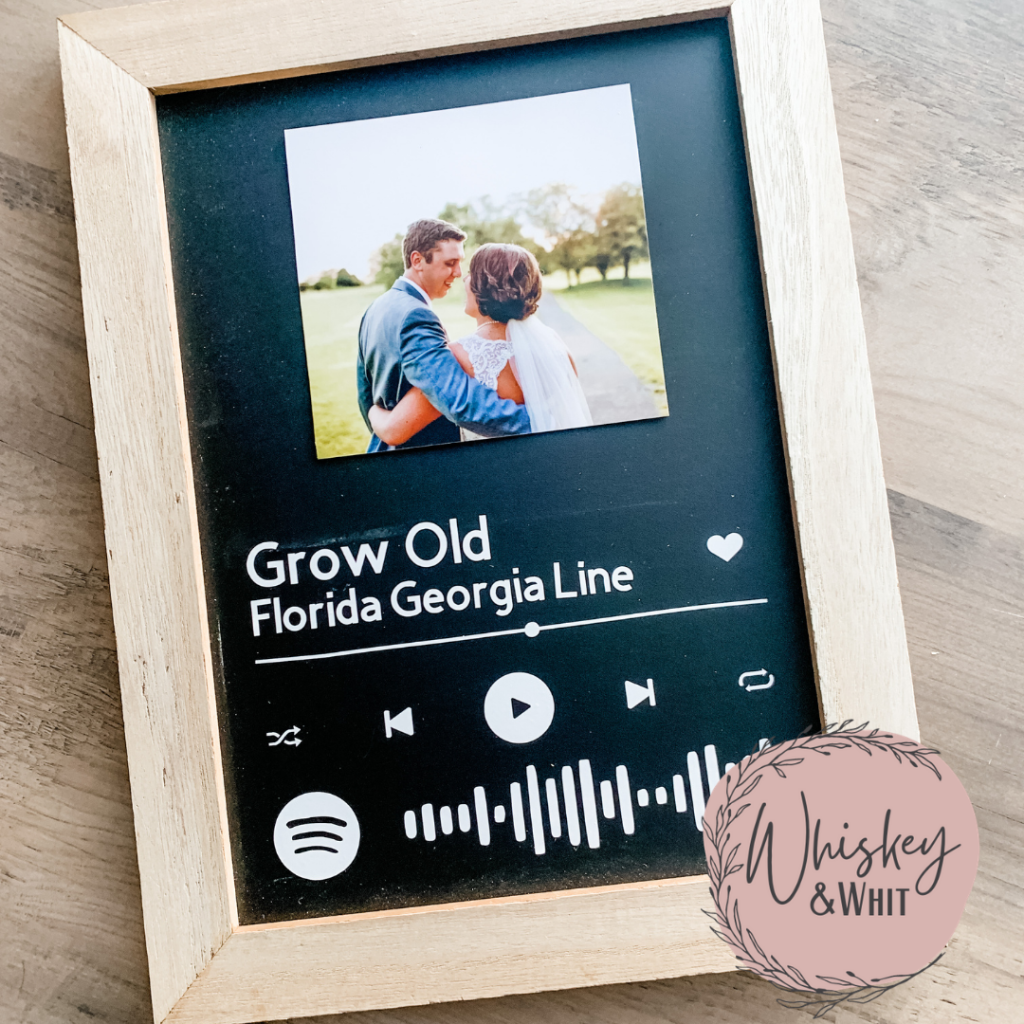
Cardstock & Paper
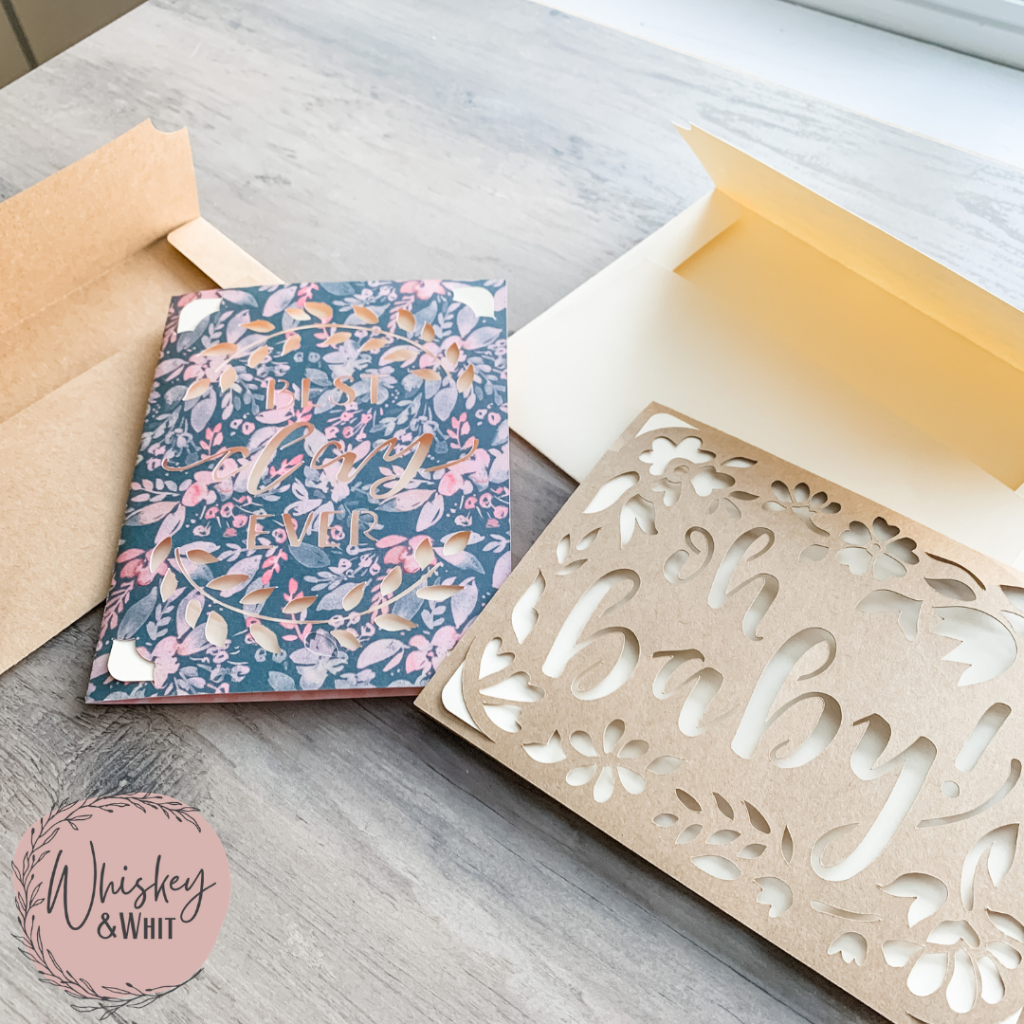
Next, let’s talk paper and cardstock. You can use a wide variety of paper and cardstock to create things like cards, tags and paper flowers.
I’ve used paper and cardstock to create:
Finn’s Bluey-themed cutouts for his birthday
A personalized photo banner
Personalized cards
Elastic hair tie cards for my friend’s bachelorette
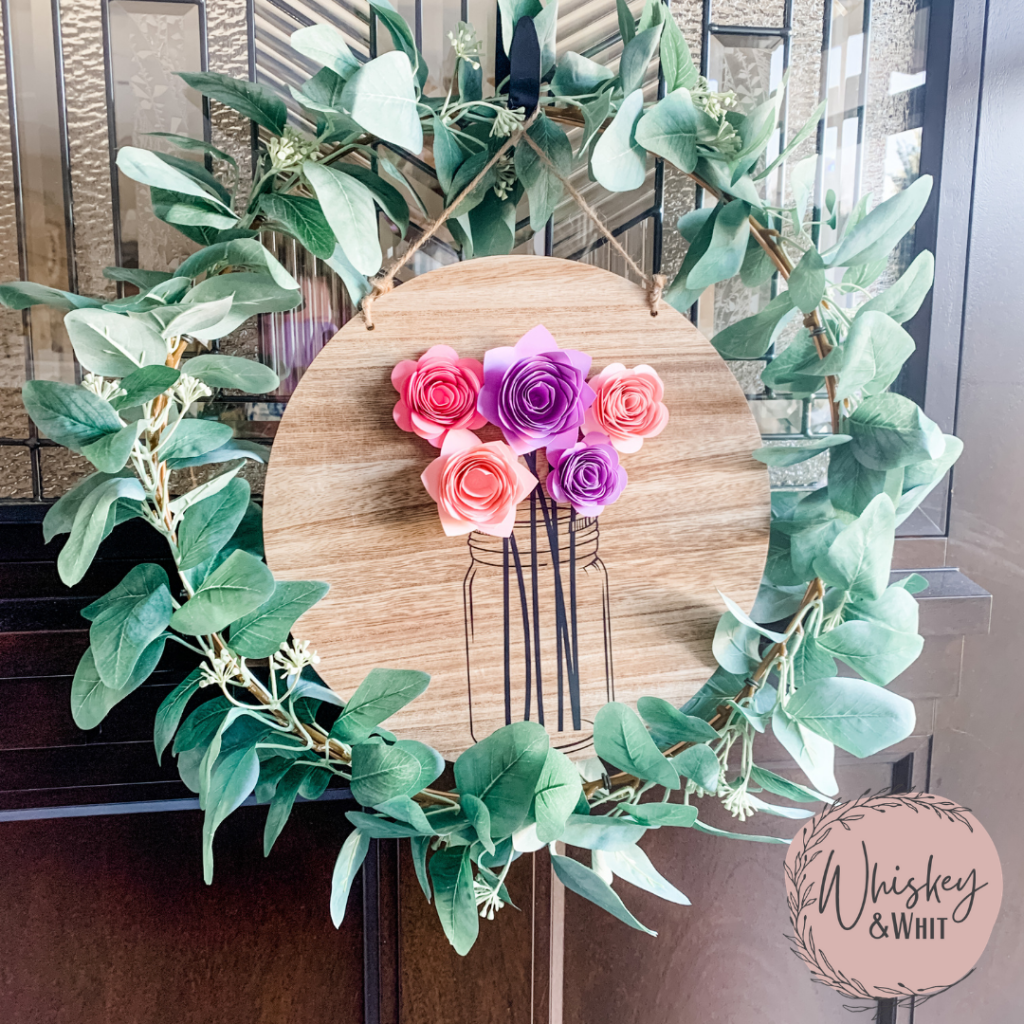
I typically use Cricut Design Space’s projects that are already created to make it easy. Check out the video at the end of this post to see how I made these paper flowers and custom cards with a couple of clicks! I used cardstock from Michaels I’ve had for forever – those packs last me a long time!
Cricut’s Infusible Ink – How does it work and when should you use it?
Circut’s infusible ink does what the name says. It infuses ink into your item (basically dying the material) vs. with HTV you put the vinyl on top of your item.
The infusible ink comes on what is called a infusible ink transfer sheet and it’s basically a 12×12 sheet of solid ink. They feel like cardstock to me. The colors on the sheet are also very dull, but they brighten up with the heat when it’s applied.
When I think of infusible ink, it’s similar to the iron-on process with a few tweaks:
1. Yes, you mirror the design
2. Yes, you put the shiny side down – in this case, you also see “Circut infusible ink”
3. When you go to press – your heat source must get to at least 385 degrees, I use 395, but 385 will work. So if your iron can get up to that level, you can use it. But if not, you’ll need another source. I use my Cricut Easy Press 2.
4. You also need a piece of white cardstock under your surface and a sheet of butcher paper between the heat source and your transfer sheet. That comes with your infusible ink transfer sheets.
5. The final bit, and this is huge, you don’t want to move your press once you put it down to avoid smearing the ink. So straight down and straight up. I also like to use heat-resistant tape to make sure nothing shifts around on me.
The reason I love infusible ink vs. HTV on fabric is that it’s crack proof and peel proof. So it’s on there, super permanent. Iron on can sometimes fade, peel, or crack if it’s stretched too much. You won’t see that with Cricut’s Infusible Ink.
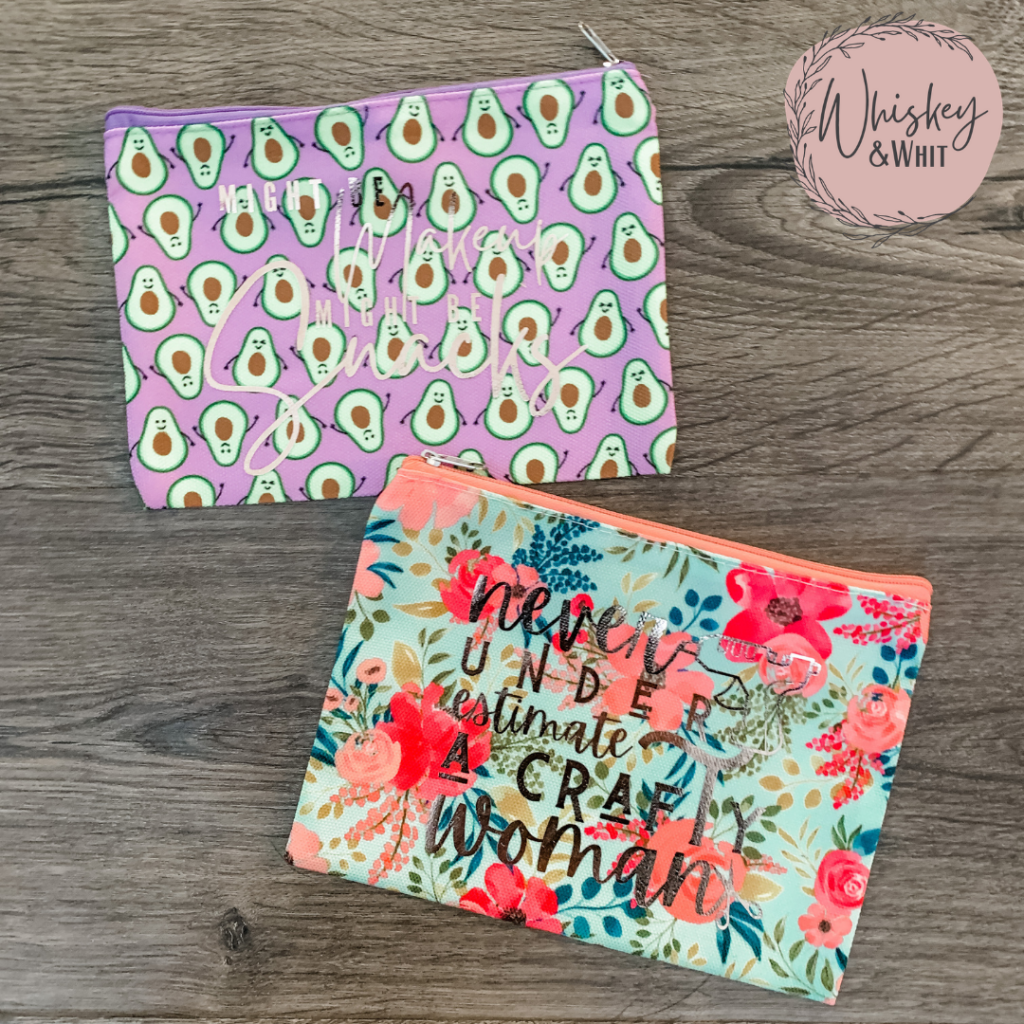
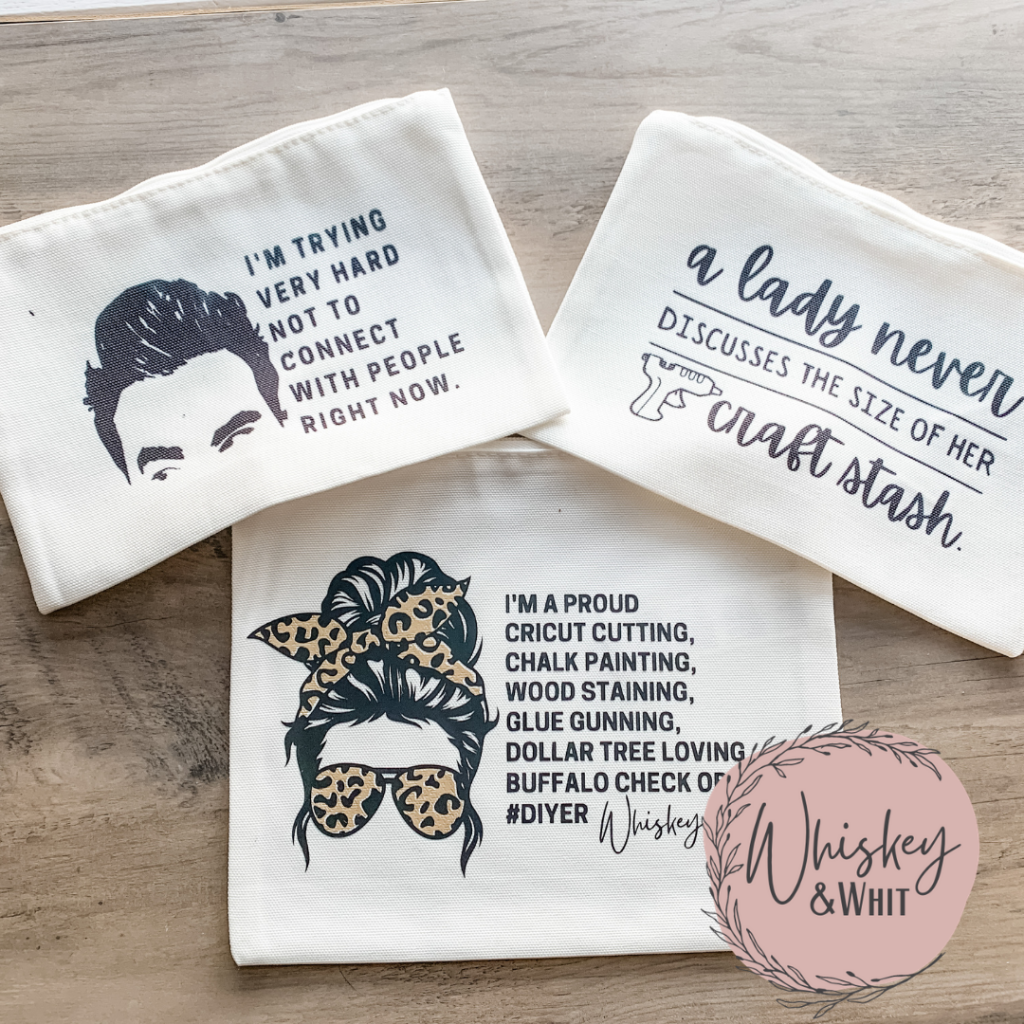
Make up bag blanks used in the photo below.

Infusible ink also comes in pens and I used them to create these hand-drawn coasters (above) with some more Cricut blanks. It was SO EASY.
I found the project in Design Space and clicked “make it.” those are cool because you transfer the ink from the marker to regular printer paper and cut to size in one swoop, tape them onto the coaster, and press.
This was my first project with the markers and I’ll for sure be doing more! The pens do come in 0.4 and 1.0 tips, these were made with the thicker marker which altered the look slightly.
I hope this post helped you better understand the materials you can cut with your Cricut. Let me know what other questions you have in the comments. I’d love to help answer those questions for you! Happy crafting.
If you recreate any of the projects in this post, be sure to tag me on Instagram, Facebook or Tiktok! Happy crafting.
WATCH THE FULL VIDEO
Download the free cut files!
PIN NOW TO SAVE FOR LATER