Disclaimer: This post contains affiliate links. This means I may earn a commission should you choose to sign up for a program or make a purchase using my link. I won’t ever share a link for a product/service I haven’t tried myself. Read my full disclosure policy here.
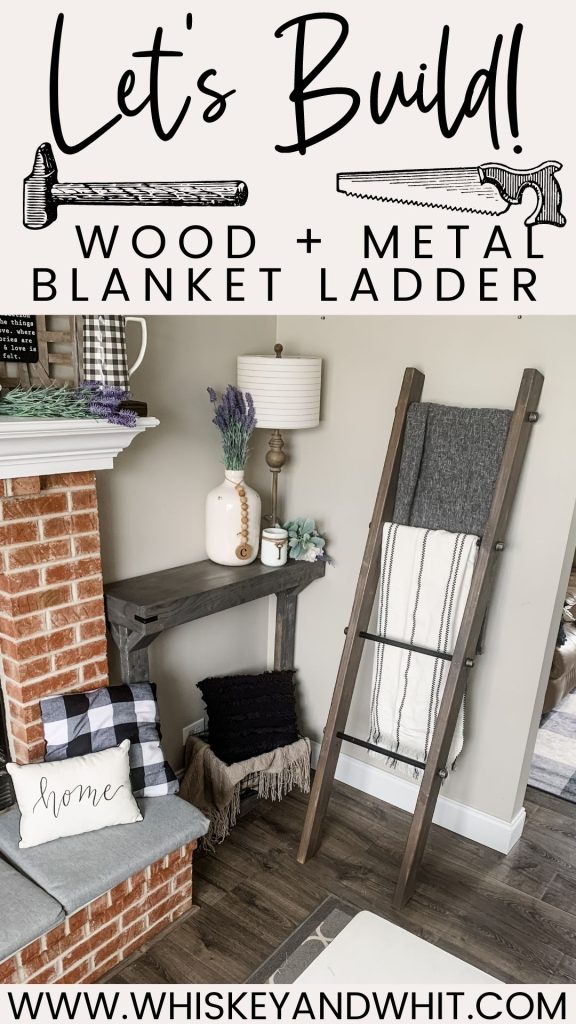
Hi friend – I’m excited to share this tutorial on how to build a DIY industrial modern farmhouse blanket ladder. In the spring of 2021, after four years in our current home, I decided it was time to update our master bedroom. I had worked on all the other rooms, but our master suite hadn’t gotten any of the love it deserved.
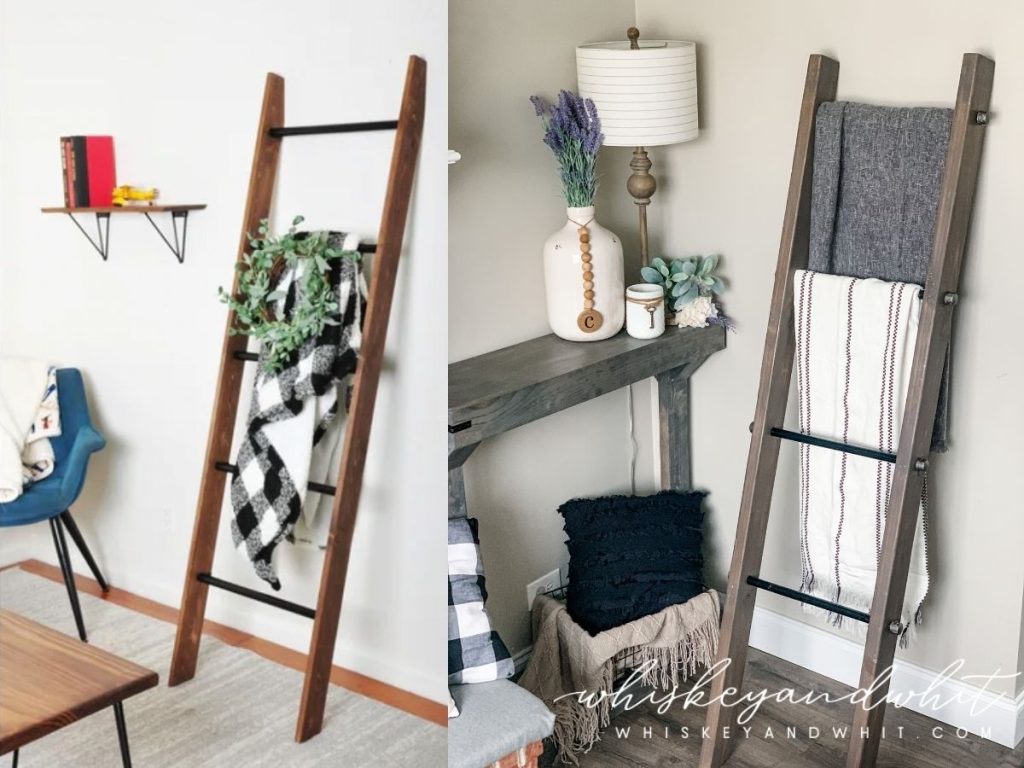
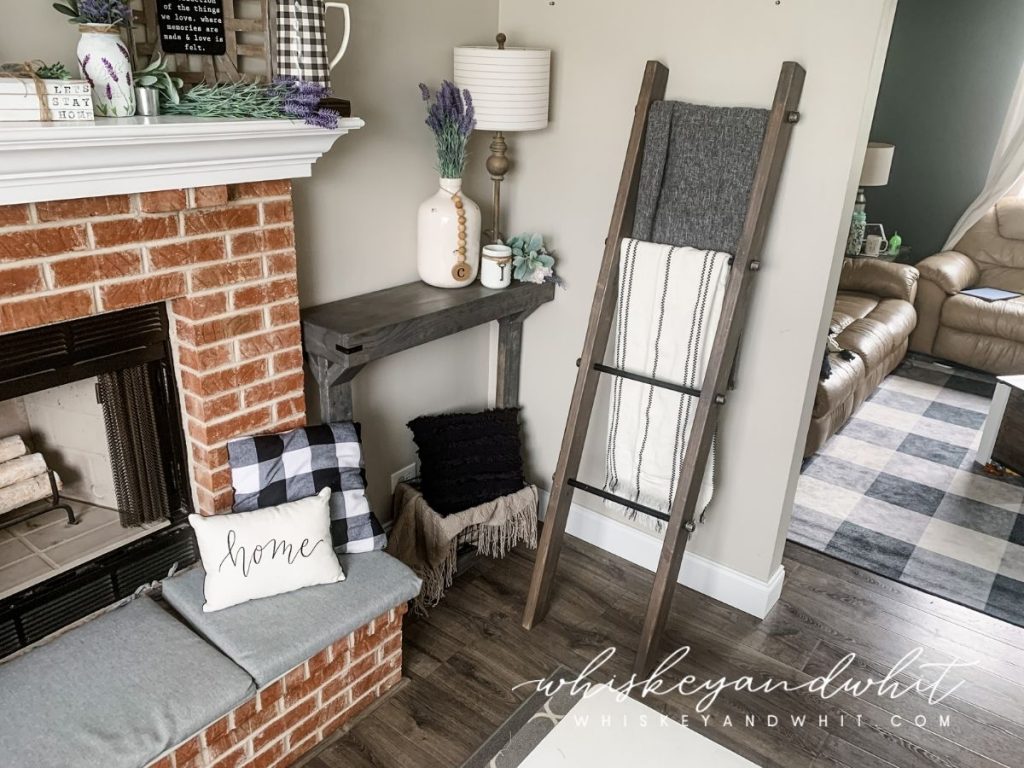
One of the items I wanted for the space was a blanket ladder with metal rungs and I found the PERFECT one on Overstock.com…. for almost $250….. WHAT?! That was nowhere near my budget for my master bedroom refresh. I instead grabbed some wood and metal pipe to create a similar look for under $50! This project is super beginner-friendly and with just a couple of basic tools, you too can build your own for a fraction of the cost to buy. Check out theirs (above left) vs mine (above right). Let’s get building!
SUPPLIES
WOOD & METAL
(2) 2×4 boards cut to, 6 feet long, around $8
(4 or 5) 1/2″ Pipe, mine are 18″ long – the number of pipe pieces depends on how many rungs you want (5-pack for $23)
(8 – 10) 1/2″ pipe cap, $1.65 at Home Depot You’ll need two for each pipe rung you want
TOOLS NEEDED
Mitre Saw – Ryobi (optional, you could easily leave the 2×4’s as is)
Drill – Ryobi
3/4″ Spade Bit for Drill – Bosch
PAINT, STAIN, & SEALANT
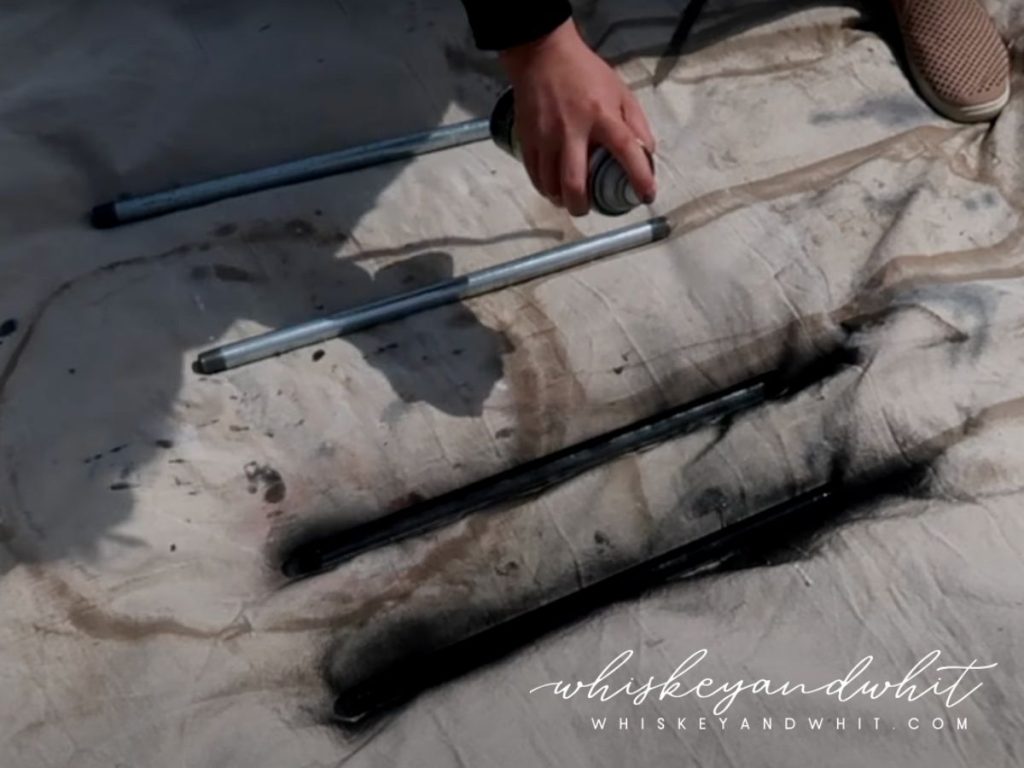
Matte Black Spray Paint if you don’t get black pipes – Rustoleum 2x Cover
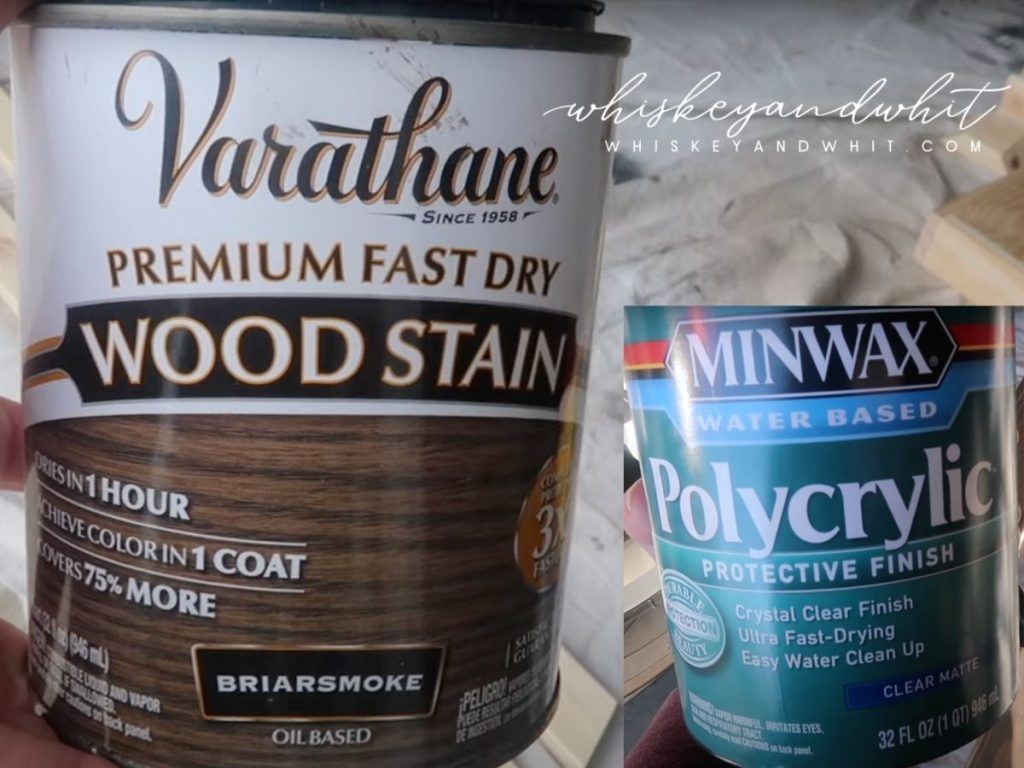
Varrathane Sain in the color Briarsmoke
Polycrilic or Ployurathane for sealant
CUT LIST AND INSTRUCTIONS
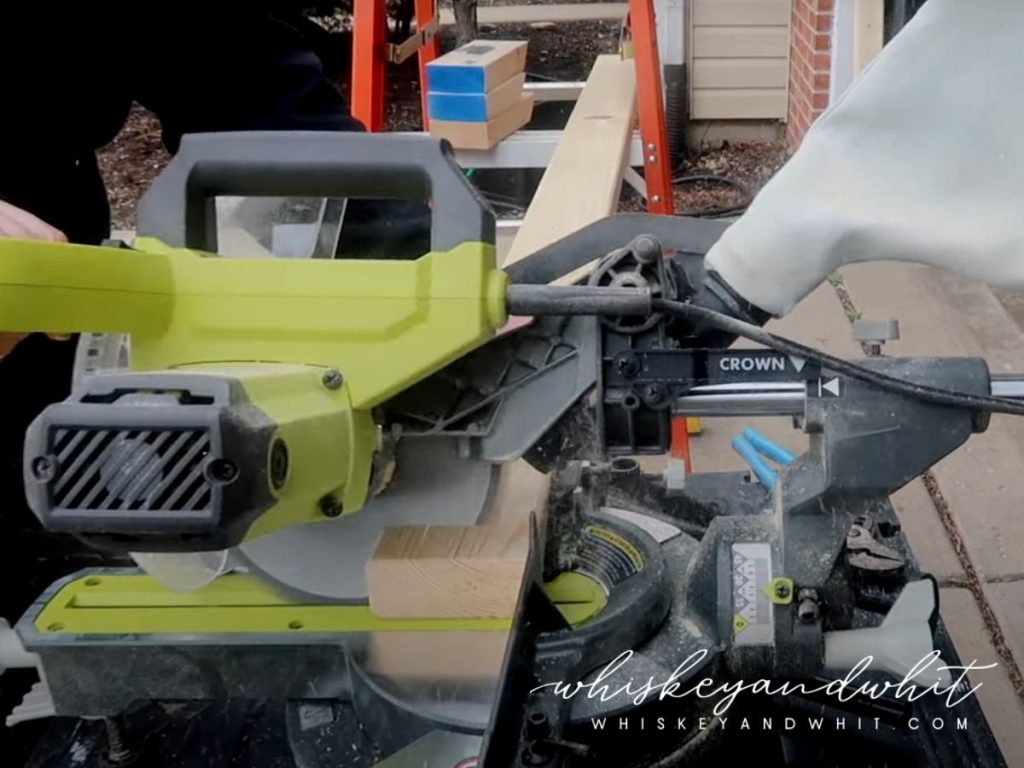
Cut your 2x4s to the same length. I took a little off each end to clean them up.
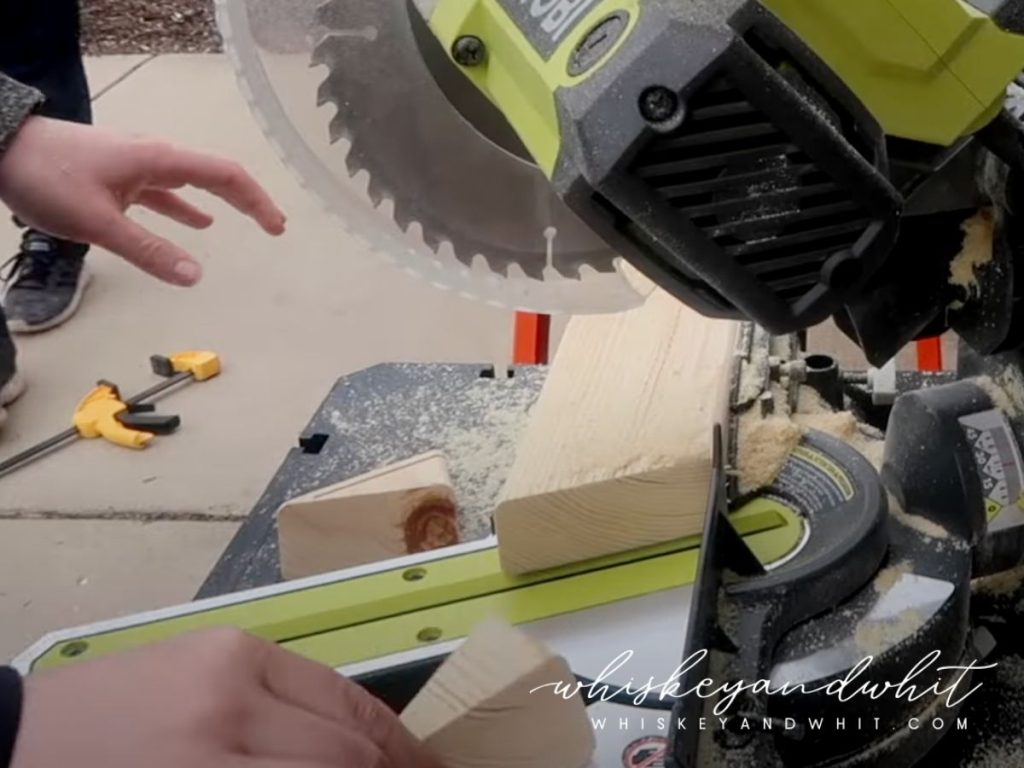
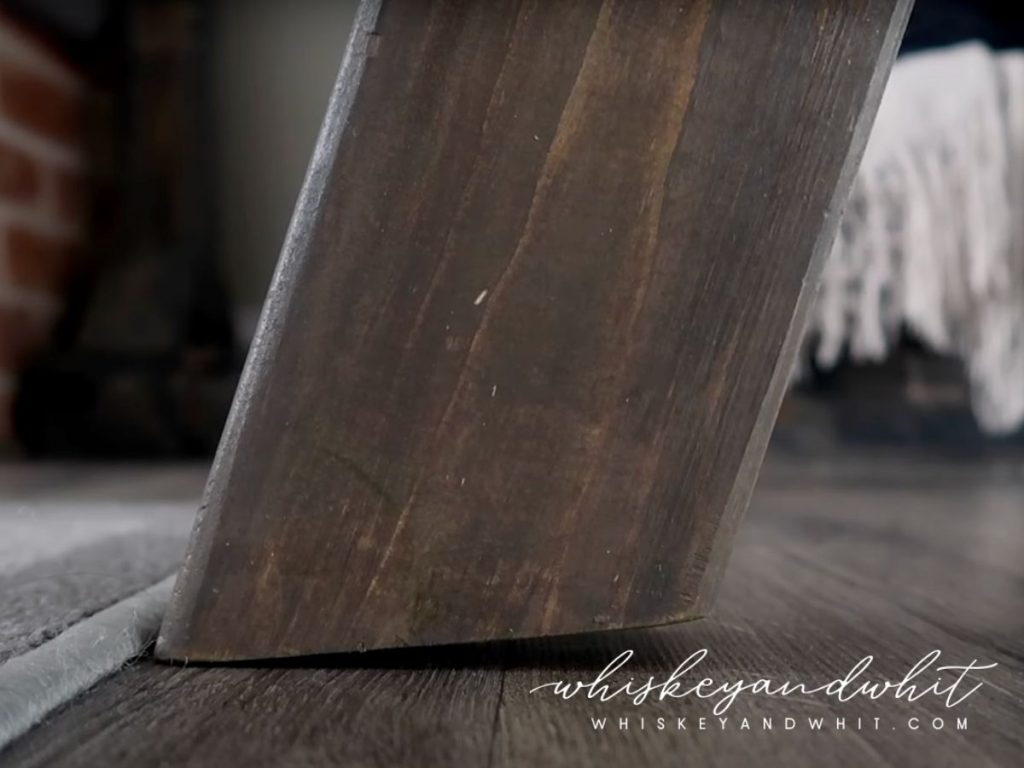
I also cut 32-degree angles on the two bottom edges to help the ladder sit better when it was leaned on an angle to the wall.
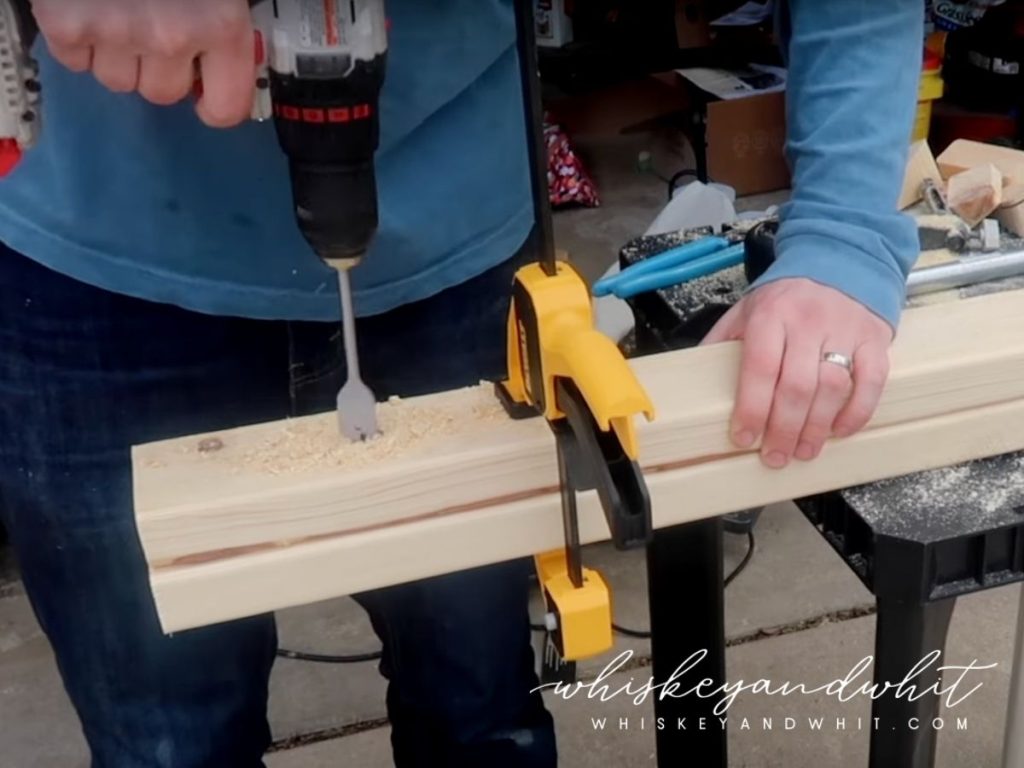
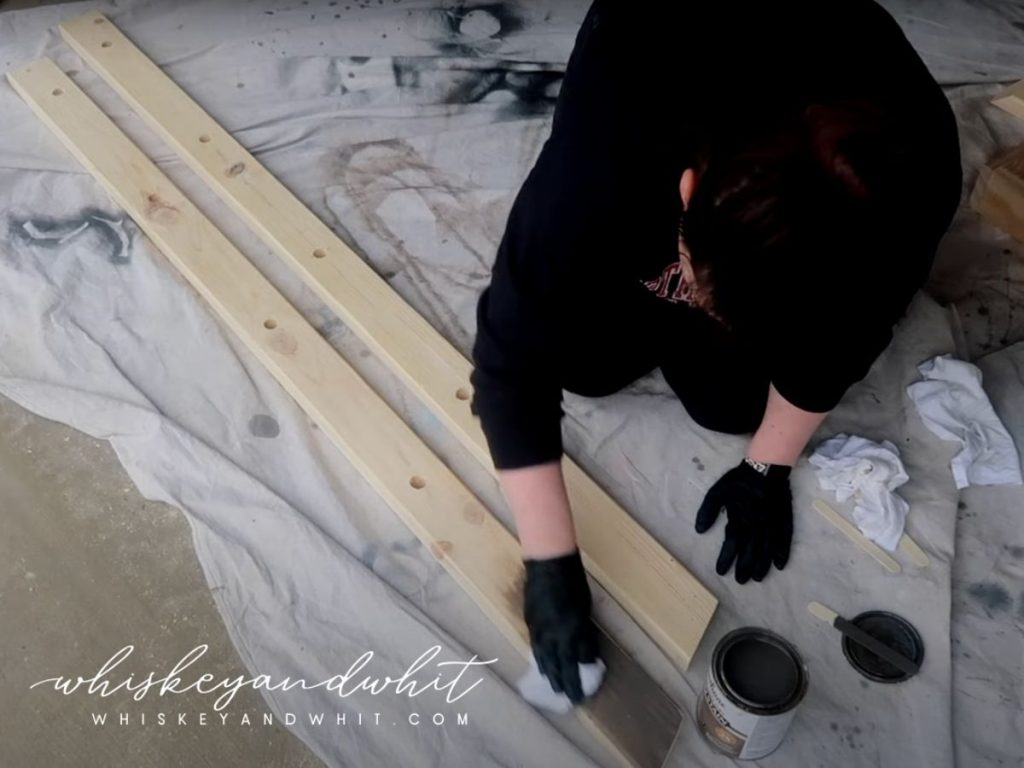
We stacked the two cut 2x4s and clamped them down to drill the holes in both simultaneously to ensure they would line up. We found the center of the boards and spaced out our holes every 12″ evenly.
I sanded the boards, spray painted my bars with matte black spray paint to get my desired look, and also stained the boards with Varathane’s Briarsmoke stain, and then sealed with Minwax’s clear, water-based Polycrylic.
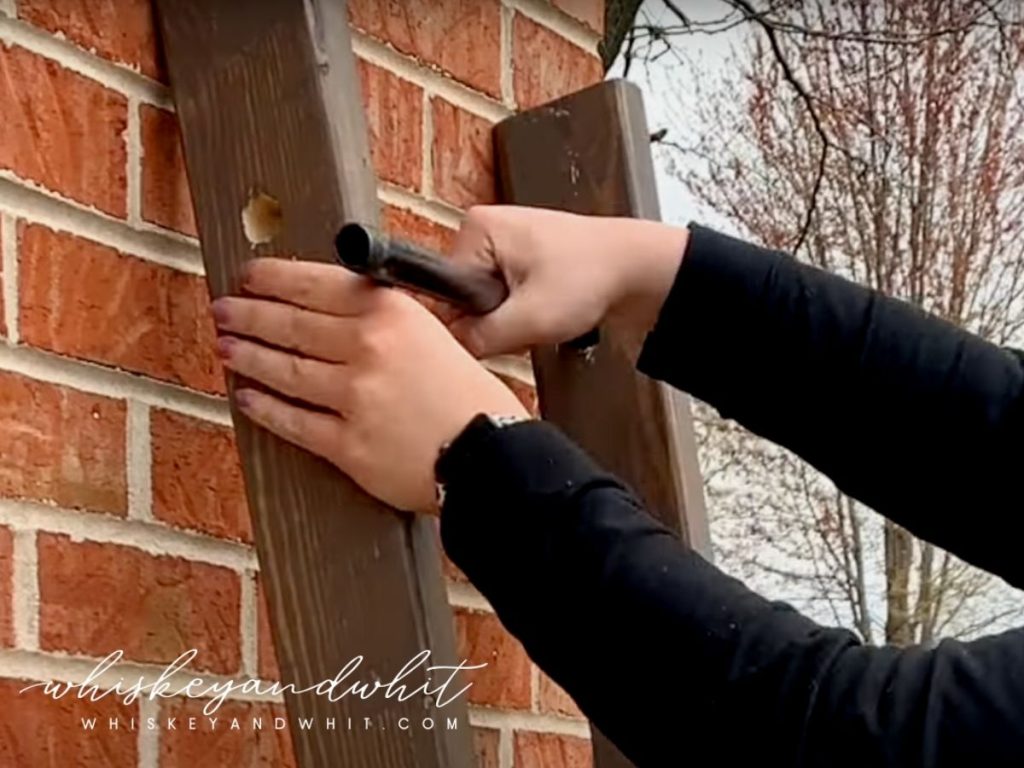
The final steps are to insert your pipes, twist on your caps, and style with your favorite blankets.
Watch the video for full assembly instructions. Happy building!
WATCH THE FULL TUTORIAL VIDEO
PIN NOW TO SAVE FOR LATER