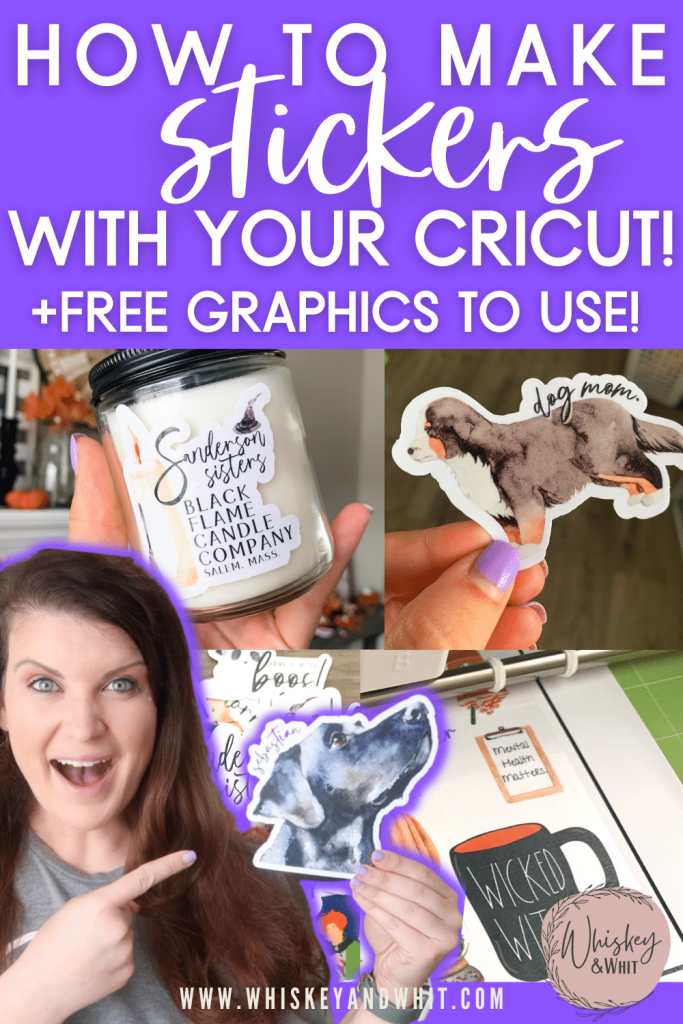
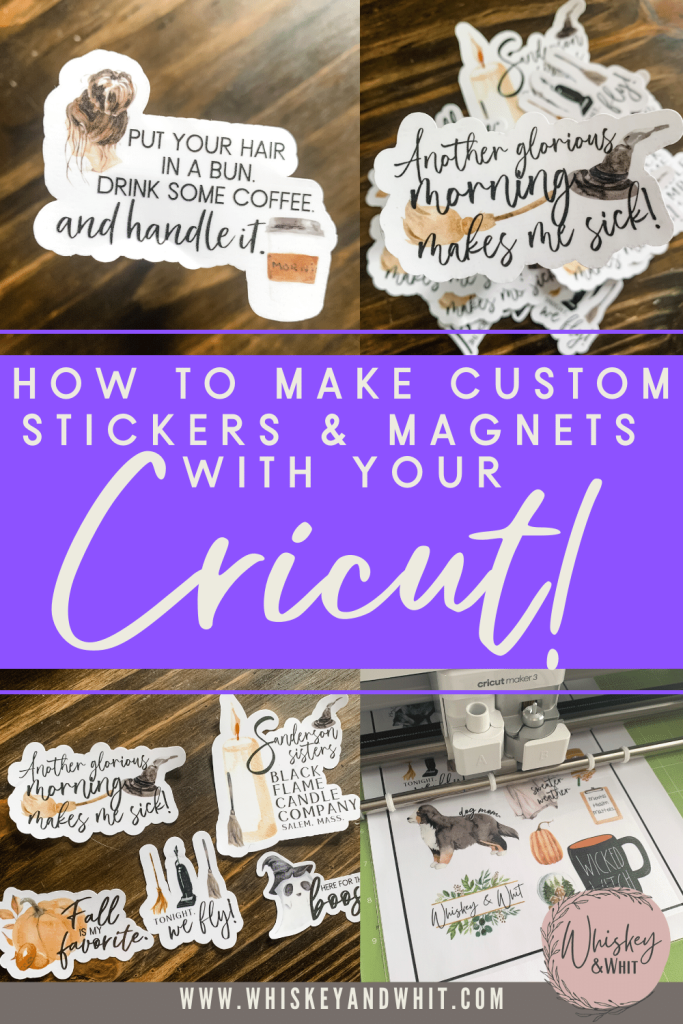
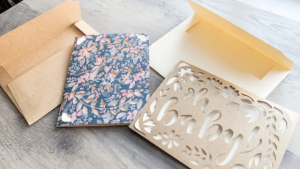
Hey craft buddy! Today I’m sharing a fun tutorial showing how to easily create your own stickers, magnets, and more using Cricut’s Print Then Cut feature. I’ve used it before, but not to this extent and I’m shocked it took me this long. I had a blast making custom stickers, DIY magnets for my car, and some personalized decor for an upcoming baby shower. I’ll show you how easy it can be and how to use Cricut Print then Cut!
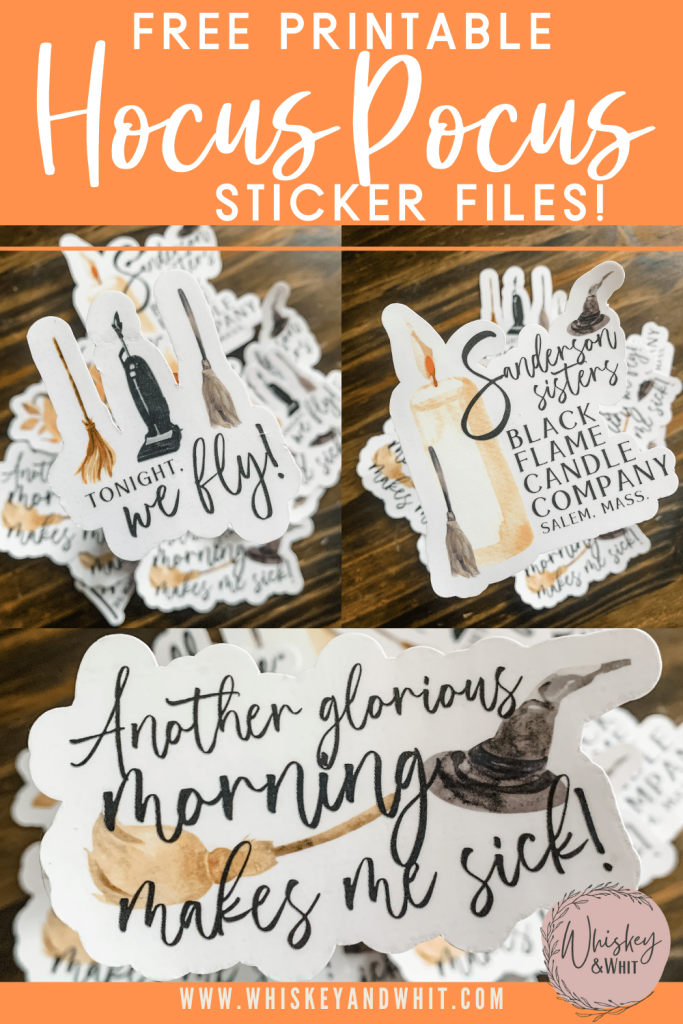
DIY stickers have been all the rage on my TikTok and I’m here to make it easy for you to do the same with this Cricut Print Then Cut Tutorial. PLUS, if you continue reading to the end of the post, I’m also sharing some free artwork files for you to use as well! Let’s get crafting!
Grab your FREE files shown in this video and blog post!
You can find my free files in my Free File Library. If you aren’t already a Whiskey Craft Buddy e-newsletter subscriber, you can do that via the blue bar at the top of this site and I’ll send the password right to your inbox. These are under the “Printables” tab.
SUPPLIES
To Print then Cut with your Cricut, you’ll need:
- A cutting machine – I used my Cricut Maker 3, but you can use any Cricut. *If you’re looking to purchase one and want the top-of-the-line for a beginner, I’d suggest the Cricut Explore 3. If you want one for simple tasks, the Cricut Explore Air 2 is on sale at a lot of places right now and is an amazing machine, especially if you don’t need all the other bells and whistles!
- A printer – I just got the HP Desk Jet 3752 and I really like it (especially for the under $100 price!) I also love my Canon Pixima TS 9521C if you want one that can print up to 12×12.
- Cricut Mat – I used the green standard grip
- Cricut Tools – Mainly the squeegee
- A Cricut Print Then Cut Material
- Avery Self-Laminating Sheets – I got mine from Amazon, this is to make your stickers waterproof
- Magnetic Sheets – Amazon
