

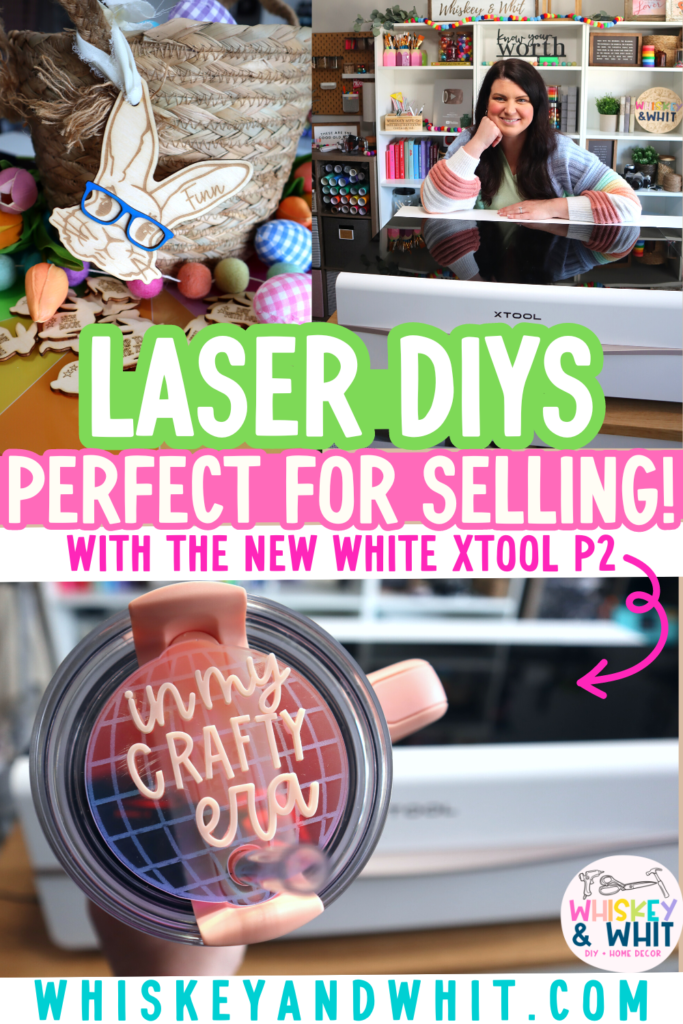
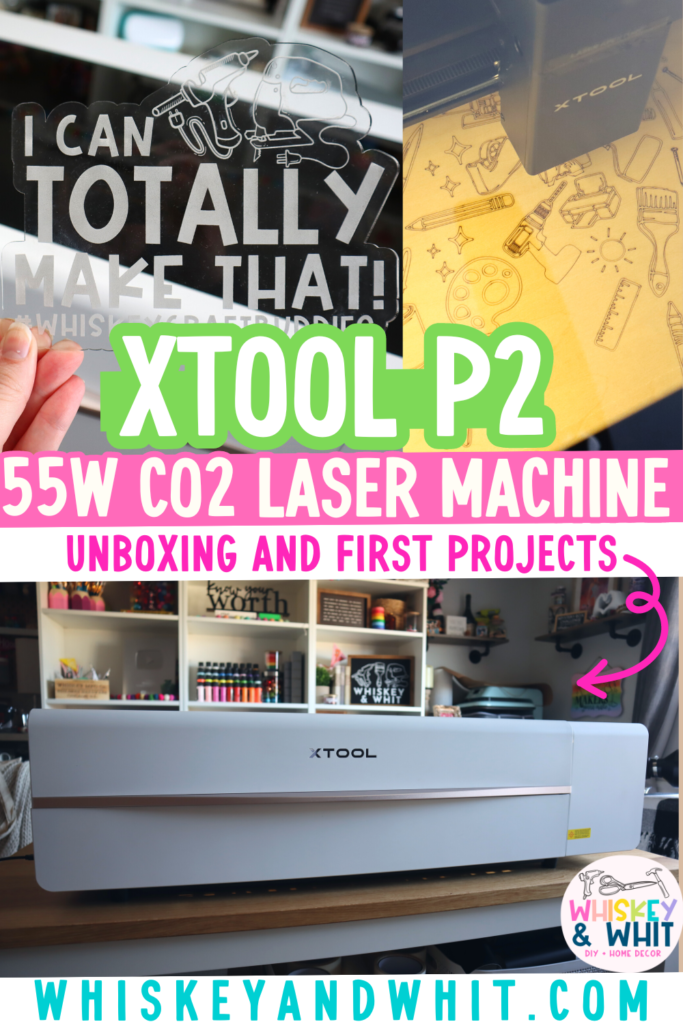
Hey craft buddies – welcome back to my craft room! Today I’m excited to share my newest DIY tool – the xTool P2 55W CO2 laser machine. I’ve previously reviewed xTool’s M1 diode laser and blade cutter and LOVE IT – so when xTool reached out and asked if they could send it to me, I was very intrigued. As mentioned in the video, this machine is far more expensive than your average craft tool for a hobbyist. I’ll get into who this machine is best for in this post.
Lasers aren’t for everyone and I understand the large cost here, but wanted to review it for the craft buddies that are thinking about getting a laser to start or grow their businesses.
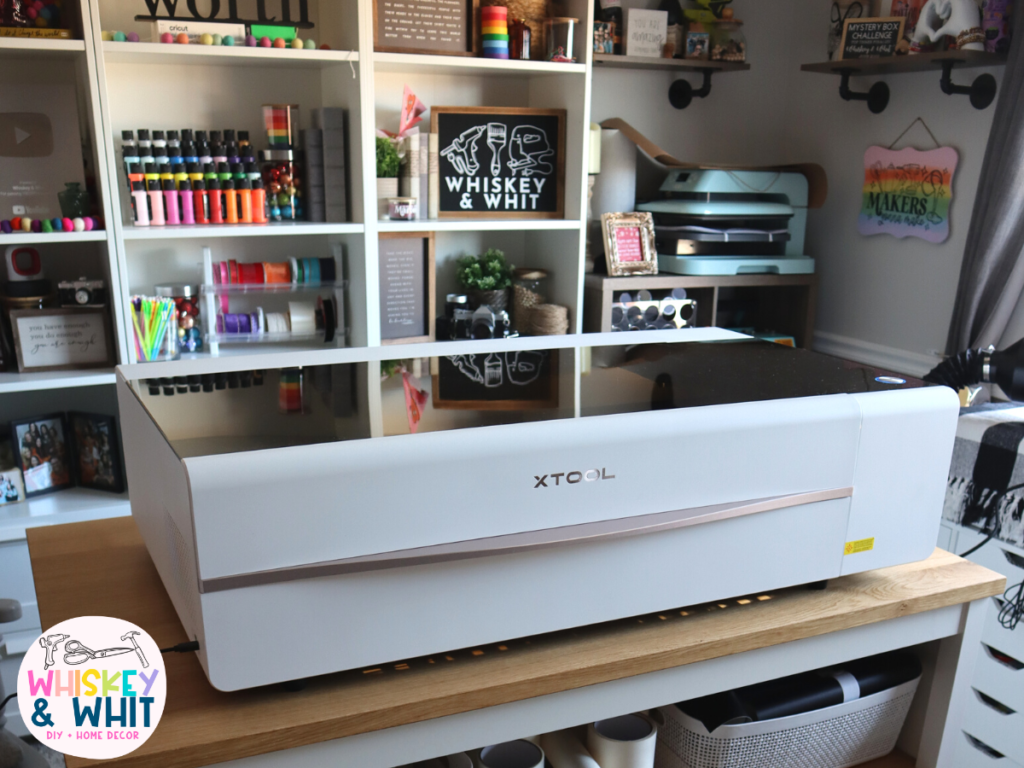
The goal today is to cover the basics of this machine, and share some projects I’ve made as an absolute beginner to help you decide if it’s something you may want to add to your craft room and/or business.
What is the xTool P2 55W CO2 laser machine?
The xTool P2 C02 laser is a 55W machine. While it’s marketed to all crafters, I would say it’s best suited for people wanting to make a ton of projects quickly or use it in their business. A CO2 machine is also necessary if you want to cut clear and transparent acrylic because you can’t do that with a diode laser – more on that later!
With the 55 watts of laser power in the P2, it can cut through thick acrylic, wood, and MDF and do it more quickly. While I can cut and engrave those materials on my smaller craft lasers, I wanted to try out the acrylic capabilities and the power and speed of a CO2 laser because I’ve had many craft buddies ask me for recommendations and I had no frame of reference.
As someone with a 10w diode laser already in my craft room – the speed and power plus the ability to cut more kids of acrylic piqued my interest in this machine.
Disclaimer: This post contains affiliate links. This means I may earn a commission should you choose to sign up for a program or make a purchase using my link. I won’t ever share a link for a product/service I haven’t tried myself. Read my full disclosure policy here.
*A huge thank you to xTool for sending me this machine to test.
xTool P2 (Pearl White) – LINK
xTool Duct Fan – LINK
Materials: https://bit.ly/3SrX9jF
Shop all the xTool machines and supplies here: https://bit.ly/3H8Iipi
Shop their Valentine’s Sale – LINK
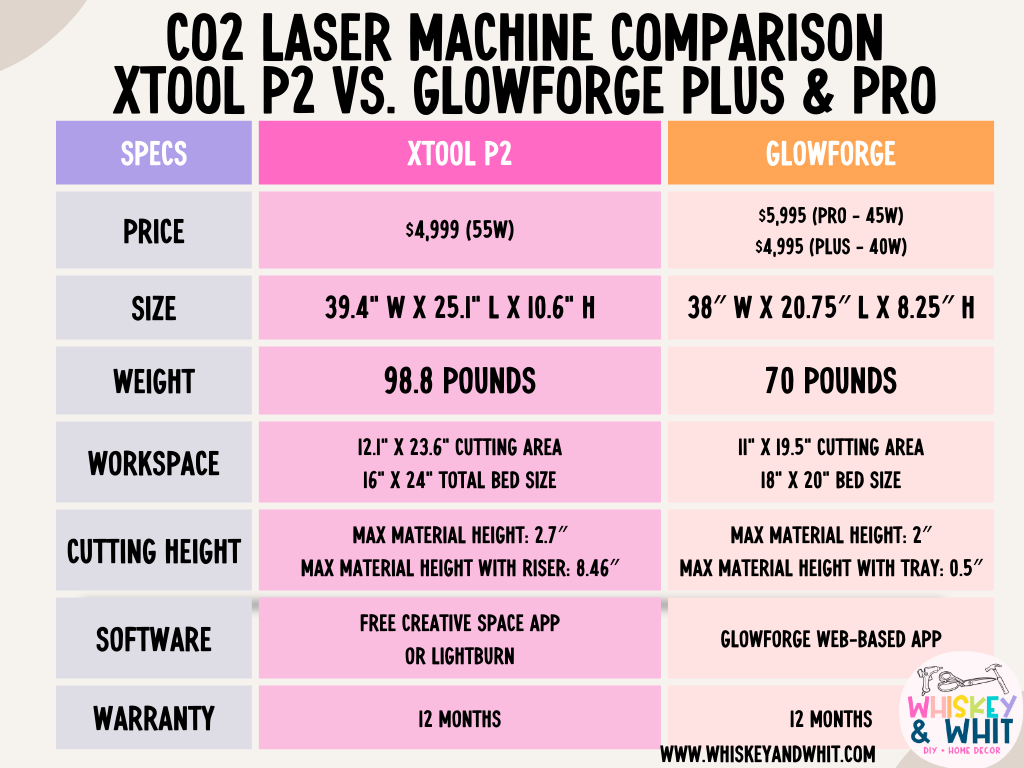
xTool P2 and Glowforge: Which one to pick?
While I only have a Glowforge diode laser, I find most of the common questions are around which one to go with. Here is a quick infographic you can reference.
A few things to call out – the xTool P2 offers 15 more watts of power for the same price as a Glowforge Plus.
Something else I’ve noticed is that all Glowforge machines run on their web-based platform, so while they have more features and projects than xTool Creative Space, the web-based platform could cause issues. The biggest one is that with the free Glowforge software, your projects will run at a lower speed vs. the faster servers reserved for those who pay for premium.
Another note is that your software is at the mercy of the Glowforge servers entirely, which could even impact those who pay extra for the premium processing when their servers go down. Just something to think about.
Other things to keep in mind when comparing – the xTool P2 also has additional safety features (which I really like) including an emergency stop level, an automatic lock when the machine is in use, and the in-machine water tank. The xTool P2 has a rotary attachment you can add on to give you the ability to make cups as well as a fun feature allowing you to engrave curved surfaces. None of these are available on Glowforge machines.
Now you may be thinking, sure Whitney, they sent you this machine OF COURSE you’ll promote them – and that’s 100% to the contrary. I accepted the machine under the agreement that I would review it and share my honest thoughts – if you’re going to spend this much on a machine, I want you to know the things I found in my research. Overall, I’d recommend xTool’s P2 over getting a Glowforge for the reasons I’ve outlined above.
How easy it is to set up the xTool P2?
The box was a big size and HEAVY, enough so that I had my husband help me carry it up to my second-floor craft room to place it on my IKEA craft desk for now. However, eventually, this will be used in my basement. I just don’t have the space for this in my craft room all the time.
Overall, it was packed well and was easy to unbox. Weighing in at nearly 100 pounds, this isn’t something I’m going to be able to move on my own like I can with my diode lasers. It’s a put-it-down and leave-it sort of thing. That’s not a deal breaker, because most CO2 lasers are like that, but it’s worth noting.

What comes in the xTool P2 Box?
I followed the booklet included in the box and setup took about 25 minutes – super easy! Along with the machine, the box included the power cables, a USB cable, an Exhaust hose, a User manual, Tools for assembling, cutting bed slats, supplies (clear acrylic and basswood), a funnel, and some antifreeze.
Truthfully the antifreeze threw me for a loop – I had never seen that before because I had never worked with this type of laser. Also, the water you need to mix with the antifreeze is not included – you want distilled or purified water – I used a water bottle. This is a crucial step before you can operate the machine, making it a little nervewracking. But I carefully did it and it went fine!
I attached the exhaust hose, to properly vent any fumes when cutting certain things – this should go out a window or door. I put my next to the window in my craft room. I also opened the other window all the way when I was using the laser. If you’re further from a window in your craft space, you can purchase longer hoses at the hardware store. You can also opt to run an air purifier while working. I plugged in the power and USB cords to my laptop and I was up and running. It can connect to your computer via USB or WIFI – if you have a newer MAC like me, you’ll need an adapter to go from USB to USBC, this is what I use.
What software do you use with an xTool P2?
xTool’s Design Software is called Creative Space. It’s free and feels like a paired-down version of Cricut’s Design Space. It’s pretty basic, but I do most of my designing in Canva anyway so I had no problem importing files to then use with the machine. You can install the program and then set up wireless connectivity to your machine. You do need to have it hard-wired to set that up, so you’ll have to plug in for set up – something to keep in mind.
I never have my other tools plugged in like printers or Cricuts so the wireless setting was a huge plus for me! I do all my Cricut stuff on my computer primarily so I didn’t notice this at first – but they don’t have an app version – just a desktop. So if you don’t have a computer (just a tablet or phone) this will be hard for you because you won’t have the technology to use it.
While I don’t think this is a direct competitor with Cricut, that is my frame of reference and I also know many of you have that as well.
What is the difference between a CO2 and Didoe laser machines?
CO2 vs. Diode Lasers
A Co2 Laser, like the xTool P2, uses a high-voltage power supply to charge gasses to create infrared light. That light is focused in the tube through the laser output window, through three mirrors, and finally through a lens. Because of this, they are typically more powerful – and don’t last as long as diodes over long periods.
A Diode Laser uses light is pushed through a lens where it is focused to a very narrow point to create your cut, score, or engrave. While these machines tend to last longer, they are weaker than the c02 lasers and can’t cut through some materials like clear and translucent acrylic. My xTool M1 and Glowforge Aura machines are diode lasers. You can click either machine name for a more in-depth run-through of those. If I had to pick my favorite diode laser, I’d recommend the M1 just because you get so many more features for around the same price.
The bottom line is that lasers are an investment, so be sure to check all the specs for yourself to see if they would be a good fit for you and your craft space.
How big is the xTool P2 machine?
xTool P2 Machine dimensions: 39.4″ wide x 25.1″ deep x 10.6″ tall
xTool P2 Machine weight: 98.8 pounds
xTool P2 Material max cutting area: 12.1″ wide x 23.6″ tall
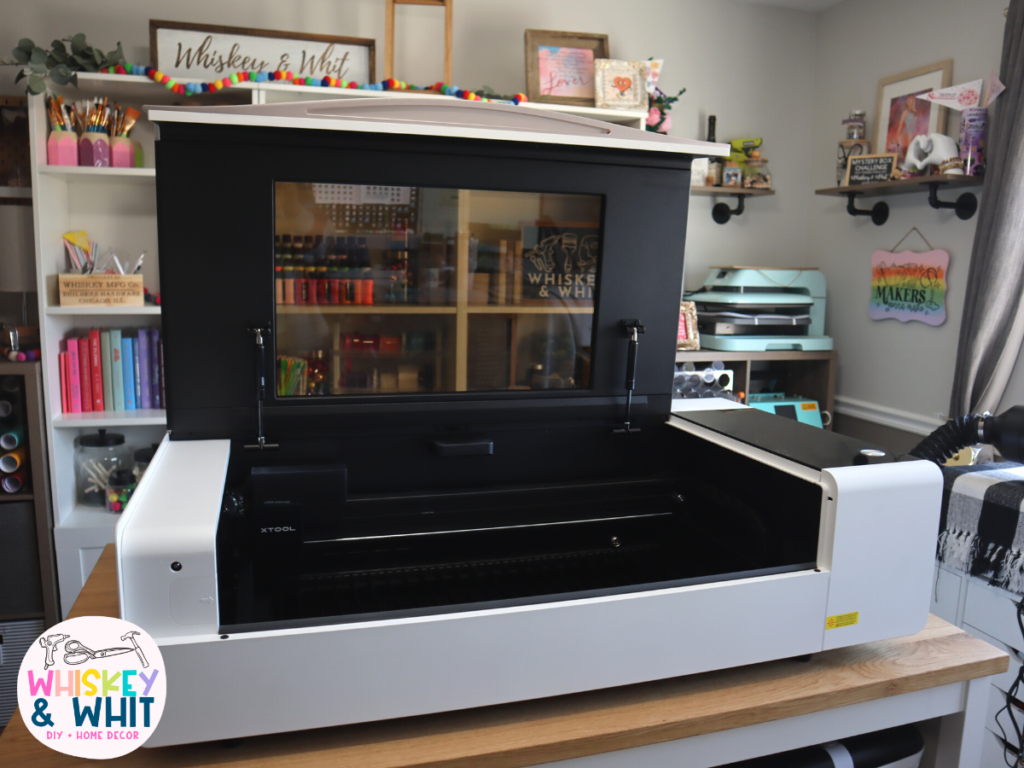
The lid swings open so you need clearance above it to open. This lid is also great because it has blue light blockers in it to protect your eyes from the laser while it’s doing its thing.
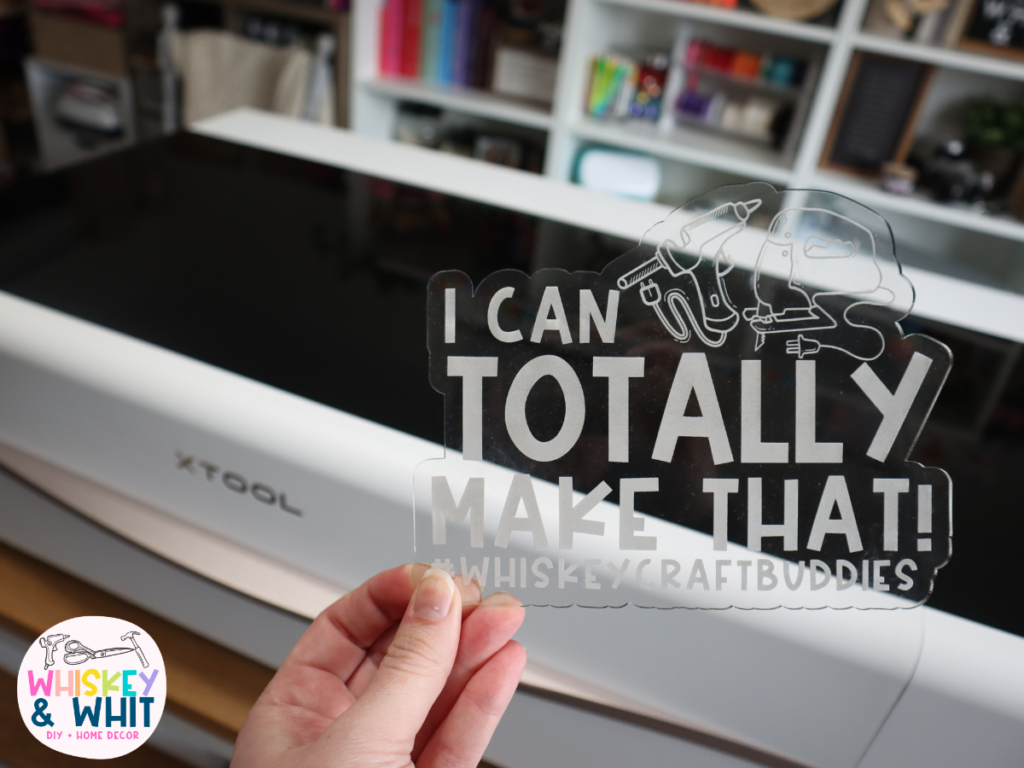
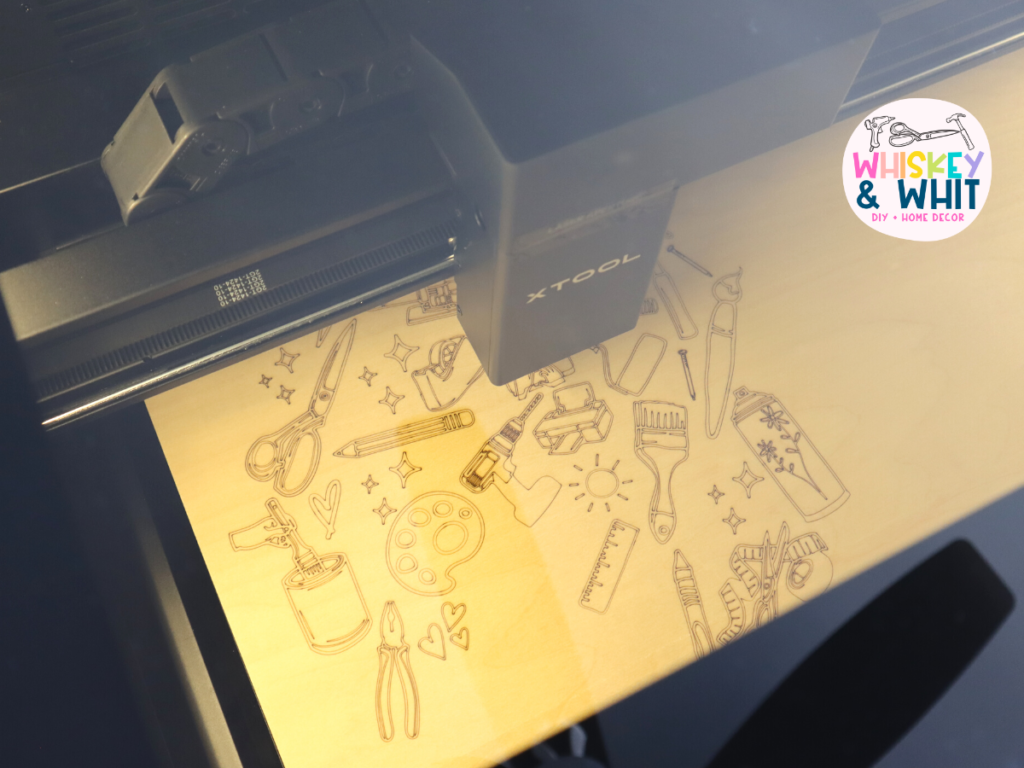
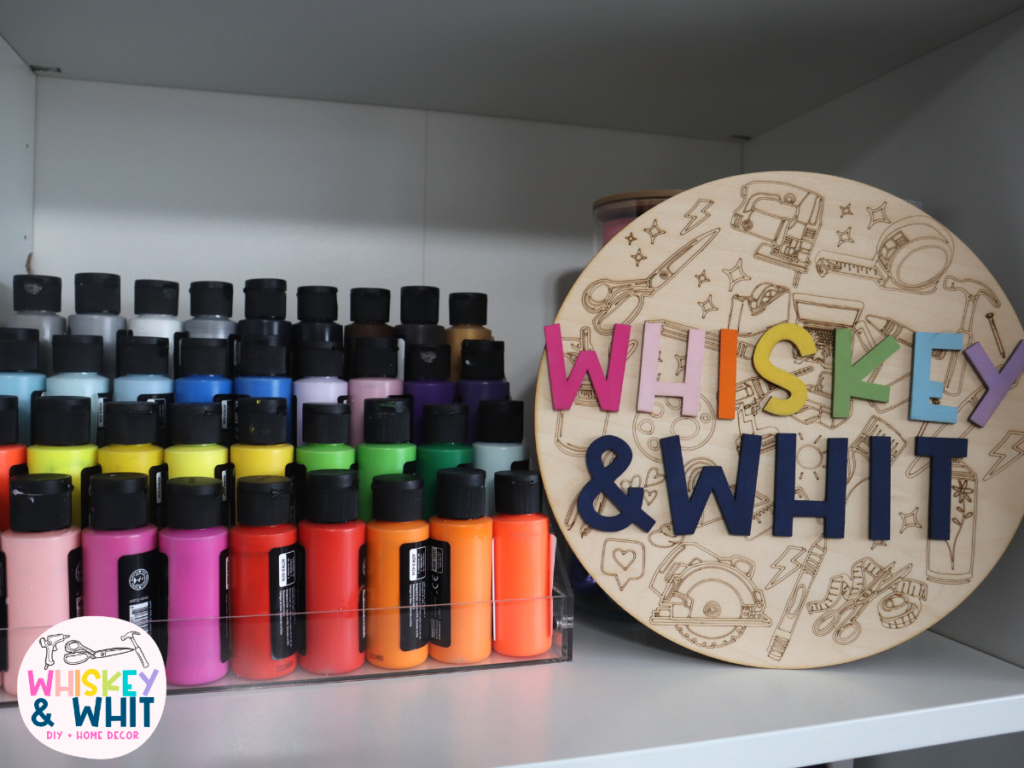
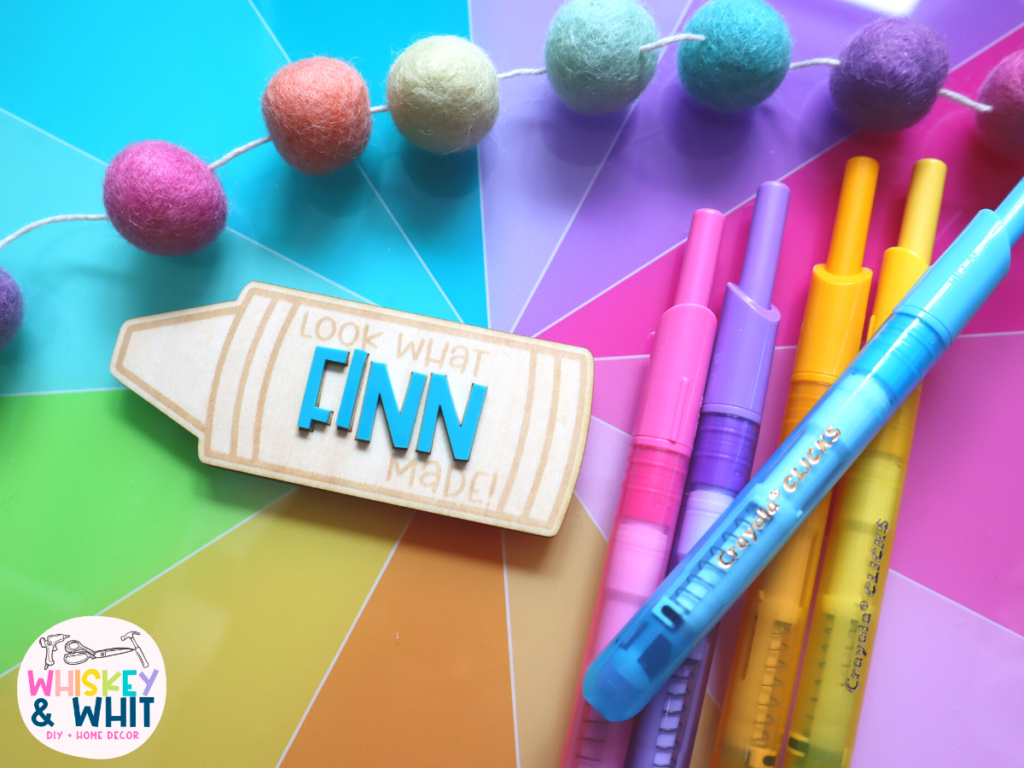
I used my machine to make a ton of different things in the video review – to see them all, check out the images below and then click to watch my full video!
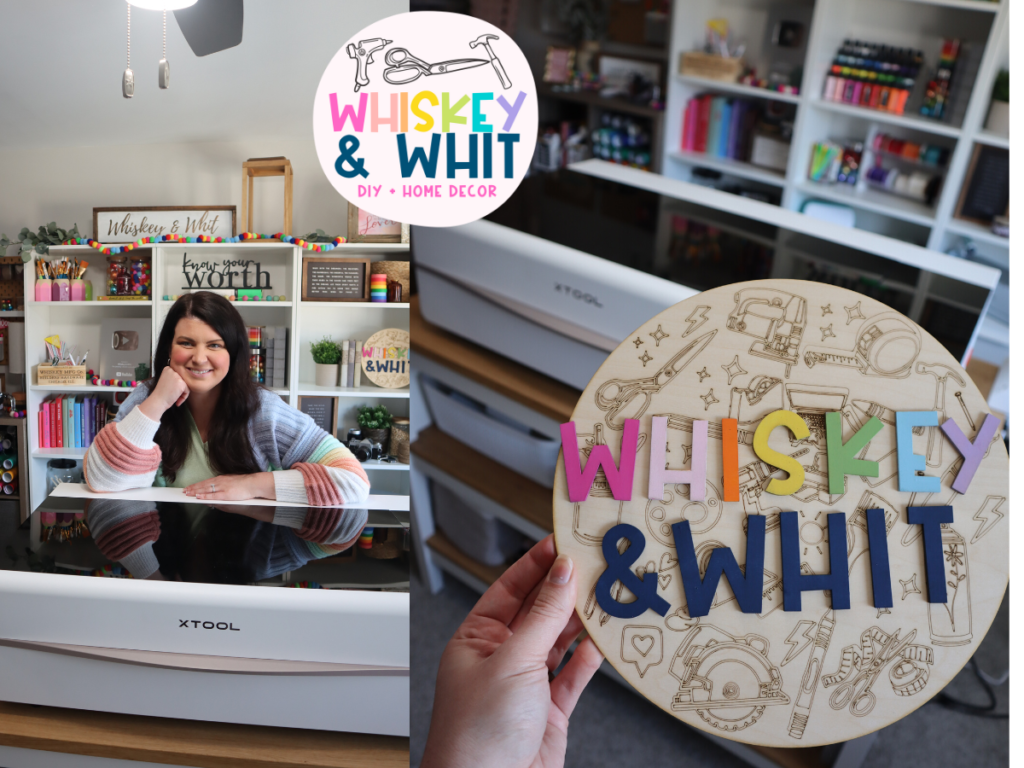
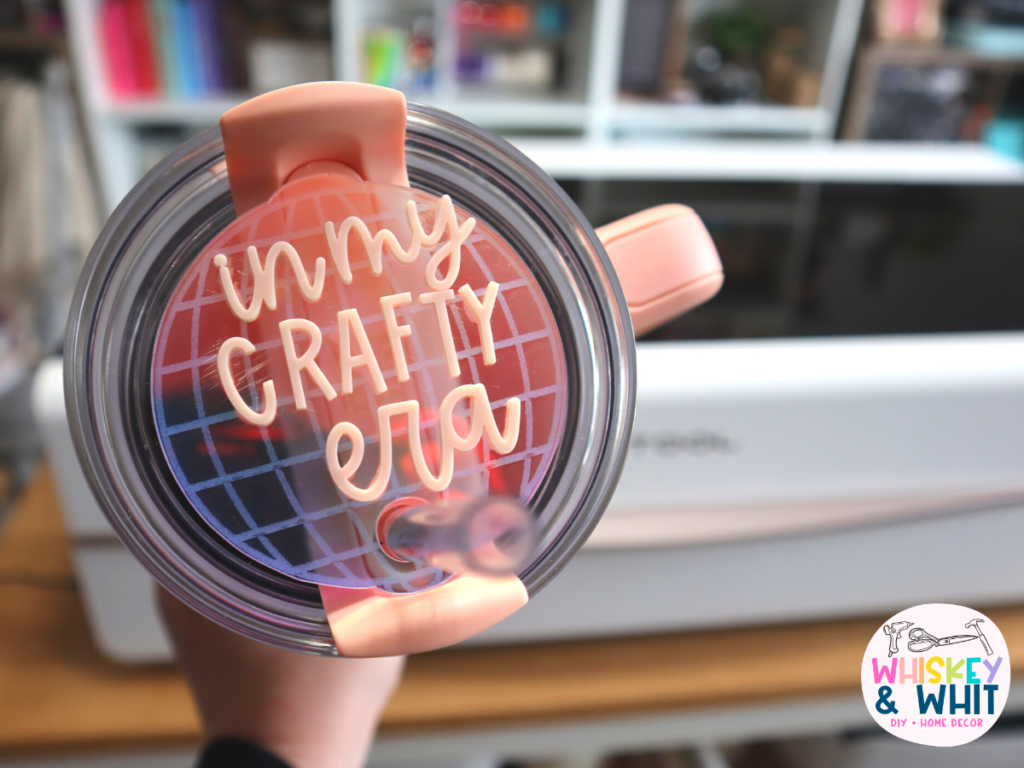
Watch my full xTool P2 Video Review
PIN NOW TO SAVE FOR LATER


Simply amazing! Love, love, love your style of teaching AND decor!