

Hello craft buddies and welcome to my home office and craft room! As someone who is blessed to craft for a living, I was so thankful to get a space in our home dedicated to my content creation business. Scroll down to see the full video!
In August 2022, we moved into a new home with an extra bedroom that I could make my own. In January 2023, I thought I had created a great space – and I did for a time – but after using the room for a full year, I learned what worked and what needed to change.
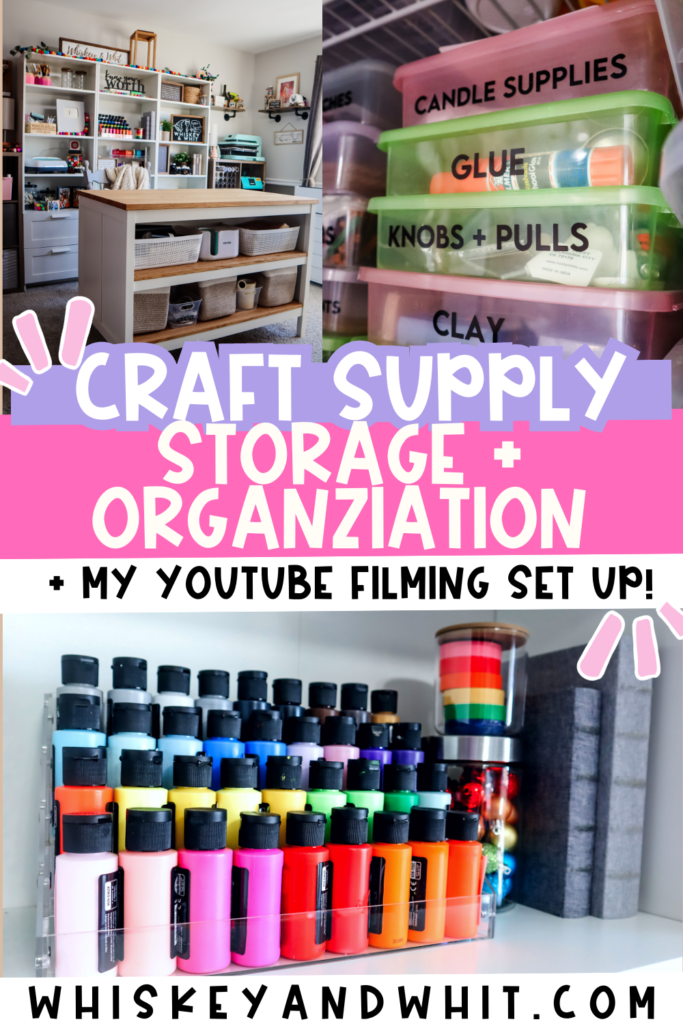
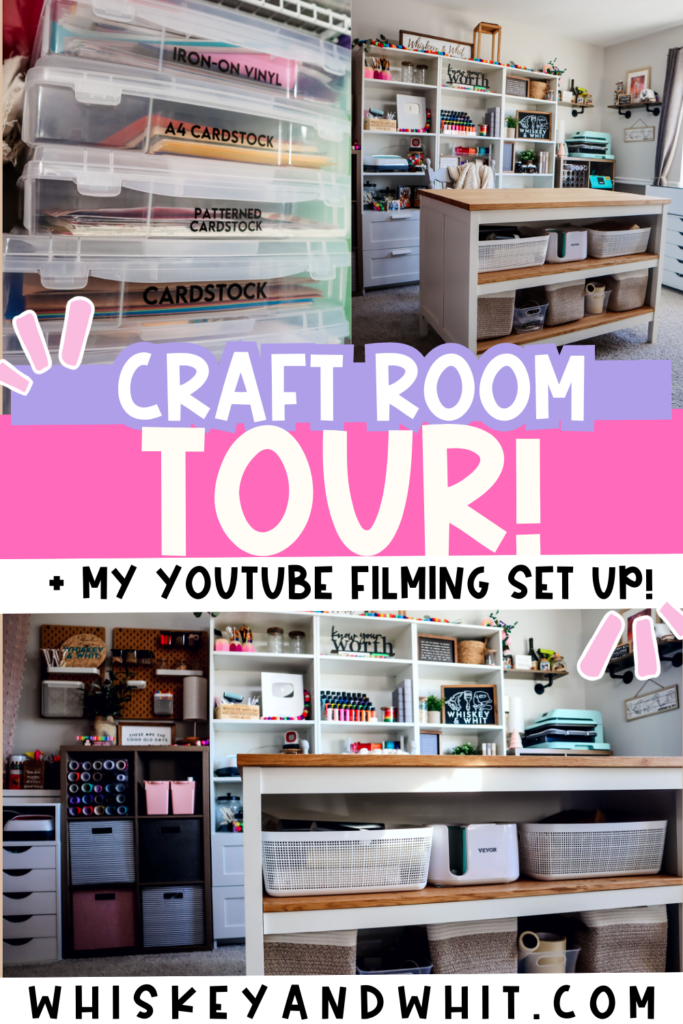
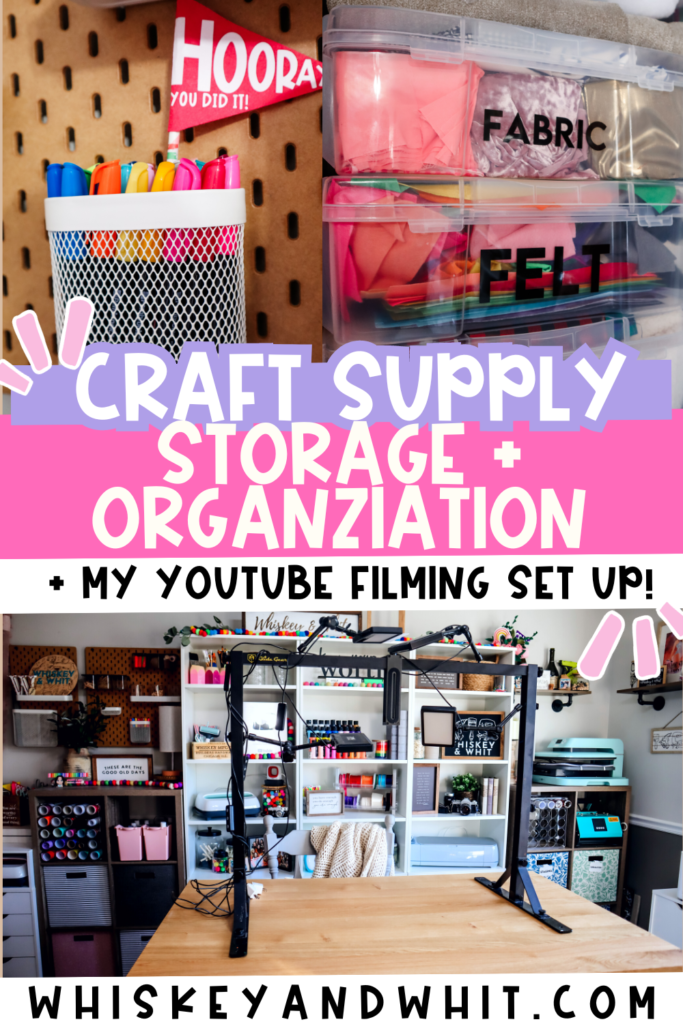
Today I’m sharing the process from start to finish of my recent overhaul and declutter of my space. I’m also sharing a full craft room tour where I run Whiskey & Whit to make all of my YouTube Videos, DIYS, Cricut Crafts, and more! I also have a full list of supplies and items I used at the end of this post you can reference if you’d like to get anything I share. Let’s get into it!

Why is an organized craft space worth it?
Have you ever looked at your workspace and felt overwhelmed by the clutter and chaos? It’s not uncommon to feel that way, especially when you’re busy and on the go, like I am. I spend most of my waking hours in my craft room office, and at the end of 2023, I knew something had to give.
I’m sure you know that an organized space can do wonders for your productivity, creativity, and overall well-being. And that’s something I needed – STAT.
I knew I needed some sort of separation of my work from our life as a family. Both my husband and I work from home, making it easy for both our jobs to bleed into our time together – not the best! I needed to be able to fully be present when I was working and to fully step away when I was not.

First and foremost, an organized space can help reduce stress and anxiety. When you’re surrounded by clutter and disarray, it’s easy to feel overwhelmed and frazzled. However, when you take the time to declutter and organize your space, you’ll feel a sense of calm and control. This can lead to lower stress levels and a more positive outlook on life.

In addition to reducing stress, an organized space can also boost your productivity and creativity. When you have a designated place for everything, you’ll spend less time searching for things and more time actually creating. This can help you stay focused and on-task, leading to more joy-filled crafting. Plus, an organized space can help spark creativity and inspiration. When your space is clean and tidy, you’ll feel more motivated to work and create.

Overall, having an organized space is crucial for your mental and emotional well-being, as well as for your productivity and creativity. So take some time to declutter and organize your space – you might be surprised at how much of a difference it can make!
Absolutely! Here’s a neatly formatted and organized version of your text, ready for a blog post, printable guide, or on-screen content:
Quick Tips & Tricks for Easy Craft Clutter Organization
✨ Ready to say goodbye to crafting chaos and hello to creative clarity?
These 7 simple steps will help you purge, organize, and stay tidy — so you can focus on what really matters: creating!
1. Assess, Sort & Purge Your Supplies
Start by gathering everything — drawers, boxes, shelves… you name it!
Pile it all in one spot and take inventory.
- Toss expired items, duplicates, or anything you won’t use again.
- Donate anything still in good condition — another crafter might love it!
2. Sort (Again), This Time by Category
Now that you’ve purged, regroup items by type:
- Fabrics
- Vinyl
- Cardstock
- Paints
- Tools
- Adhesives
- And any other materials you regularly use
This step helps you truly understand what you have — and what you might be missing!
3. Gather Storage Solutions That Fit Your Space & Supplies
There’s no one-size-fits-all here. Choose smart storage based on your space and needs:
- Bins & Containers – Ideal for rolls of vinyl, stacks of cardstock. Clear ones = bonus points!
- Drawer Organizers – Great for beads, buttons, washi tape, and tiny tools.
- Shelves & Rolling Carts – Use for bulkier items. Bonus: mobility!
- Hanging Storage – Pegboards and over-the-door racks = more counter space 🚪
4. Create Zones by Type of Craft
- Crafting Zone: Keep most-used tools and materials within arm’s reach.
- Less-used Items: Store higher up or in tucked-away drawers (yes, glitter, we mean you).
This prevents those “where did I put that?” moments and keeps you focused.
5. Everything Gets a Home
The secret to staying organized? Give everything a designated spot.
- Works in Progress: Use a tray or bin to hold ongoing projects.
- Portable Caddies/Bins: For crafting on the go — couch, kitchen table, etc.
Having a “home” for everything = easier cleanup + less stress.
6. Label Everything!
Seriously — labels are your best friend.
Use:
- Bold, easy-to-read fonts (hello, Cricut!)
- A label maker or hand-written tags — whatever works for you
Labeling makes finding AND putting things away so much easier. Plus, it looks super satisfying!
7. Establish a Maintenance Routine
You’ve done the work — now keep it clutter-free!
- Keep a Supply Inventory: Track your go-to items to avoid buying duplicates.
- Purge Regularly: Revisit your stash every few months, especially after holidays.
- Reorganize Periodically: As your collection grows (it will!), tweak your system to stay efficient.
✂️ Craft Clutter, Controlled!
You’ve got the steps — now go conquer that clutter with confidence!
A little effort now means a lot more creative joy later. 💖
Craft Room Organizing Tips
Organizing a craft room can be an incredibly daunting task (trust me I just did it), but with a little creativity and planning, it can also be a fun and rewarding experience.

Here are some tips to help you get started:
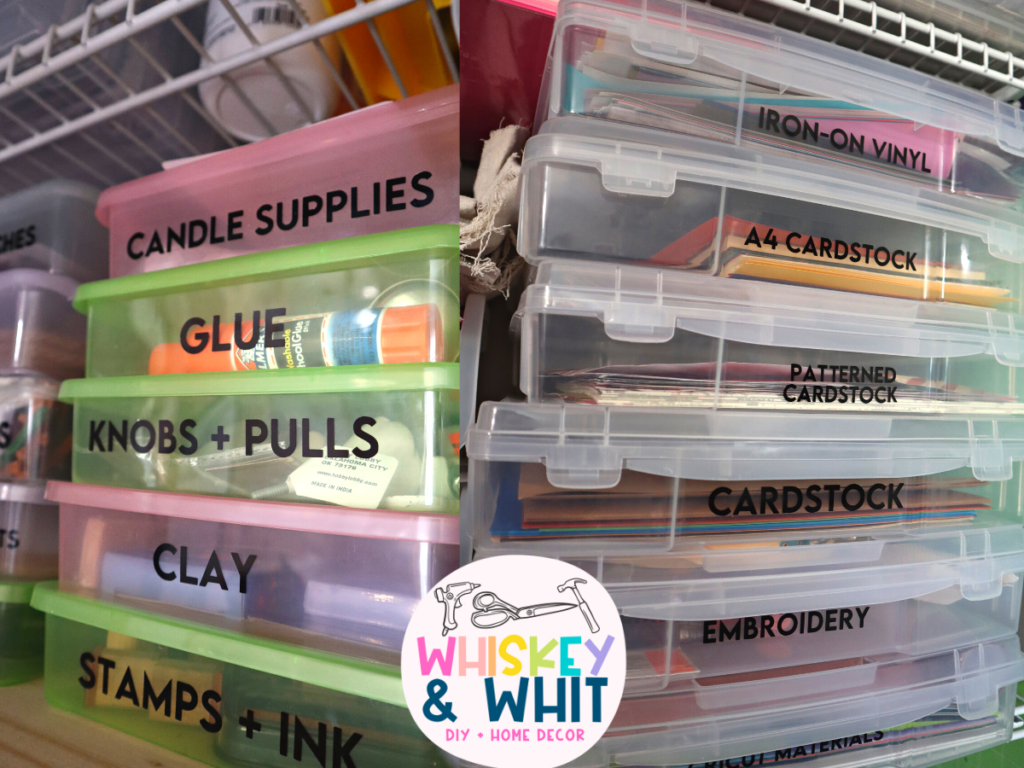
First and foremost, it’s important to assess your space and determine what kind of storage solutions will work best for you. This might include shelves, cubbies, baskets, or drawers, depending on the types and amount of supplies you have. Also, consider shopping other rooms of your home to see what you can grab and put in your craft space. Consider grouping similar items, such as all of your vinyl and paper products in one area and all of your felt and fabric in another, to make it easier to find what you need.

Another helpful strategy is to label everything. Whether you use a label maker, cut Cricut vinyl labels as I did, or simply print out labels on your computer, labeling your supplies and storage containers will make it easier to identify what you have and where it goes. In my craft room, I used the font Lemon Milk to label everything. You might also want to color-code your storage solutions to make it even easier to find what you need at a glance.
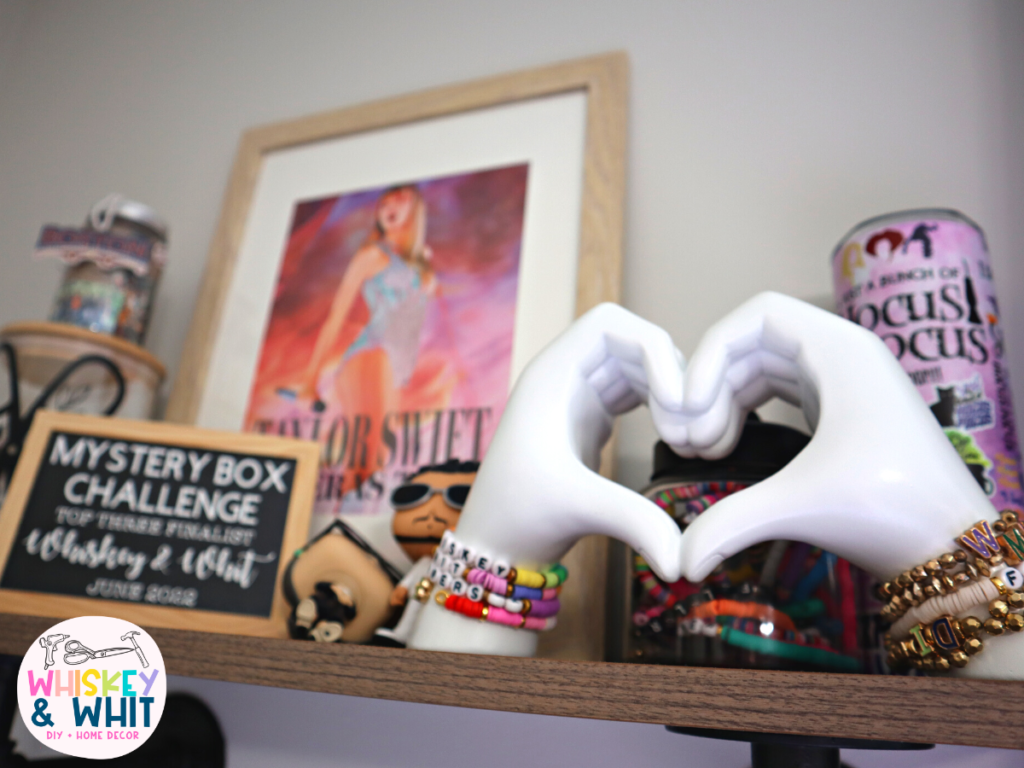
Finally, don’t forget to decorate your craft room in a way that inspires you. Hang up artwork or photographs that make you happy, display your finished projects on shelves or bulletin boards, or add some plants or other decorative elements to bring some life to the space. The more inviting and inspiring your craft room is, the more likely you are to want to spend time there creating. For me that’s inspirational signs, photos of my family and YouTube friends, plus a Taylor Swift-inspired shelf!
Shop My Craft Room
Craft Room Must Haves
Shop my craft room favorites on Amazon here.
Shop my favorite DIY supplies here.
Storage Items
Photo Organizer for Bracelet Supplies – link
Acrylic Drawer Organizers – link
Large Drawer Organizers – link
Craft Tools Organizer – link
Bin Clip Label – link
Fabric Bins for Island – link
Pencil Cup – link
Glass Jars for Beads – link
Ribbon Holder – link
Paint Shelf Organizer – link
Greeting Card Organizer – link
Over-the-Door Vinyl Organizer – link
Large Clear Bins (Fabric & Felt) – link
Michaels 12×12 Clear Bins – link
Smaller Bins for Printer Paper – link
Snap Bracelets for Vinyl – link
Hanging File for Vinyl Scraps – link
Ribbon Organizer – link
Acrylic Vinyl Storage – link
Pink Cord Organizer – link
Tech Must-Haves for my Home Office Craft Room
Clamp-on Plugs – link
Sleek Outlet – link
Vertical Tower Power strip – link
Cord Bin for Desk – link
Square Power Strip – link
Pink Cord Box – link
Zoom Call Ring Light – link
Monitor – link
Laptop Stand – link
Furniture
Cube Organizers – link
Bins – link
White Towers – link
xTool Table – link
Large Rolling Cart – link
Ribbon Rack – link
Small Cart – link & Topper – link
Large Cart – link
Divider – link
Peg Board – link
Standing Desk – link
Drawers – link
Desk Chair – link
Craft Tools & Decor
Colorful Scissors – link
Cricut Maker 3 – link
Cricut Dust Cover – link
HTVRont Auto Press – link
Vevor Mug Press – link
Lg. Mug Press – link
Small Lamps – link
Bracelet Heart Hands – link
Digital Clock – link
Cord Grabber – link
iPad Stand – link
Bulletin Board – link
Taylor Swift Pins – link
YouTube Filming Set Up & Supplies
Shop my tech favorites on Amazon here
Filming Camera – link
Vlogging Camera – link
Tripod – link
Ring Light – link
Umbrella Lights – link
Editing Mic – link
Desk Arm for Mic – link
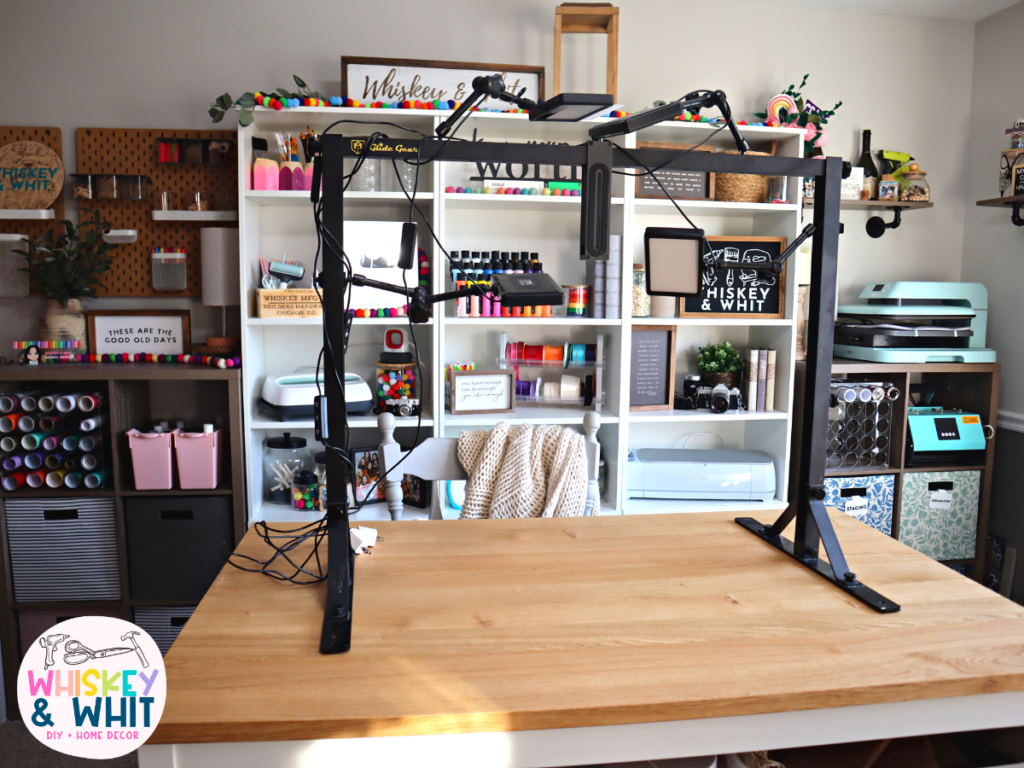
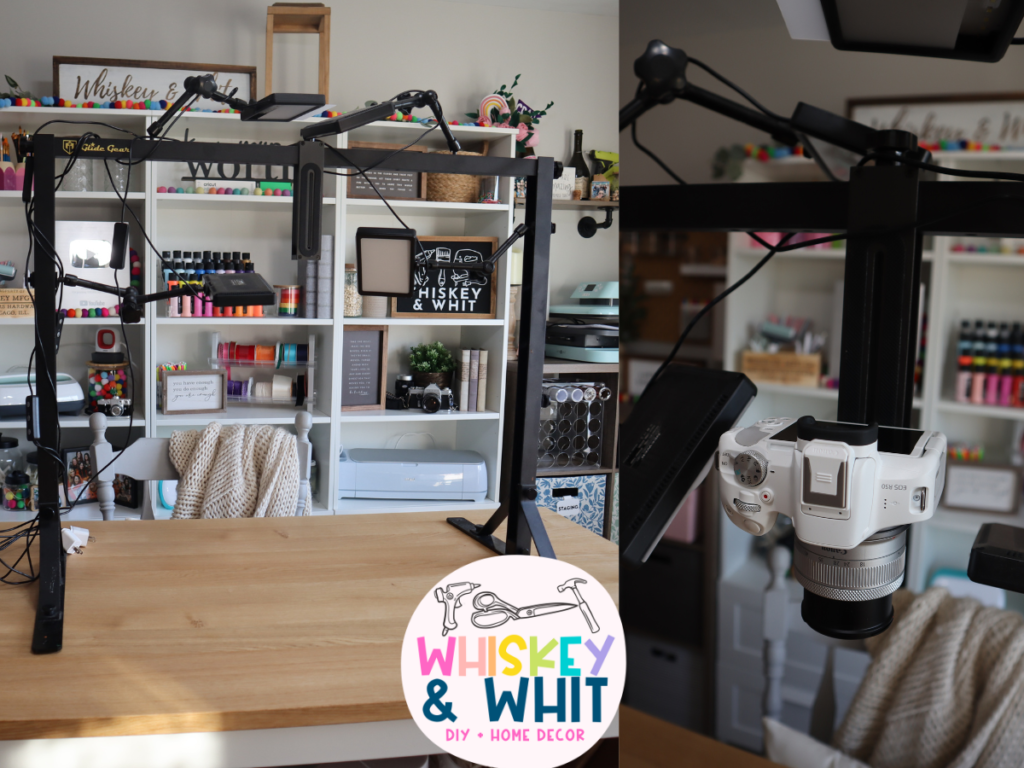
One of my most-asked questions about my filming is – how do you get the shots above your hands when you craft? It’s this contraption called a Glide Gear. It allows you to add lights and a camera to film.
In conclusion, organizing a craft room can be a fun and rewarding experience if you approach it with creativity and planning. By assessing your space, choosing the right storage solutions, labeling everything, and decorating in a way that inspires you, you can create a craft room that is both functional and beautiful.
Watch my Craft Room Office & YouTube Studio Tour for 2024


Hi, Whitney! Really appreciate your recent YouTube on craft room organization. Just an FYI that stationary describes non-moving things; stationery is for writing supplies.
Oops – thank you!