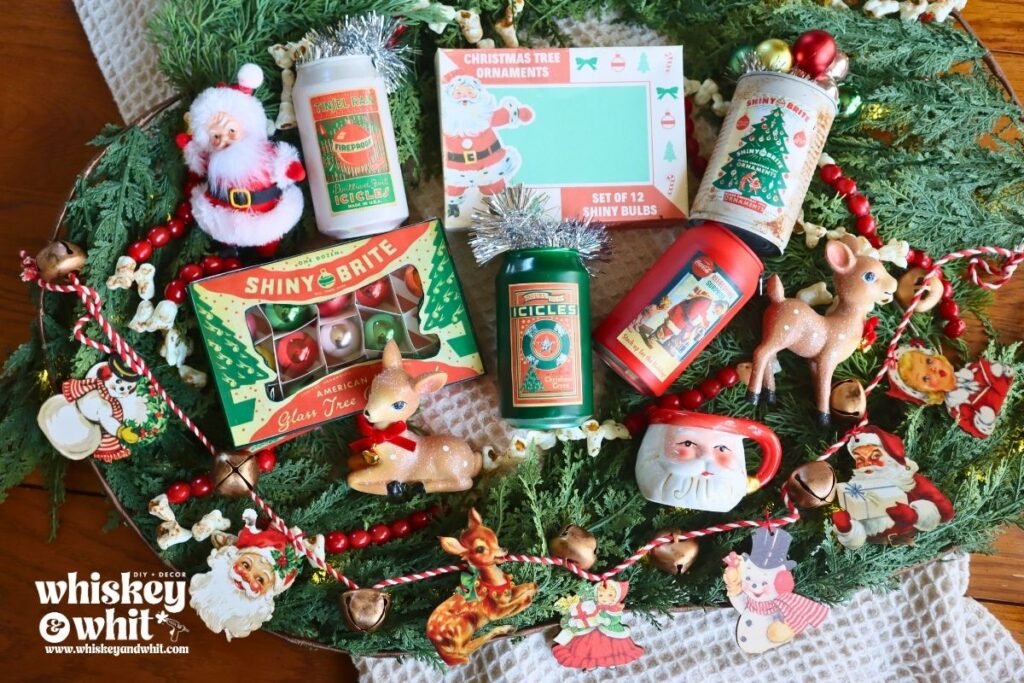
The Mystery Box Challenge is back, and this round is extra special because I’m the co-host! That means I got to call the shots. I researched the top Christmas decor trends for 2026 and gave every DIYer in the group their own trend to work with. Everyone had to make at least one project inspired by their trend, plus use a tin can from their own recycling bin.
My trend? Vintage throwback Christmas. If you’ve been around lately, you know I’ve been all in on vintage vibes this year.
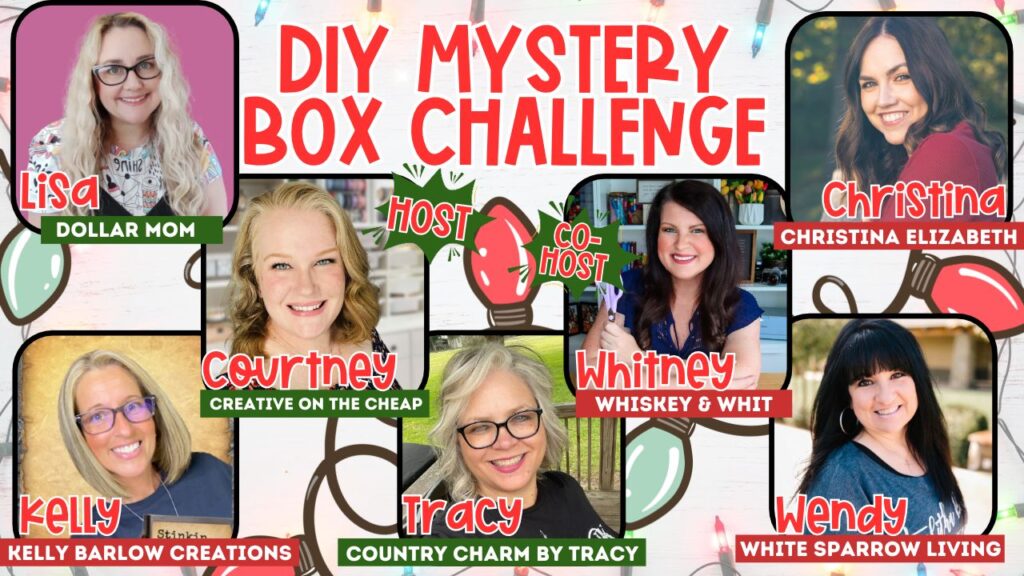
My box came from my real-life friend and longtime challenge sparring partner, Courtney at Creative on the Cheap. She knows I hate glitter. She sent glitter anyway. She is officially on the naughty list. But as we always say, you get what you get and you don’t throw a fit!
Then head over to Wendy at White Sparrow Living to see what she made with the box I sent her, and work through the playlist to see everyone’s projects. Which project are you making first? Let me know in the comments!
What Was in the Box
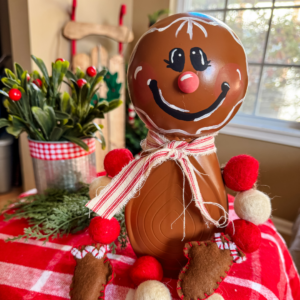
Courtney sent me hunter green paint, jingle bell ornaments, a little gingerbread treat, red embroidery floss, a Hobby Lobby popcorn and cranberry garland, wax seal style stickers, glittery vintage Santa and reindeer fabric, a glittery holiday pick, and the challenge item: a roll of 19-cent clearance window clings. Thanks, Courtney!
Project 1: DIY Fabric Stamps
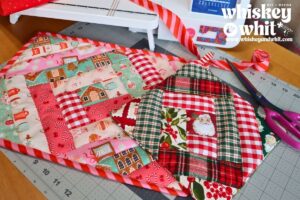
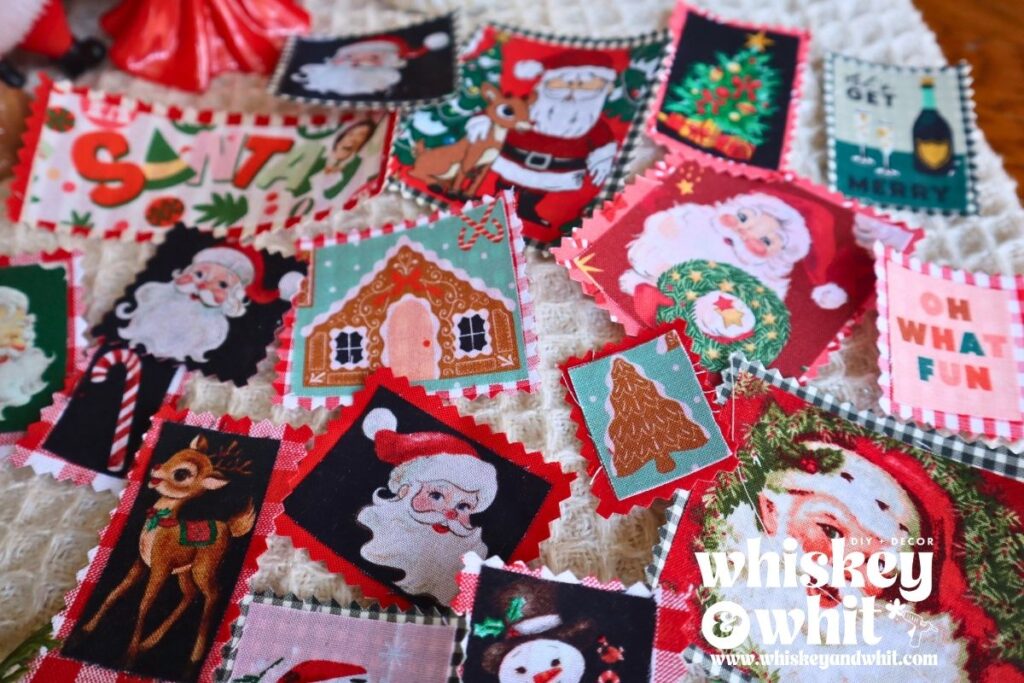
I learned this one from my friend Maggie at Joy in the Seam. Cut the cute graphics out of your fabric as rectangles and press them onto the adhesive side of HeatnBond Ultra Hold (Maggie uses Steam-a-Seam, which works too). Use just the tip of your iron so you don’t get adhesive on it. Once they cool, trim them, peel off the backing paper and press them onto a plain backing fabric. Then trim around each one with pinking shears so it looks like a postage stamp.
These are perfect for fabric scraps or cheap fat quarters from Walmart or Dollar Tree. Iron them onto a tote bag, a denim jacket or a notebook cover!
Project 2: Antique Farmhouse Popcorn and Cranberry Garland Dupe
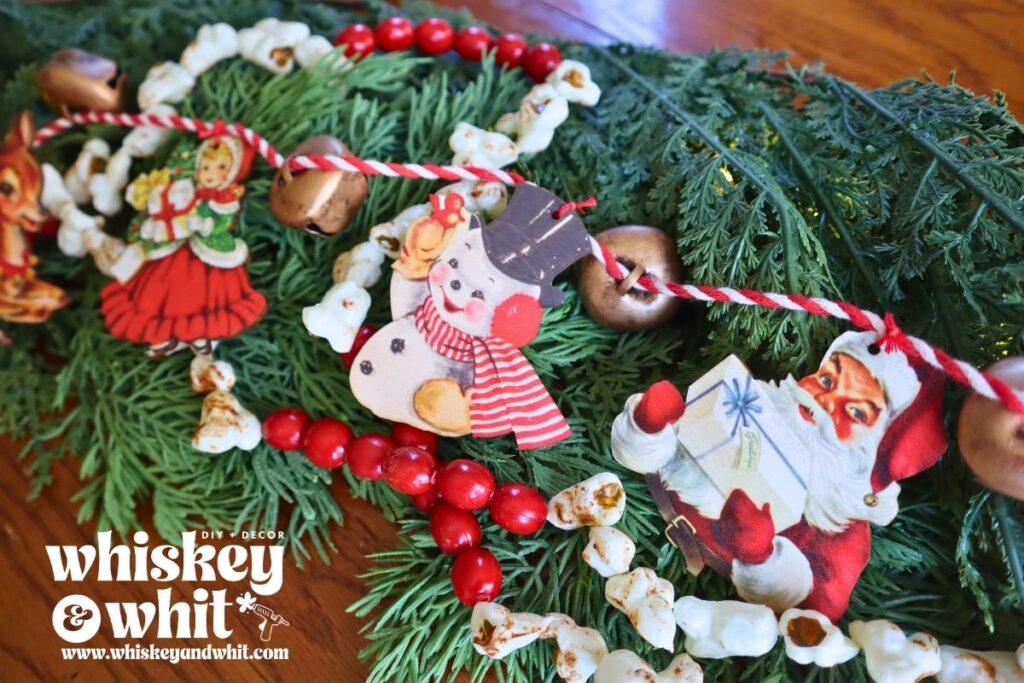
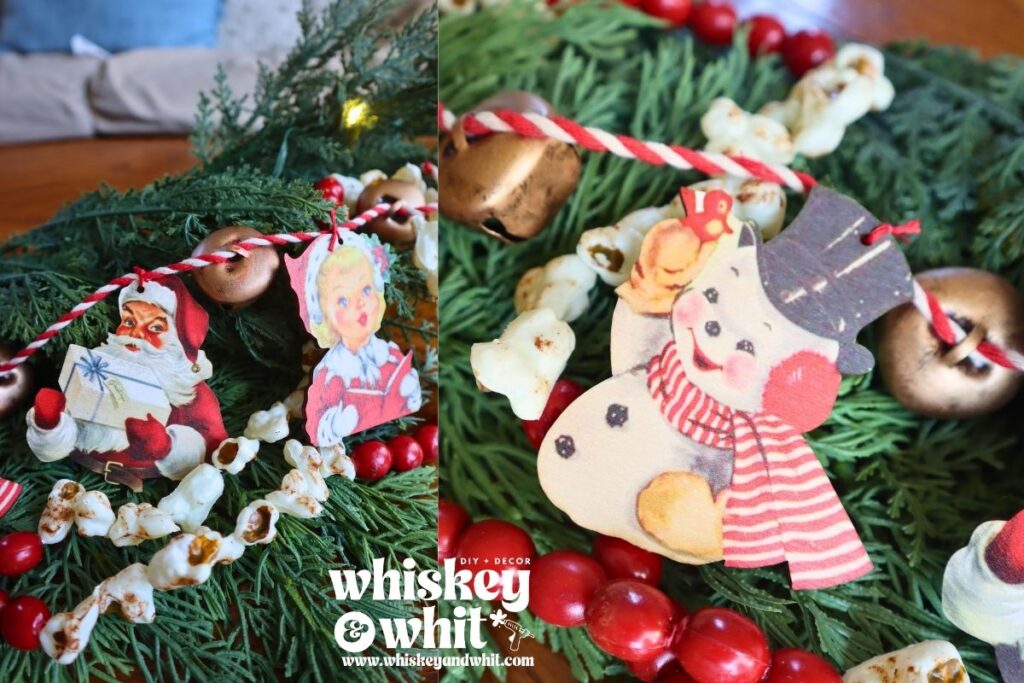
I cut the fishing line on the garland and restrung it in a pattern of six cranberries and eight pieces of popcorn, which looks much more hand-strung. Then I mixed Mod Podge with cinnamon and brushed it over the popcorn for a toasty, browned look. Bonus: it smells amazing.
Project 3: Vintage Jingle Bell Picture Garland
I took the bells off the jingle bell ornaments, added two more from my stash and spray painted them espresso. Wit tip: Dollar Tree cooling racks keep your pieces off the table, and round things like bells sit in the slats so they don’t roll away! Once they were dry, I rubbed on antique gold Rub ‘n Buff with a gloved finger for a weathered look.
I strung them on red baker’s twine (a $7.99 HomeGoods find) along with vintage printed wood picture ornaments from Amazon. I hung the pictures with Courtney’s red embroidery floss so they blend into the twine and face forward.
Project 4: DIY Vintage Ornament Box
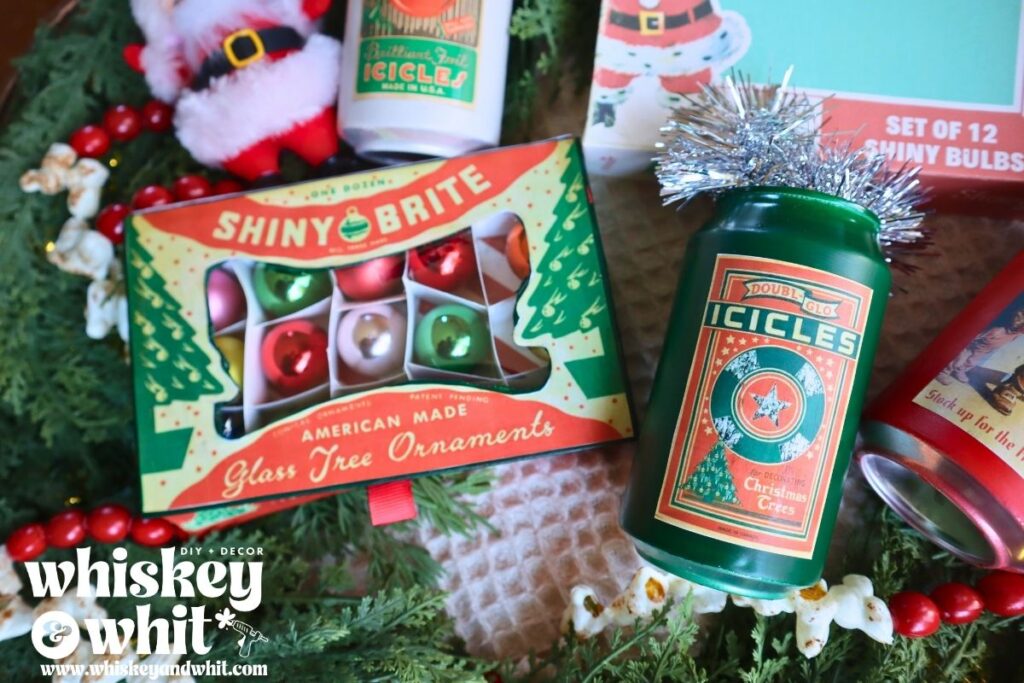
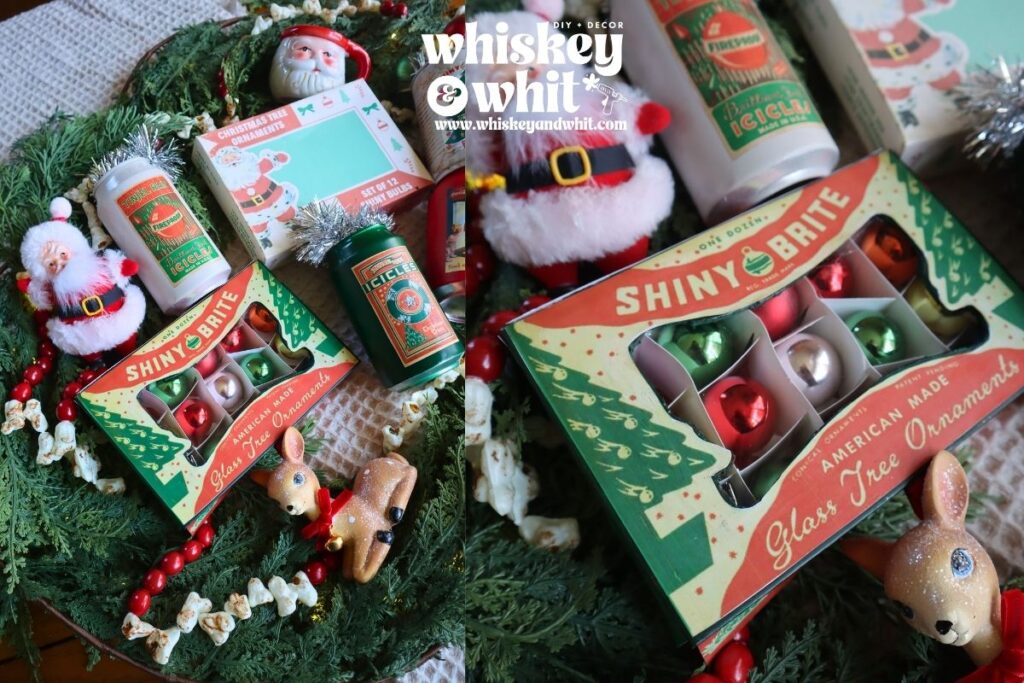
I wanted a vintage ornament box for my hutch, but the one I found was $30 and I didn’t need the ornaments. So I made my own from the gingerbread box! I bought a vintage ornament box printable on Etsy, traced the window opening onto the lid and cut it out with a hobby knife. Then I sanded the edges and painted them with Courtney’s hunter green so no gingerbread shows through.
I Mod Podged card stock to the bottom of the box and the printable to the outside. I print on photo paper because it keeps inkjet ink from smearing, and matte Mod Podge keeps it from getting too shiny. For the ornaments, I used baubles from a clearance Michaels garland. I made the box dividers from the window cling backing and hot glued a clear treat bag inside the window so it looks store-bought. Vintage Photo Distress Ink on the corners finishes the aged look.
Project 5: Retro Tinsel Tin Cans
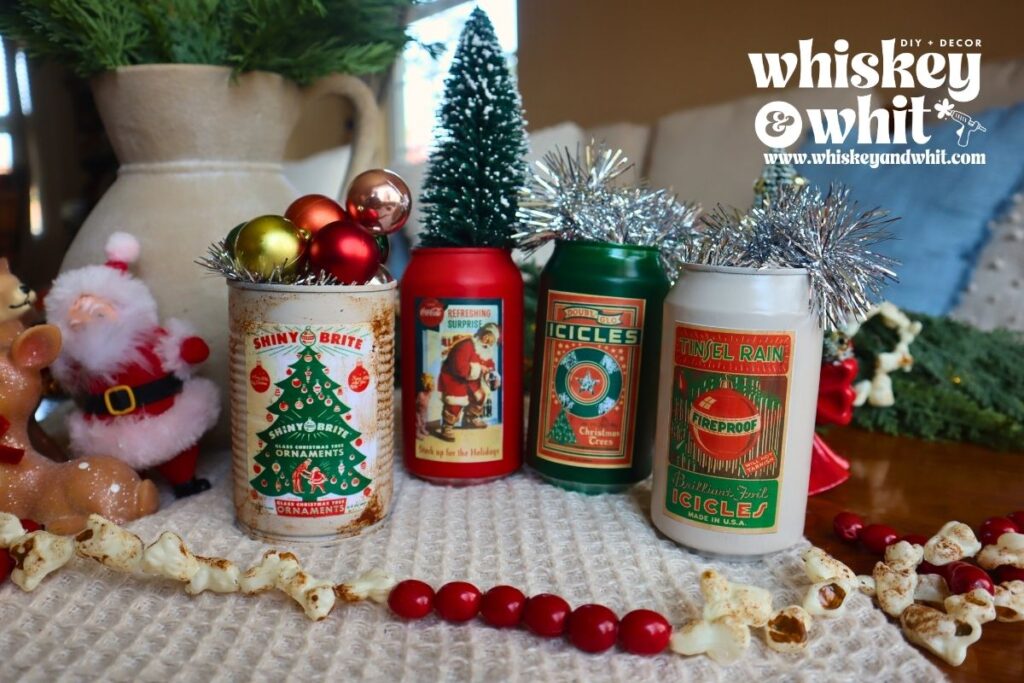
Here’s the recycled tin can twist! I also pulled pop cans from recycling, took the tops off with a can opener and spray painted them. Put something heavy inside while you spray, or they will fly away on you. I sized vintage graphics to 3 1/4″ tall in Google Docs and Mod Podged them on, then distressed the cans for an aged, rusty look. Wired tinsel from Walmart poses perfectly popping out the top, and a few extra baubles hot glued in tie them to the ornament box.
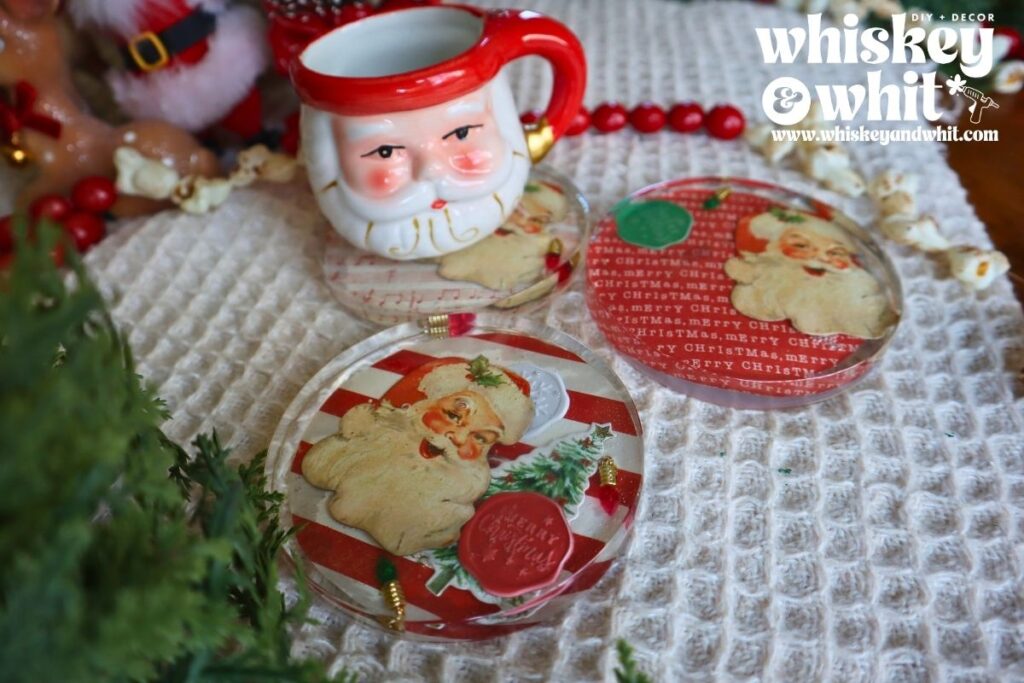
Project 6: The Window Cling Resin Coasters (aka My Happy Accident)
I had a vision: tiny vintage scrapbook scenes inside resin coasters. I cut circles out of the window clings to use as ornaments on bottle brush trees and added bows, wax seals and little embellishments. It was coming together beautifully until I started pouring resin and realized I’d planned for the height and width but completely forgot about depth. The trees were way too tall. Then I ran out of resin.
I gave the trees a haircut, pulled things out, poked at everything and hoped for the best. The next day? They actually looked like my vision! There are bubbles, and probably a dog hair or two, but I turned the worst one into an ornament for my craft room tree, and the rest are perfect hot chocolate coasters.
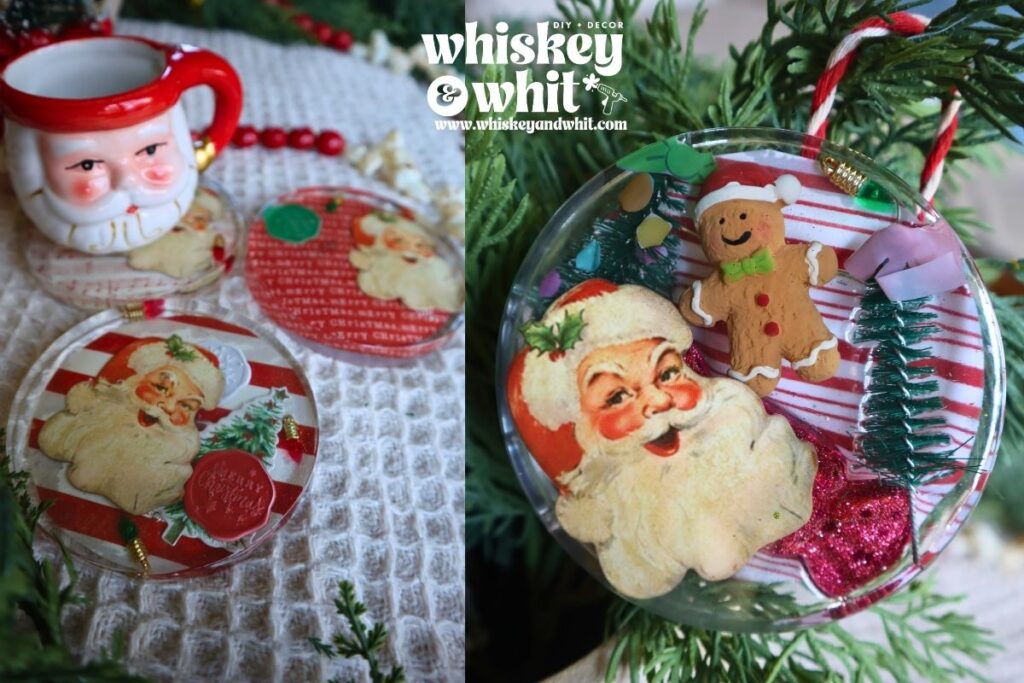
Here’s why I’m sharing it: so many of you tell me you’re scared to mess up. I do this for a living and I still mess up! Give it a try anyway, because you never know what joy is waiting on the other side of a happy accident.