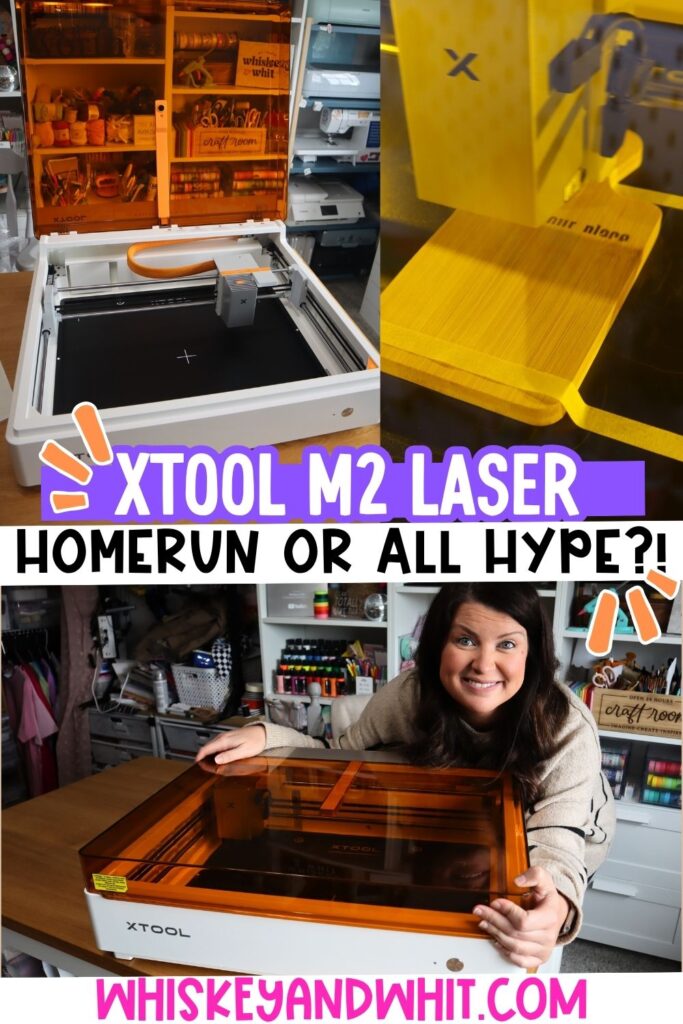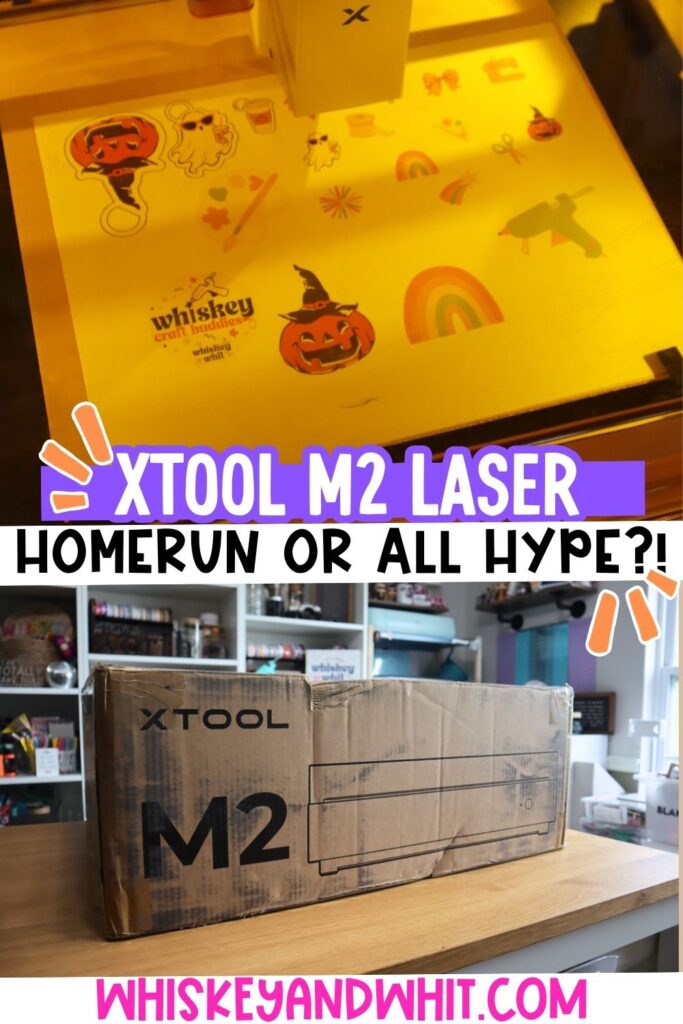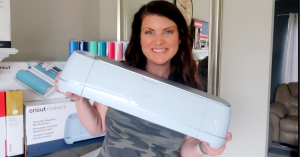

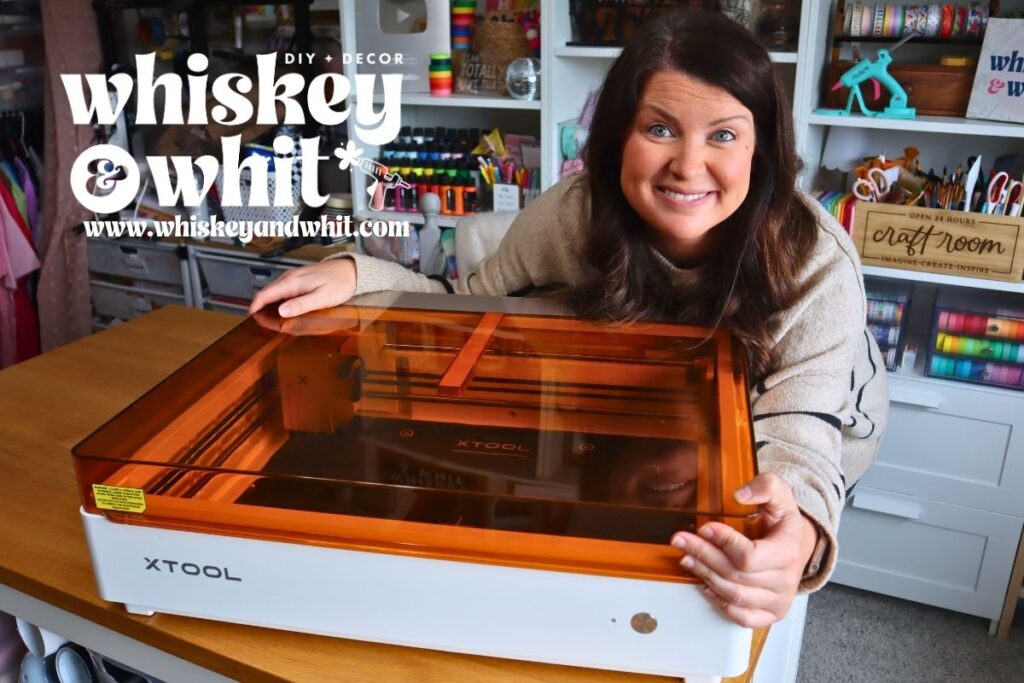
Lately, my feed has been covered in projects made with the new xTool M2, and I kept seeing creators say the print-then-cut feature means they’re ditching their Cricut for good. I’ve had my xTool M1 since 2023 and really like it, so I had to test that claim for myself.
Quick disclosure before I dive in: this video is sponsored by xTool; they sent me the M2 to test, and this post contains affiliate links. All opinions here are mine.
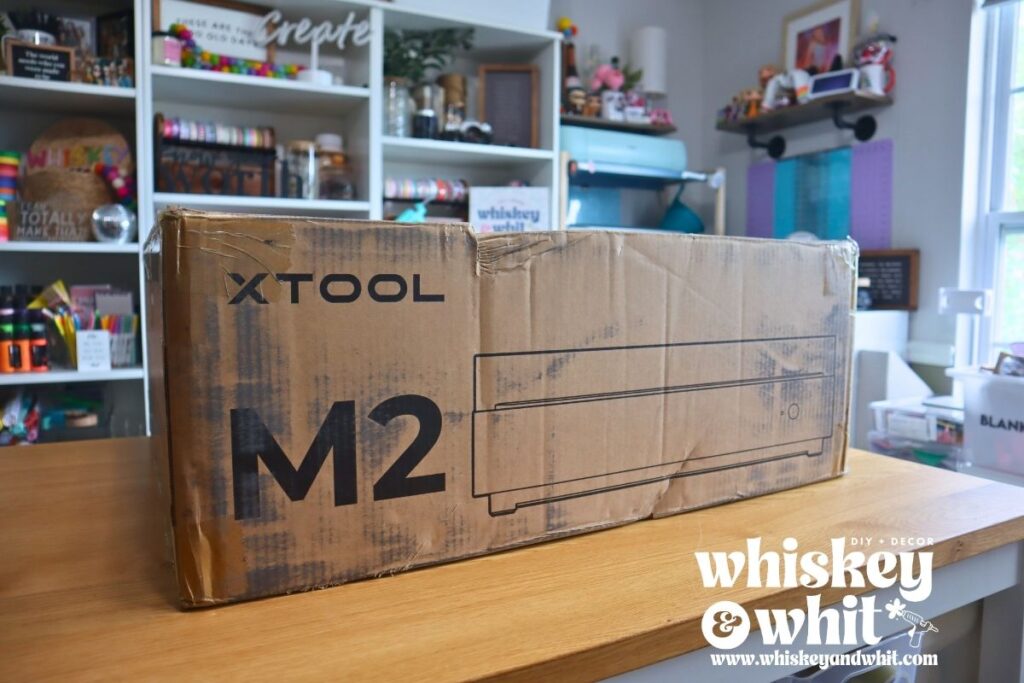
Setup and What Makes It Different
Out of every xTool machine I’ve reviewed, the M1, my P2 CO2 laser, and now this one, the M2 had the easiest setup by far. They’ve got videos walking you through unboxing and calibration, which made a real difference for me.
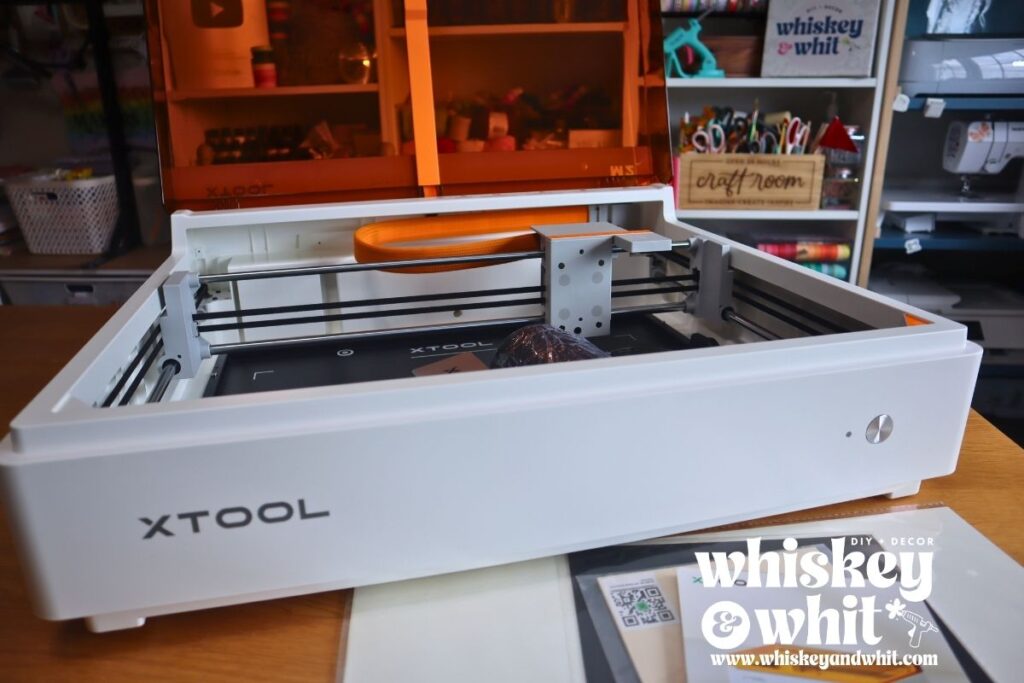
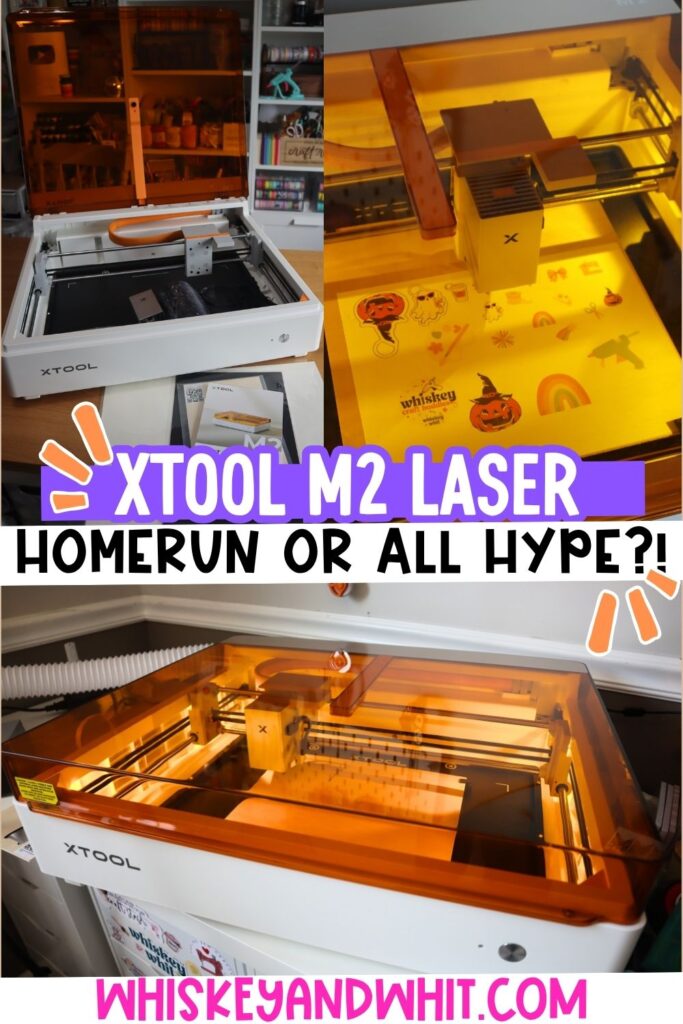
It’s not just a laser; it’s got a magnetic module system so you can add a full-color inkjet print head or a rotary attachment. It comes in a 10-watt or 20-watt option; I have the 10-watt. It weighs under 30 pounds, is class one laser-safe, has blue-light lid protection, and now has two cameras instead of one: a close-up and a wide view.
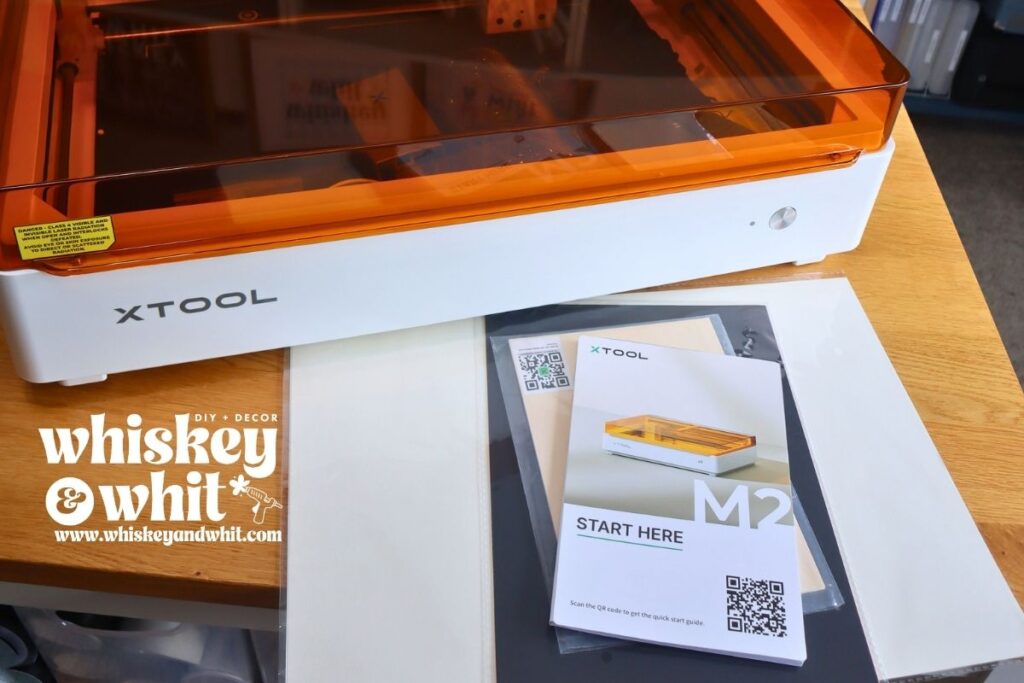
One heads-up if you’re the type who cares about a pristine machine: the M2 doesn’t have riser slats like the M1 did, so your cuts will score the base plate underneath. xTool sells an extra base plate to protect it, I wish I’d grabbed one before I started.
What You Can Cut and Print
The M2 cuts laser-safe wood, opaque acrylic, paper, cardstock, cardboard, foam, MDF, leather, and felt. Important note if you’re coming from a Cricut: printable adhesive vinyl is not the same as PVC-free sticker paper that’s safe to laser cut. Always check for a PVC-free label before putting vinyl or sticker paper anywhere near a laser, that’s a safety issue, not just a quality one.
On the print side, you can print on paper, cardstock, sticker paper, wood, canvas, fabric, felt, leather, and glass.
Testing the Laser: Etsy Files, Atomm, and a Jack-o-Lantern Witch
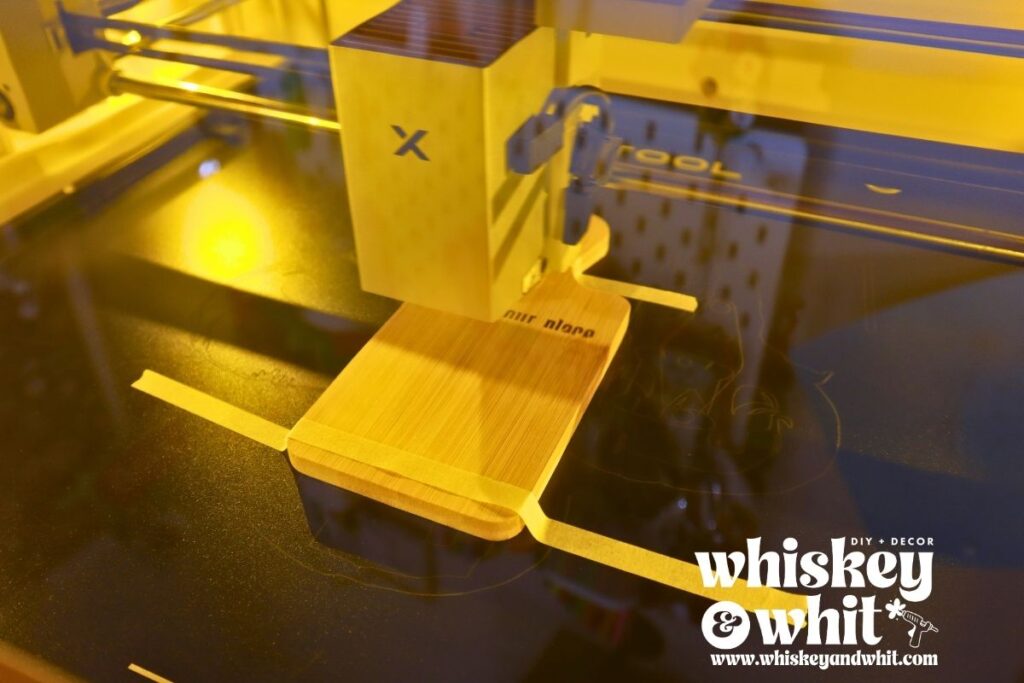
The camera feature is a huge differentiator here, instead of guessing where your design will land, you see it live before you commit. I tested it engraving a logo onto a cutting board and it was quick and precise.
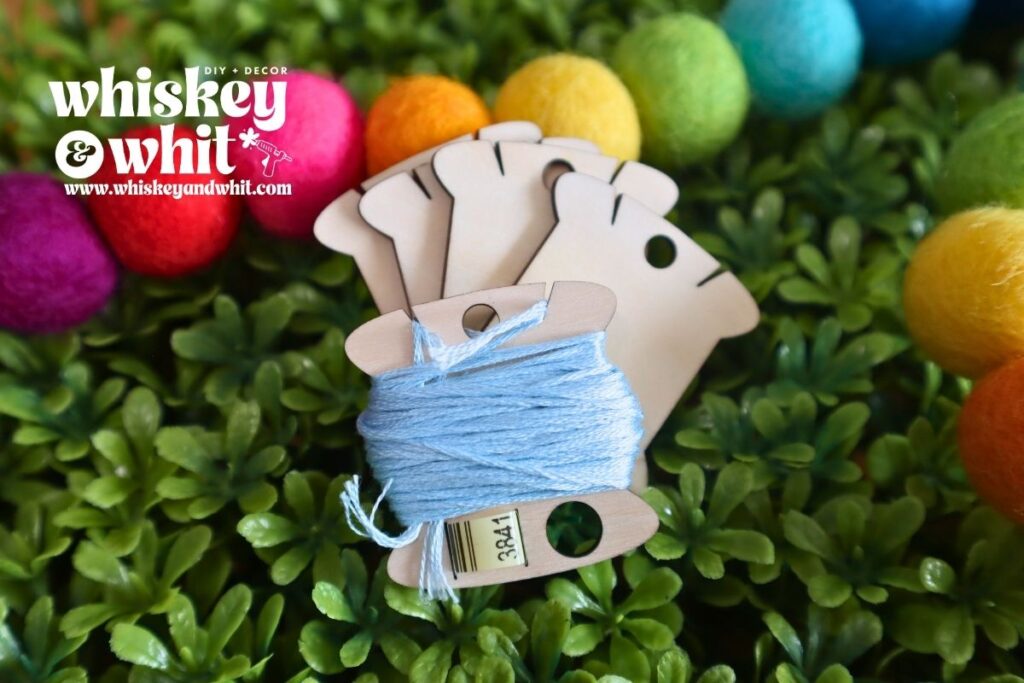
From there I cut a couple Etsy files, a Starbucks gift card holder and some embroidery floss spools, both came out clean using the pre-set material settings, which I’d recommend if you’re not ready to dial in your own settings yet. If you don’t want to spend time hunting down SVGs, xTool also has a platform called Atomm with a library of ready-to-use templates and an AI generator, I’ll link that below.
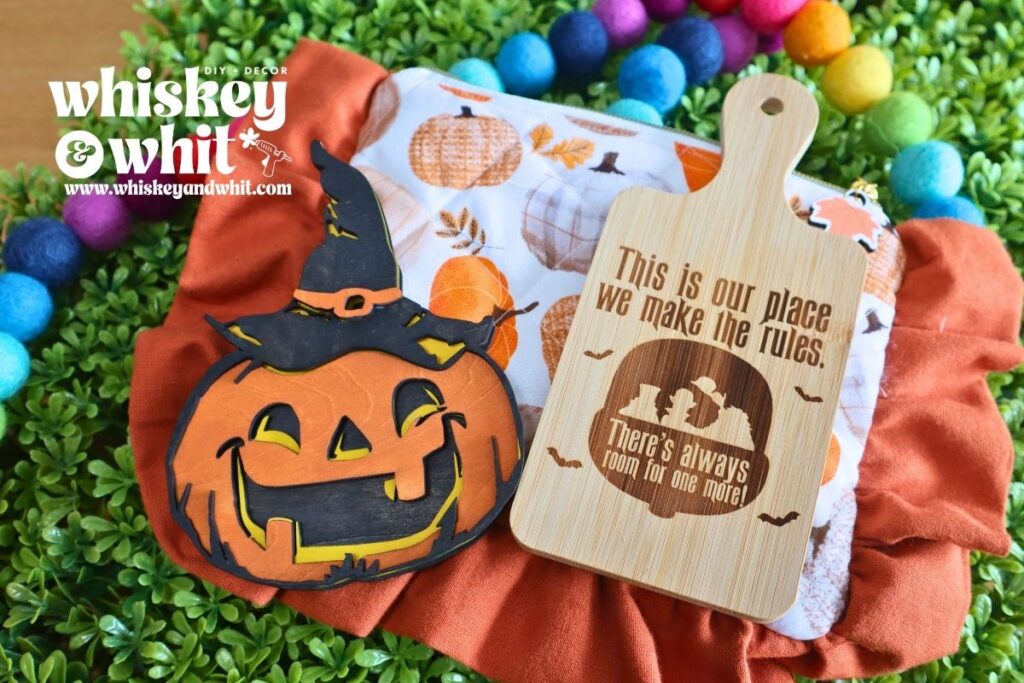
I also cut a delicate multi-piece jack-o-lantern witch SVG in under 10 minutes, painted it, and glued it together. This is a great one if you’re into wood paint kits, girls’ night projects, or selling finished pieces.
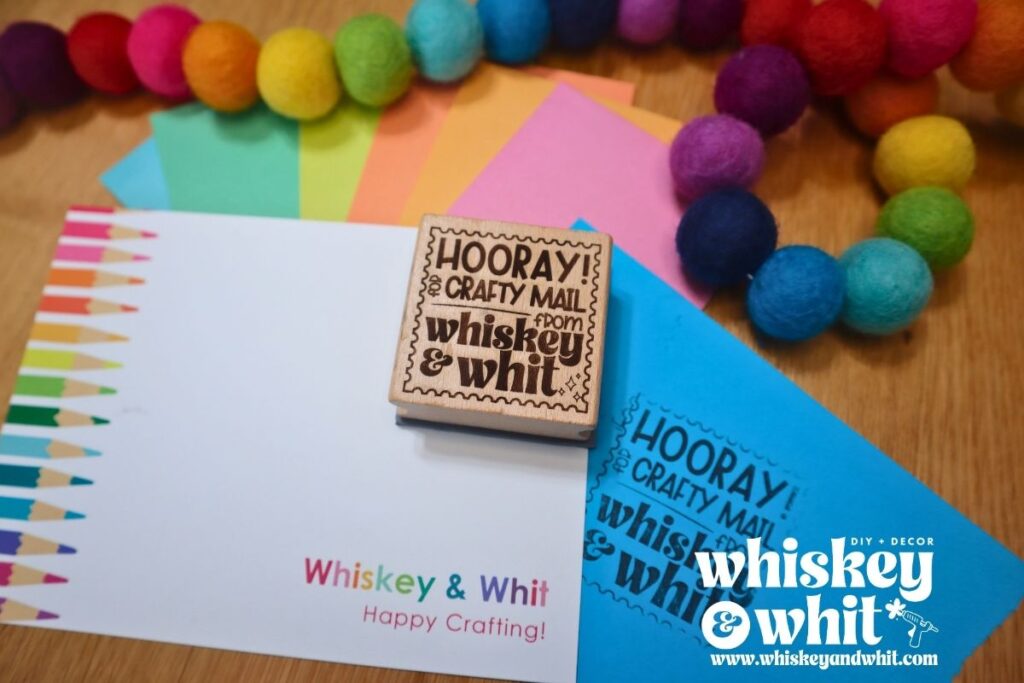
Once I was warmed up, I made a custom stamp from scratch using the design software’s exclude tool to etch out everything except the stamp shape. That project alone sold me on how much this machine can do beyond basic cutting.
Diode vs CO2, Quick Version
The M2 is a diode laser, which is different from a larger CO2 laser like my P2. Neither is “better,” they’re built for different jobs. Diode lasers can struggle with clear, translucent, or light-colored acrylic specifically, so if that’s a big part of what you want to make, a CO2 machine is going to be more reliable.
Keeping It Real: The Print Head Issue
I want to be transparent, because that’s always my priority. When I first installed the CMYK print head, it wouldn’t calibrate no matter what I tried. After troubleshooting with xTool support, it turned out I’d gotten a defective unit. They got me a replacement, and once it arrived, everything worked great. Electronics glitch sometimes; what matters is whether a company takes care of you when it happens, and xTool did.
Print and Cut: Gift Bags, Stickers, Needlepoint, and Zipper Pulls
Once the new print head was in, I tested gift bags and custom train stickers for my son, both came out great with the print-then-cut process. I also tried something I’d been wanting to do for a while, printing a needlepoint canvas using a tutorial from Yap and Craft (linked below), along with a cross stitch chart. The cameras made lining everything up so much easier, and both turned out beautifully.
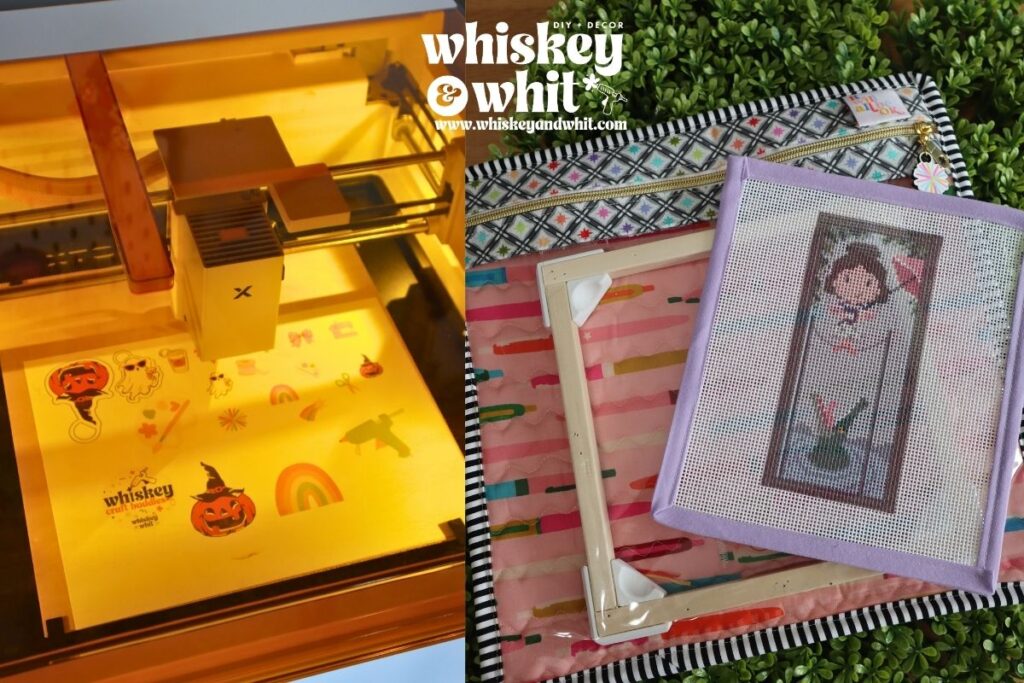
I also made wood and sticker paper zipper pulls for my sewing projects. One tip: unlike my M1, the M2’s bed doesn’t have riser slats, so smaller cut pieces can shift once they’re free and end up in the laser’s path. I’ll be finding a better workaround next time.
The Rotary Attachment: Engraved Water Bottles
This is where the M2’s beginner-friendliness really stood out. My M1’s rotary attachment was genuinely cumbersome; you had to raise the machine and deal with a lot of extra pieces, and I never got it fully working. The M2’s rotary plugs right in, and the framing feature lets you preview exactly where your design lands before you commit. I engraved water bottles for both my boys, Finn and Henry, and Finn hasn’t put his down since.
So, Does It Replace a Cricut? & How to save!
Maybe, for certain projects. Not the definitive answer everyone wants, but it’s the honest one. If most of what you make is stickers and vinyl decals, remember that laser-safe materials aren’t as widely available yet as regular vinyl. But the print-then-cut feature genuinely impressed me for cardstock, canvas, and wood projects, and I’d recommend the M2 to any beginner without hesitation. It is an investment, but if you’re a big crafter who’ll actually use it, I think it’s worth every penny.
If you’ve been on the fence, xTool’s Anniversary Sale runs now through October 4th. The M2 starts at $499, and the Color Print-Then-Cut Bundle is $599, that’s $150 off.
Thanks so much to xTool for partnering with me on this one, and thank you for reading! Let me know in the comments or by email if you’ve got questions, happy to help you figure out if this machine is right for your craft room.